


Discotom-6
Instruction Manual
16
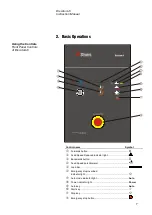
3.
Routine Maintenance
Accumulated dirt and swarf can restrict or cause damage to the
movement of the cutting table. To ensure a longer lifetime for your
Discotom Struers strongly recommends daily cleaning of the cutting
chamber.
Clean the cutting chamber thoroughly if the Discotom is not to be
used for a longer period of time.
For Maintenance of the Recirculation Cooling Unit please refer to the
Cooli Instruction Manual.
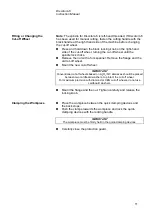
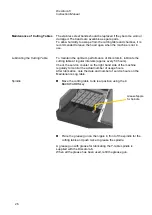
Clean the cutting chamber, especially the cutting table with the
T-slots.
Clean the protection guard window with a damp cloth. Do not use
the flushing gun.
Do
not
clean the lamp glass with alcohol. Use a damp cloth.
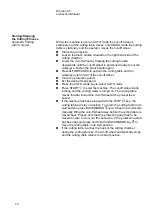
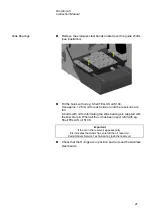
Clean the cutting chamber thoroughly:
Move the cutting table forwards and backwards to access the
whole of the cutting chamber.
Clean along the length of the guide shafts with the flushing gun
and a brush to remove accumulated swarf.
Clean under the cutting table with the flushing gun and a brush
to remove accumulated swarf.
Check the level of the cooling water after 8 hours use or at least
every week.
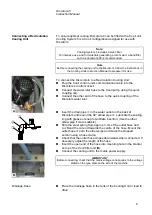
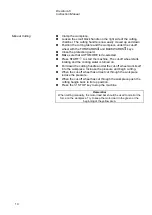
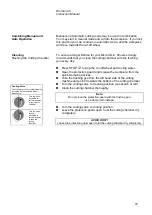
Remove flushing gun from the hose by squeezing the clamp.
Soak in warm soapy water to loosen dirt and residue.
Press the handle and clean the barrel with compressed air or a
pipe cleaner. (The nozzle can be removed for better access).
Replace the cooling water in the Recirculation Cooling Unit at
least once a month.
Recirculation Cooling Unit
Daily Service
Weekly Service
Cooling Unit
Monthly service
Cleaning the Flushing Gun
Replacing the Cooling Water
Summary of Contents for Discotom-6
Page 1: ...Discotom 6 Instruction Manual Manual No 15677001 Date of Release 09 09 2013...
Page 4: ......
Page 36: ...Discotom 6 Gebrauchsanweisung Handbuch Nr 15677001 Auslieferungsdatum 09 09 2013...
Page 39: ......
Page 71: ...Discotom 6 Mode d emploi Mode d emploi no 15677001 Date de parution 09 09 2013...
Page 74: ......
Page 106: ...Manual No 15677001 Date of Release 20 Discotom 6 Spare Parts and Diagrams...
Page 128: ......
Page 129: ......
Page 130: ......