O
p
er
at
io
n
13
Before Printing
EN
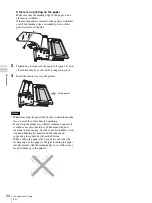
If the ink ribbon becomes torn while still in use
Cellophane tape, etc., can be used to repair a torn ink
ribbon so that the remainder of the ribbon can be used.
Replacing the Ink Ribbon and Paper
Once the ink ribbon or paper have been used to print the
specified number of sheets, follow the procedure described
below to replace the ink ribbon and paper.
Notes
• Be sure to replace the ink ribbon and the paper roll at the
same time.
• The ink ribbon and paper roll both contain excess
material. Even if there appears to be some excess ink
ribbon or paper remaining, replace both with a new ink
ribbon and paper roll. Attempting to use the remaining
excess ink ribbon or paper can cause a malfunction.
1
Make sure that the TRAY LOCK indicator is
extinguished then pull out the media tray.
Notes
• If the media tray does not pull out, do not force it
out. Press the
1
On/standby switch to enter the
standby state, and then press the switch again to turn
the printer ON. Try pulling the media tray again
after the printer finishes initializing.
• After a printing operation is completed, the thermal
head is very hot. When pulling out the media tray,
be careful not to touch the thermal head. Touching
the thermal head could result in a burn. Also, be
careful not to scratch the thermal head.
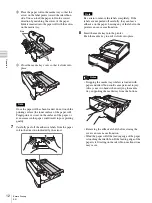
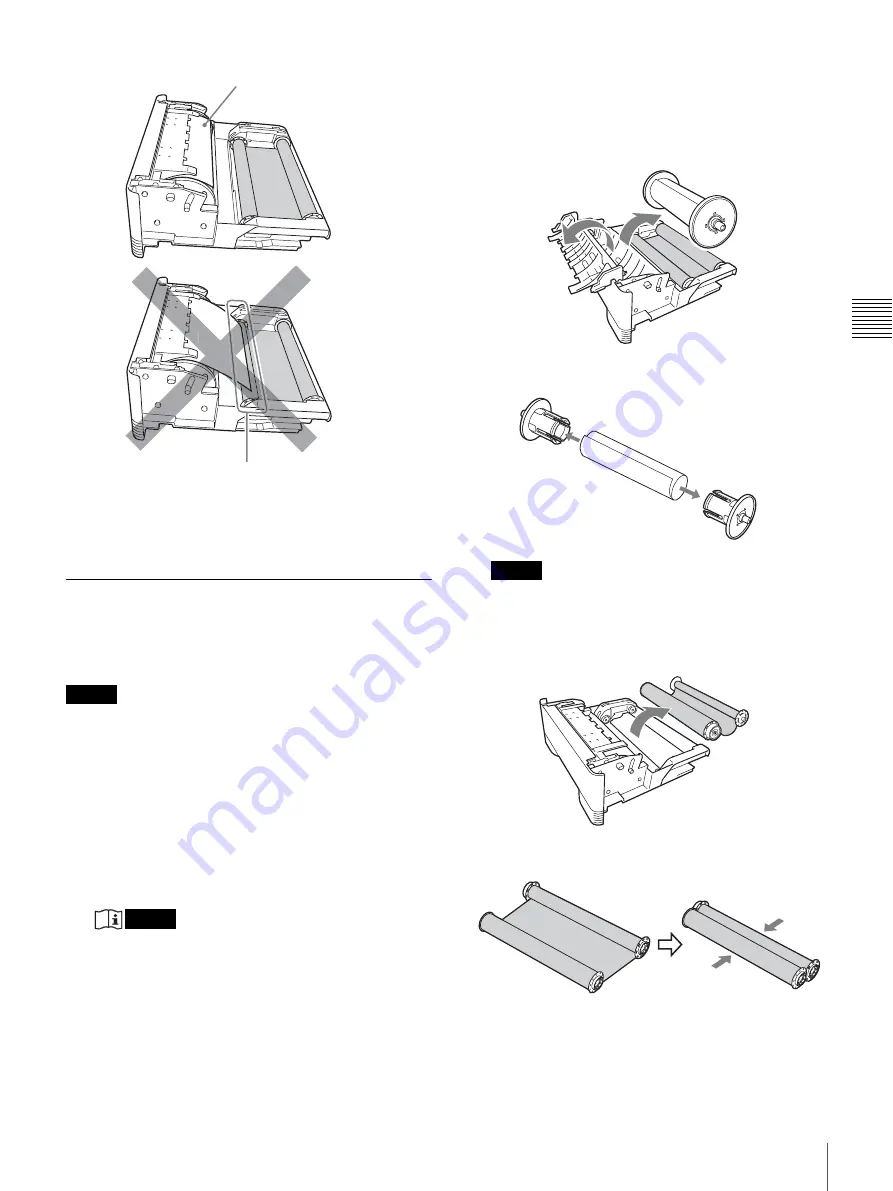
2
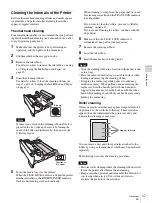
Open the cover of the media tray and remove the
paper roll.
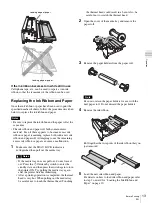
3
Remove the paper holders from the paper roll.
Note
Be sure to retain the paper holders for use with the
next paper roll. Do not discard the paper holders.
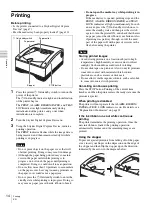
4
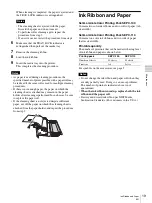
Remove the ink ribbon.
Roll together the two spools of the ink ribbon that you
just removed.
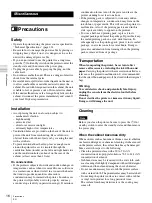
5
Load the new ink ribbon and paper.
For details on how to load ink ribbon and paper, refer
to step 2 onward for “Loading the Ink Ribbon and
Paper” on page 10.
Leading edge of paper
Leading edge of paper


