


0940-001-025 Rev-L
EN
www.stryker.com
5
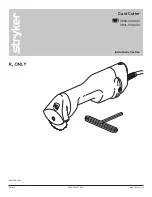
Instructions
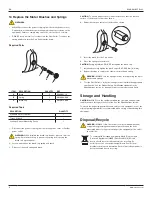
To Install a Blade
WARNINGS:
▪
ALWAYS disconnect the power cord plug from the facility power outlet
or CastVac power outlet before installing a blade. Failure to comply may
cause fire, electric shock, or injury.
▪
Before each use, inspect the blade for wear. DO NOT use a dull blade.
Using a dull blade may cause a burn injury.
CAUTIONS:
▪
To ensure safe and efficient cutting and avoid damaging the equipment,
ALWAYS install the blade as indicated in these instructions.
▪
The blade retention screw is captive and cannot be removed from the
Cast Cutter. DO NOT attempt to remove the screw or loosen the screw
beyond the point when it no longer turns.
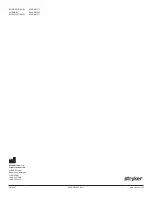
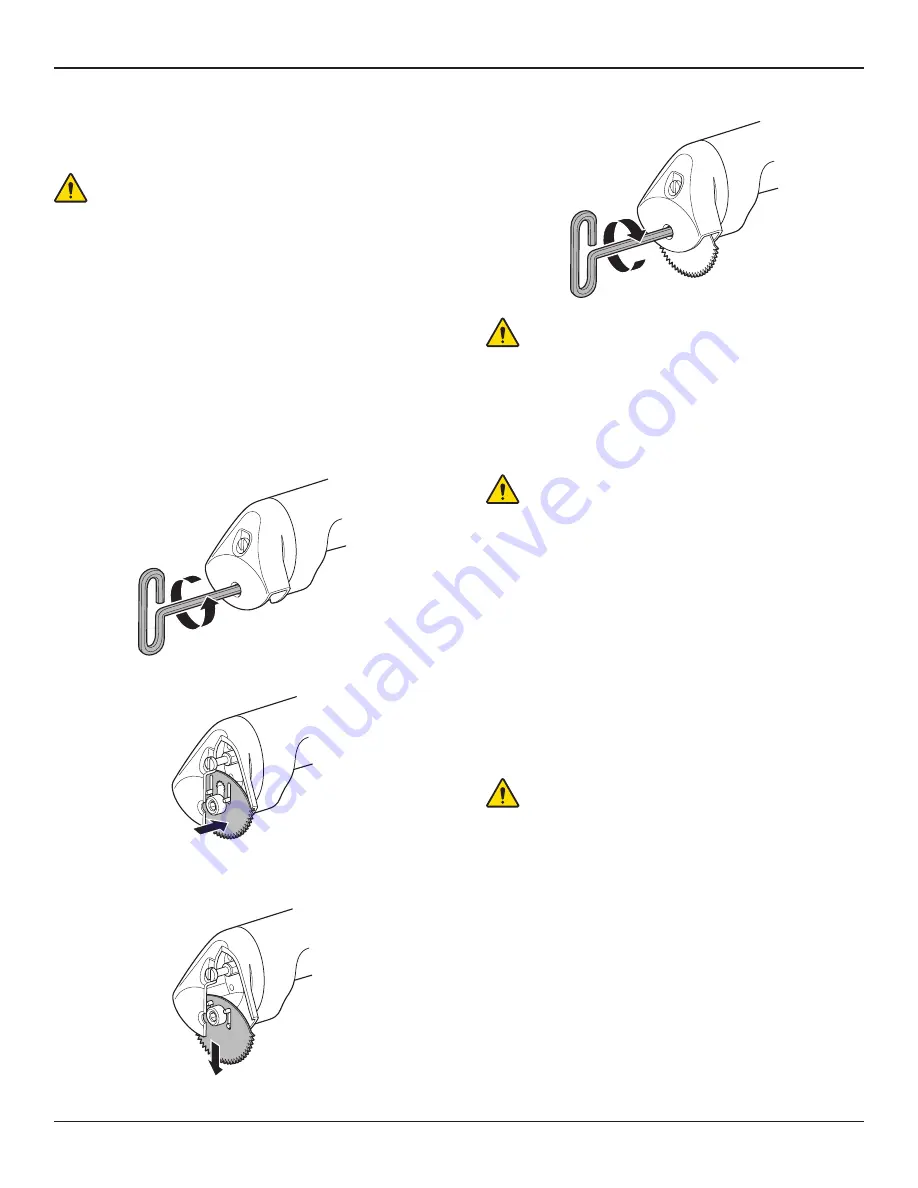
1. Use the blade tool supplied with the Cast Cutter to loosen the blade
retention screw. Turn the screw counterclockwise until it no longer turns.
2. Slide a blade over the screw and the top two blade guide posts.
3. Pull the blade down behind the screw and over the bottom two blade
guide posts. Make sure that all four posts are engaged with the blade.
4. Use the blade tool to tighten the blade retention screw against the blade.
WARNING:
Before operating the equipment, ALWAYS make sure the
blade is securely installed and the blade retention screw is tight. An
improperly tightened screw may come loose and cause the blade to
fracture.
5. Confirm that the blade is securely installed and the blade retention screw
is tight against the blade.
To Connect the Cast Cutter to a Power Source
WARNING:
ALWAYS set the function switch to the standby mode
position before connecting the Cast Cutter to a facility power outlet or
CastVac power outlet.
CAUTION:
ALWAYS place the power cord where it will not be stepped on,
tripped over, or otherwise subjected to damage or stress.
NOTE:
The Cast Cutter may be connected to a facility power outlet or a
CastVac with an appropriate voltage rating. For more information, see the
Accessories
section and the instructions for use supplied with the CastVac.
1. Set the function switch to the standby mode.
2. Connect the power cord plug to a facility power outlet or CastVac power
outlet.
NOTE:
To connect Cast Cutter REF 0941-000-000 to a facility power outlet,
first connect the appliance inlet connector plug to the appliance inlet
connector. See the
Features
section.
To Operate the Cast Cutter
WARNINGS:
▪
ALWAYS follow the recommended duty cycle to prevent the equipment
from overheating. See the
Specifications
section.
▪
ALWAYS operate the equipment within the specified environmental
condition values. See the
Specifications
section.
▪
DO NOT use this equipment in the presence of fluids.
▪
ALWAYS set the function switch to the standby mode position before
passing the Cast Cutter to another person.
▪
DO NOT apply excessive pressure, such as bending or prying, with the
blade. Excessive pressure may cause the blade to fracture. If prying on
the cast is required, use a cast spreader tool.


