19
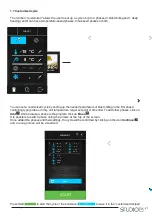
After selecting a cycle, you will visualize the settings uploaded for
that cycle. By pressing the
icon Edit
it will be possible to modify
the main settings on the display. In order to change the temperature
in different phases of the selected cycle, you can select the
“expert”
mode by pressing the
icon Expert
. Once you complete the different
settings, press the
icon Exit
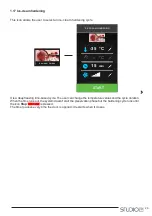
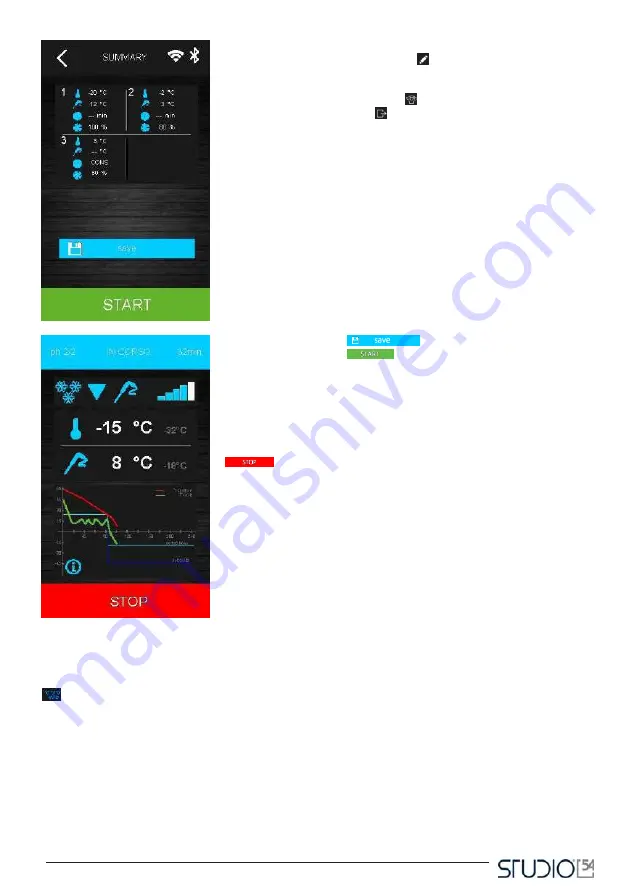
to end the phase: a summary screen
will appear, with the data concerning the set cycle, as you can see
hereafter.
Press the window Save
in order to save the program just
set, or the window Start
to run the cycle.
If the cycle is temperature-based, a test will be run to verify the correct
insertion of the probe in the food to be blast-chilled. If the test fails, the
cycle is automatically commuted in time-based: an audible signal will be
followed by the visualization on the display of the alarm icon.
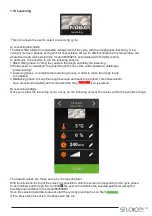
During the cycle, on the display you will see the main temperatures and
a diagram of the temperature trend.
It is possible to end a cycle in every moment by touching the icon Stop
.
Once the blast chilling/deep freezing cycle is over (because it reached
the target temperature or the time limit) a beep will signal the beginning
of the preservation phase.
B. Hard blast chilling
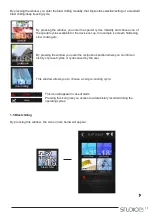
In the Blast chilling settings display it is possible to set a
“hard blast chilling cycle”
by pressing the
Hard icon
.This cycle has two blast chilling phases at different setpoints, and a following maintaining phase.
- the first phase, called
“hard”,
to blast chill at a set point defined by the related set parameters,
that cannot be modified by the user;
- the second phase of blast chilling/deep freezing with the set point set up by the user;
- the maintaining phase with the set point set up by the user.
At the end of a phase, the controller automatically passes to the following. A beep signals the end of both the
first two steps. It is also possible to select the time-based execution: in this case the transition to the following
step happens when the time limit is reached.


