28
Final assembly
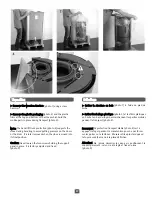
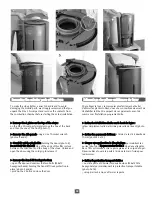
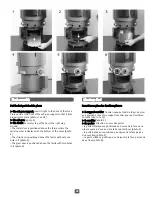
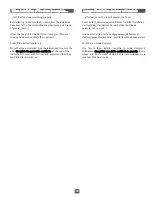
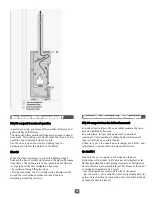
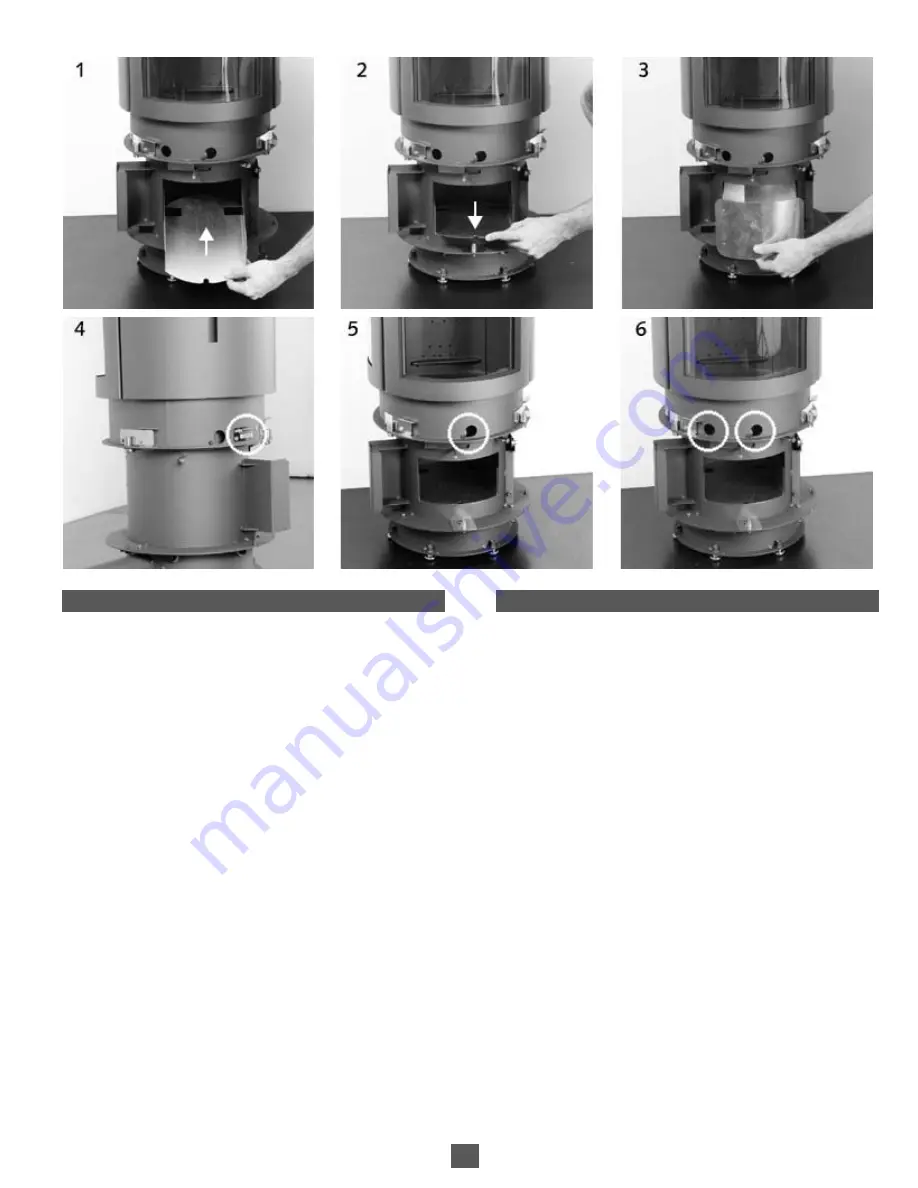
Put the last parts back in place:
> the ash pan support, insert it right to the back of the stove.
Press down at the front of the ash pan support so that it slots
properly into place [photos 1 and 2].
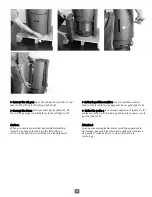
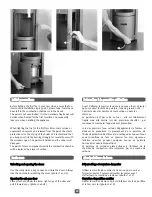
> the ash pan [photo 3],
> the doors: be careful to get the doors the right way
around:
– the metal door is positioned above the fascia where the
serial number is displayed, at the bottom of the drum [photo
4],
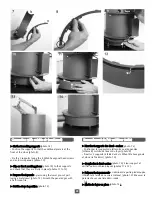
– the strip door is positioned above the fascia with only one
hole in it [photo 5],
– the glass door is positioned above the fascia with two holes
in it [photo 6].
Montage final
Remettez en place les dernières pièces :
> le support cendrier, l'insérer jusqu'au fond du foyer. Exercer
une pression à l'avant du support cendrier pour qu'il soit bien
encoché [photo 1 et 2].
> le cendrier [photo 3].
> les portes: attention au sens des portes :
– la porte métallique se positionne au dessus de la face où se
situe le numéro de série, dans le bas du tambour [photo 4].
– la porte bandeau se positionne au dessus de la face percée
d'un seul trou [photo 5].
– la porte vitrée se positionne au dessus de la face percée de
deux trous [photo 6].
Summary of Contents for 30 Compact
Page 1: ...30 0 CO OMPAC CT ...
Page 2: ...2 ...
Page 8: ...8 ...
Page 9: ...9 30 COMPACT ...
Page 14: ...14 ...
Page 15: ...15 30 COMPACT ...
Page 31: ...31 30 COMPACT ...
Page 47: ...47 ...
Page 57: ...57 ...
Page 63: ...63 ...


