background image

1 DE 12

NUMÉRO DE PIÈCE

H001SSG400

VERSION

00

DATE

27 May 2013

SUBARU OF AMERICA

NUMÉRO DE PIÈCE :

H001SSG400

DESCRIPTION :

SYSTÈME DE DÉMARRAGE
À DISTANCE

INSTRUCTIONS

D'INSTALLATION

WARNING: /  AVERTISSEMENT

This vehicle is equipped with a remote controlled engine starter. 
To reduce the risk of serious Injury or death, switch engine starter
system into service mode and disconnect the vehicle battery
before performing any service on the vehicle.
Ce vé

hicule est doté

 d'un dé

marreur à distance.  Pour ré

duire les 

risques de blessures graves ou mortelles, mettre le dé

marreur à 

distance en mode service et dé

brancher la batterie du vé

hicule 

avant d'effectuer des travaux d'entretien sur celui-ci.

1

2

3

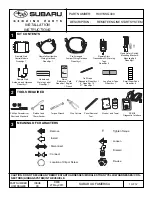
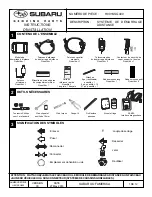
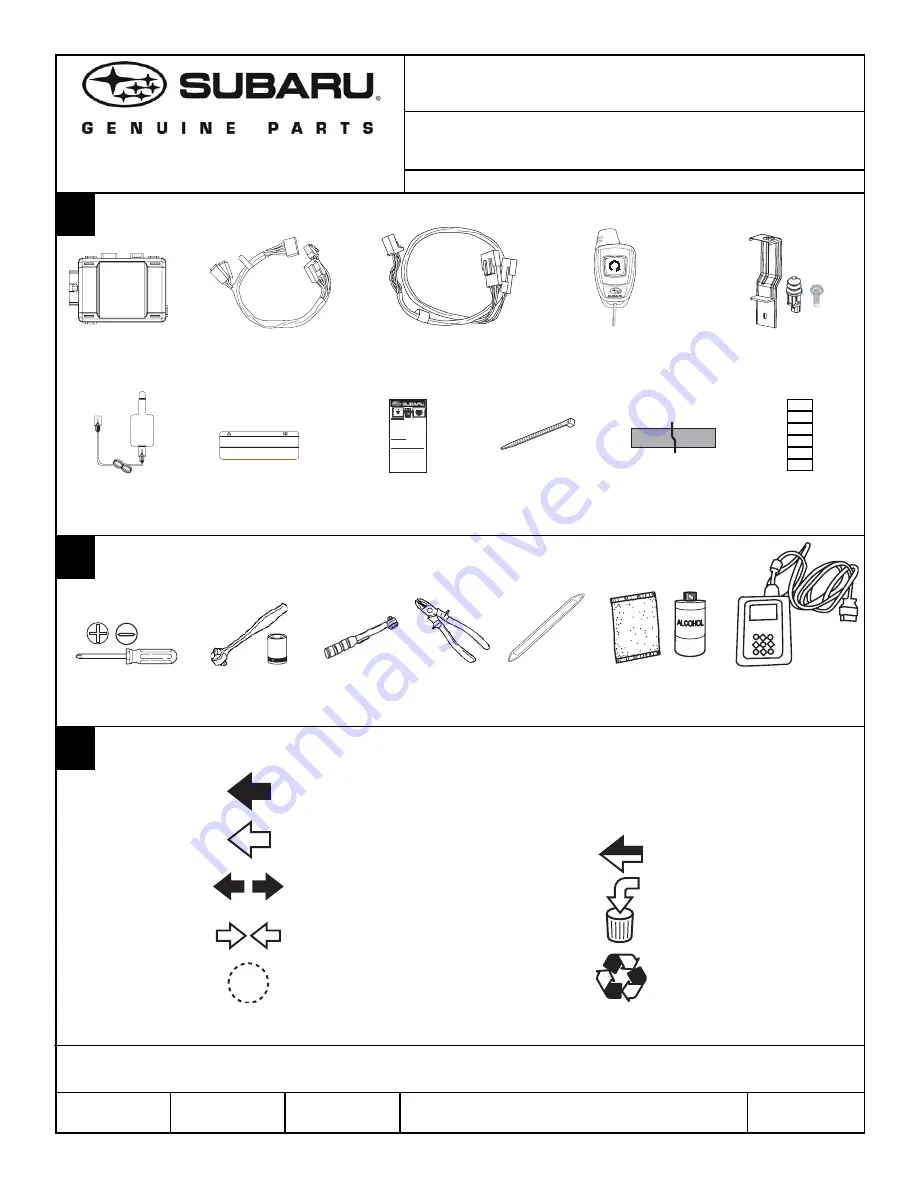
CONTENU DE L’ENSEMBLE

OUTILS NÉCESSAIRES

SIGNIFICATION DES SYMBOLES

ATTENTION : N’ATTACHEZ JAMAIS LE FAISCEAU OU LE MODULE DE DÉMARRAGE À DISTANCE À UN FAISCEAU
JAUNE DU VÉHICULE OU À SON CONNECTEUR (SYSTÈME DE COUSSINS GONFLABLES).

Module de

démarrage à distance

Quantité = 1

Faisceau d’allumage

du démarrage à distance

Quantité = 1

Faisceau cavalier

prémonté

Quantité = 1

Télécommandes

de démarrage à distance

Quantité = 2

Antenne

et faisceau

Quantité = 1

Étiquette de mise en garde

de compartiment moteur

Quantité = 1

Attaches

8 po  (réutilisable),

quantité = 1

8 po, quantité = 15
21 po, quantité = 1

SSM III,

Interface diagnostique

Tournevis Phillips

court et standard

Coupe-fil

Outil enlève-

panneau

Alcool et linge

 : Enlever

T

 : couple de serrage

: Poser

: Déconnecter

: Connecter

: Emplacement de fixation ou vis

: Desserrer

: Jeter

: Réutiliser

Starting Your Vehicle

The remote control start function is activated by pressing
the START (key icon) button twice within 3 seconds on
your remote control transmitter.  The system will check
certain pre-conditions before starting, and if all safety
parameters are correct, the engine will start within 5
seconds.   If the vehicle s 

starter cranks but does not start

or starts and stalls, the remote engine start system will
power off then attempt to start the vehicle an additional
four times.

WARNING: TO AVOID DANGER OF CARBON MONOXIDE,
NEVER REMOTE START A VEHICLE IN A CLOSED SPACE
SUCH AS A CLOSED GARAGE.

Turning Your Vehicle Off

Press and hold the START (key icon) button again to turn
the vehicle off.  If the vehicle is left running the remote start
system will allow the vehicle to run for a total of 15 minutes
and then automatically turn off.

Entering the Vehicle While it is Running via Remote Start

1. Unlock the vehicle doors using the factory keyless

remote.  If the vehicle s doors are unlocked manually
using the key, the vehicle s security system will trigger
and the remote start system will turn off.  Inserting
the ignition key into the ignition cylinder and
turning it to the ON or RUN position will disarm the
security system.

2. Enter the vehicle. Do not press the brake pedal.

3. Insert the key into the ignition and turn to the ON positi-

ion. If the ignition key is accidently turned to the start
position, the system s  starter anti-grind  feature will
prevent the starter from re-cranking.

4. Press the brake pedal. The remote starter disenga-

ges, the vehicle s power window features are re-ena-
bled and the vehicle will operate normally.

Remote Start

Activation

2 Times

Remote Start

Shutdown

For 2 Seconds

Press

Press

REMOTE START QUICK REFERENCE

Carte de

référence rapide

Quantité =

1 anglais, 1 français

Ruban mousse petit

Quantité = 6

Contacteur de sécurité de

capot, support et boulon

Quantité = 1

Clé à cliquet et

douille de 10 mm

Ruban mousse long

Quantité = 1

Clé à torque

Summary of Contents for H001SSG400

Page 1: ...ontrol transmitter The system will check certain pre conditions before starting and if all safety parameters are correct the engine will start within 5 seconds If the vehicle s starter cranks but does...

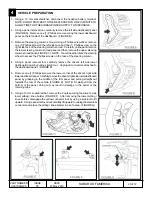
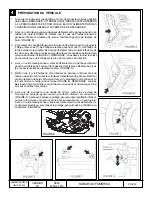
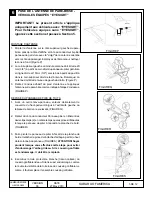
Page 2: ...to access the Phillips screws on the face of the steering column 4 Using a panel removal tool carefully remove the driver s left side lower dashboard panel by pulling straight out Unplug all connector...

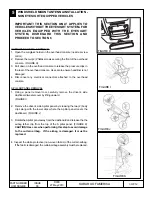
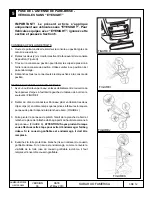
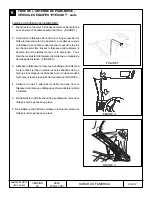
Page 3: ...adliner is not damaged 4 Disconnect any electrical connectors attached to the overhead console A PILLAR PANEL REMOVAL 1 Using a panel removal tool carefully remove the driver s side dashboard tweeter...

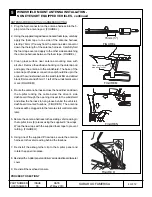
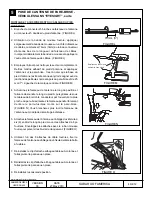
Page 4: ...windshield where the solid black film and dotted black film meet and 25mm 1 left of the windshield center mark FIGURE M 4 Route the antenna harness across the headliner and down the A pillar tucking...

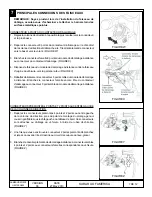
Page 5: ...o the upper right corner of the antenna pod Note The antenna pod should be level left to right FIGURE P 3 Remove the adhesive backing and apply the antenna pod to the windshield as described in step 2...

Page 6: ...indshield and allow the harness to hang loose behind the vehicle s dashboard mounted fusebox The antenna harness will be plugged into the remote start control module later FIGURE U 3 Secure the antenn...

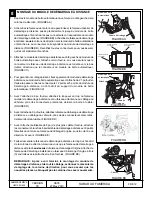
Page 7: ...fire wall FIGURE X 5 Carefully fold back the remote start harness 8 pin male connector Plug the previously unplugged vehicle s female ignition switch connector into the remote start ignition harness 8...

Page 8: ...dule bracket FIGURE CC 5 Using the supplied 8 tie wrap secure excess remote start jumper harness and antenna harness wiring to the existing vehicle wiring near the prefit connectors behind the fusebox...

Page 9: ...nner lower fender support frame Mount the hood safety switch bracket to the passenger side inner lower fender support frame between the vehicle s auxiliary fuse box bracket and the vehicle s frame usi...

Page 10: ...ng on Re install the lower dashboard airbag knee bolster and torque the bolts to 10 8 Nm 2 Nm 1 10Kgf m 0 2 Kgf m 8 ft lbs 1 5 ft lbs FIGURE KK 2 Re install the steering column shroud and secure in pl...

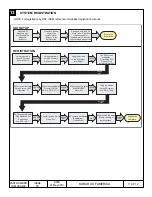
Page 11: ...ic connector SDI screen will display Reg Remote Cont Eng Starter Yes ENT No C Confirm Ignition Sw On Press Ent The SDI screen will display Select Reg Sys Press ENT to select Immobi Sys SDI screen will...

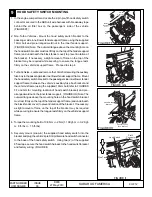
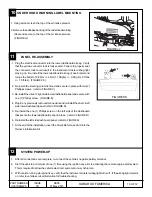
Page 12: ...BRAKE PEDAL SAFETY While sitting in the vehicle with all doors and hatch closed restart the vehicle using the remote engine starter press the brake pedal The vehicle should shut off 5 KEY IN SENSE Wh...

Page 13: ...your remote control transmitter The system will check certain pre conditions before starting and if all safety parameters are correct the engine will start within 5 seconds If the vehicle s starter cr...

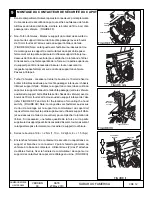
Page 14: ...c der aux vis Phillips sur la face de la colonne de direction 4 Avec un outil enl ve panneau enlevez d licatement le panneau inf rieur gauche du tableau de bord en tirant dessus directement D branchez...

Page 15: ...U PANNEAU DE PIED DE TOITA 1 Avec un outil enl ve panneau enlevez d licatement le couvercle du haut parleur d aigus l extr mit gauche du tableau de bord en le soulevant FIGURE I 2 Retirer du c t du co...

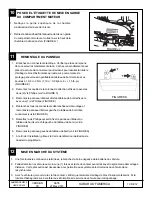
Page 16: ...auche de la marque centrale FIGURE M 4 Acheminez le faisceau de l antenne le long du pavillon et faites le descendre le long du pied A puis glissez le sous le tableau de bord c t conducteur par l ouve...

Page 17: ...dos adh sif du pied d antenne et appliquez l antenne sur le pare brise comme indiqu l tape 2 ci dessus FIGURE P D POSE DU PANNEAU DE PIED DE TOITA 1 Avec un outil enl ve panneau enlevez d licatement l...

Page 18: ...derri re le porte fusibles mont sur le pare brise Vous brancherez plus tard le faisceau de l antenne au module de d marrage distance FIGURE U 3 Attachez le faisceau de l antenne au c blage du v hicul...

Page 19: ...ers la paroi pare feu FIGURE X 5 Rabattez d licatement le connecteur 8 points m le du module de d marrage distance Branchez le connecteur femelle encore libre du contacteur d allumage au connecteur 8...

Page 20: ...tache de 8 po fournie attachez la longueur en trop du faisceau cavalier de d marrage distance et du faisceau d antenne au c blage du v hicule pr s des connecteurs pr mont s derri re la bo te fusible F...

Page 21: ...le Montez le support du contact de s curit du capot sur le support int rieur de l aile c t passager entre le v hicule auxiliaire de support bo te fusibles et le ch ssis du v hicule avec le boulot de 1...

Page 22: ...este sur puis remontez le prot ge genou coussin gonflable du tableau de bord et serrez ses boulons 10 8 2 Nm 1 10 0 2 kgf m 8 1 5 lb pi FIGURE KK 2 Remontez la coquille de la colonne de direction et f...

Page 23: ...de contact dans le cylindre d allumage et tourner sur la position RUN MARCHE Continuer de presser simultan ment pendant pr s de 5 secondes les touches SDI Menu et C pour entrer dans le mode autonome P...

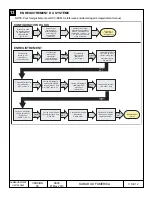
Page 24: ...uvercle du coffre 4 S CURIT DE FREINAGE Assis au volant du v hicule avec toutes les portes ferm es y compris le hayon ou couvercle du coffre red marrez avec le syst me de d marrage distance puis appuy...

Reviews: