background image

1

INSTALLATION

INSTRUCTIONS

SECURITY SYSTEM

UPGRADE

LEGACY

P/N: H7110LS200

Kit Contents:
1

Security Control Module w/Integral Bracket

1

Starter Interrupt/Horn Relays w/Integral Bracket

1

Horn w/Integral Bracket

1

Security Radio Mounting Bracket

2

Pan Head Screws (M5

×

8mm)

2

M6 Nuts

2

Window Decals

1

Installation Manual

Tools Required:
#1 Flat-tip Screwdriver
#2 Phillips Head Screwdriver
Electrical Tape
1/4” Drive Ratchet
10-inch 1/4” Drive Extension
10mm Socket

This device complies with FCC rules part 15. Operation is
subject to the following two conditions: (1) this device may
not cause harmful interference and (2) this device must
accept any interference that may cause undesired operation.

NOTE: This system requires prior installation of Keyless Entry

System. If installing both systems at the same time, install the
Keyless Entry System first.

00.08

UT28L-11

Printed in Japan

39412/SUBARU (P.01-09)  8/1/00 5:39 PM  Page 1

Summary of Contents for LEGACY H7110LS200

Page 1: ...Phillips Head Screwdriver Electrical Tape 1 4 Drive Ratchet 10 inch 1 4 Drive Extension 10mm Socket This device complies with FCC rules part 15 Operation is subject to the following two conditions 1...

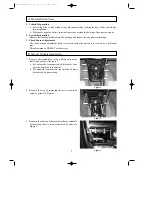
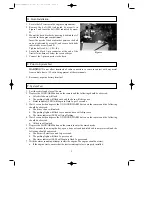
Page 2: ...nsor Adjustment The shock sensor adjustment knob is recessed inside the unit and is covered by a protective seal This adjustment is PRESET at the factory 1 Remove the gearshift cover by pulling up in...

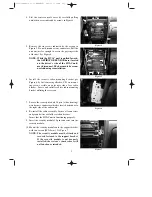
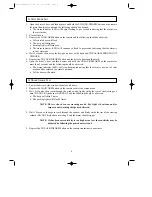
Page 3: ...e on passenger side of car radio bracket Locate and install security radio mounting bracket utilizing these screws 7 Locate the security module 18 pin white housing wire harness connector which is loc...

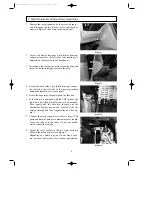
Page 4: ...ower dash panel 5 Route the horn relay harness around the fuse box 6 If the vehicle is equipped with the VDC system the lower fuse box OE nut will first have to be loosened Then gently pull the fuse b...

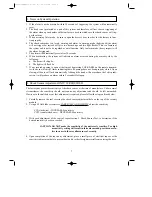
Page 5: ...vehicle doors will lock b The parking lights will flash once and the horn will chirp once c Status indicator LED will begin to flash 1x per 2 seconds 3 Wait 5 seconds then depress the UNLOCK DISARM b...

Page 6: ...hould be observed a The status indicator LED will stop flashing indicating that the alarm is now out of valet mode and has returned to normal operation b All the doors will unlock H Shock Sensor Test...

Page 7: ...perly closed Upon closing all doors will lock automatically Although the trunk will not produce the 3 chirp indi cation it will produce an alarm within 5 seconds if left open J Shock Sensor Adjustment...

Page 8: ...n 3 Place the window decals on the inside of the rear passenger windows at the lower front edge of each window The bottom edge of the decal should be one 1 inch from the bottom of the win dow and the...

Reviews: