32
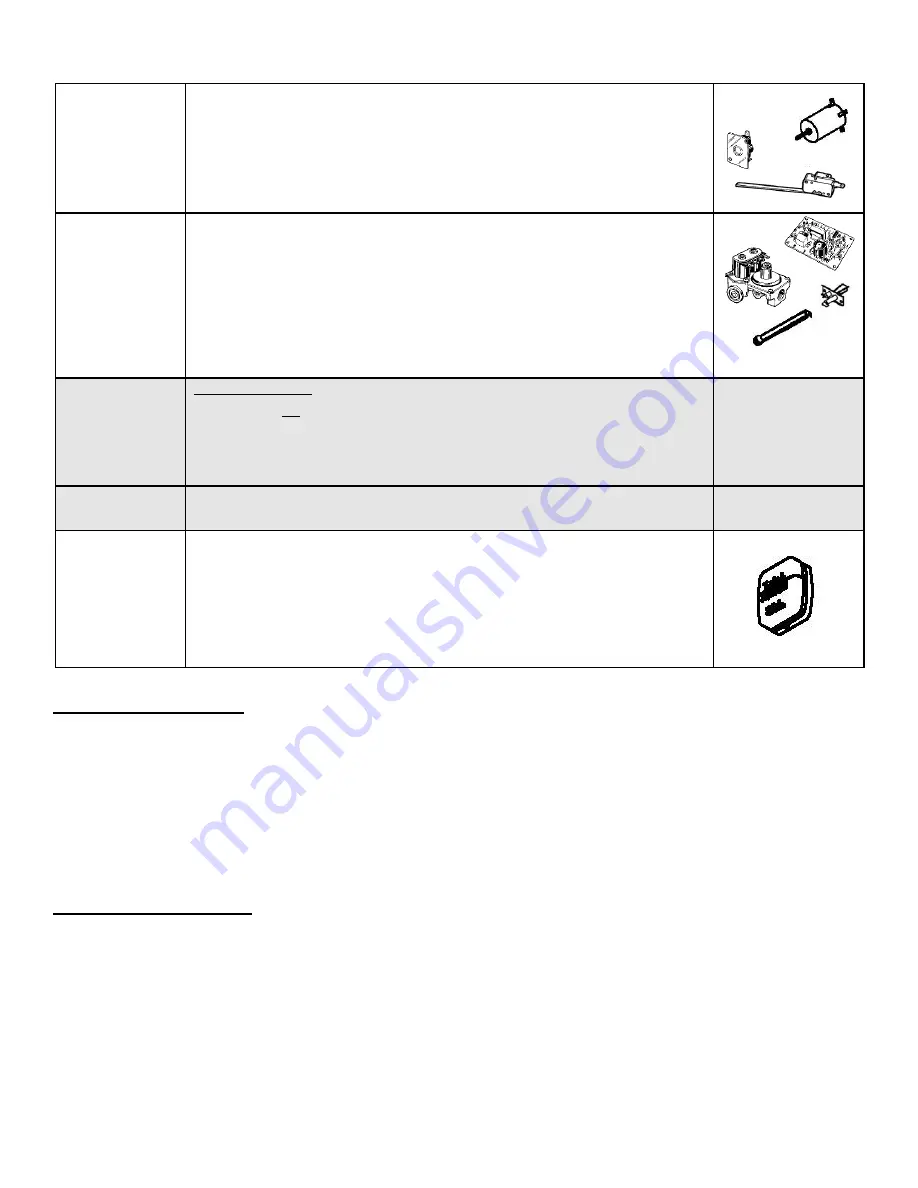
15 Seconds Purge
Cycle
The module board will then verify that the sail switch circuit is closed and motor is up
to speed. If this circuit remains open blower motor will run continuously until sail switch
closes.
The module board checks that the gas valve relay contacts (which are located on the
module board) are open before the ignition sequence starts.
The board has a pre-purge timing circuit of (approximately 15 seconds). This allows the
chamber to purge.
7 Seconds Ignition
Cycle and Flame
Sense
The module board will energize the gas valve and enable the high voltage spark output
to the electrode for 7 seconds of ignition time.
The module board will then check for flame sense to verify successful lighting of the
main burner flame. Sparking will then be terminated and the gas valve and blower
outputs will remain energized.
If ignition is successful the module board will monitor the flame sense, sail switch and
limit switch circuits, and the thermostat inputs during the heating period.
The flame is sensed through the flame sence electrode. Therefore, it is essential that
the electrode is properly positioned in the burner flame.
2
nd
and 3
rd
Ignition
Cycles if Required
3 Try Ignition Board
If the flame is not sensed after seven (7) seconds, a second 15 second purge cycle
will begin followed by a second Trial-For-Ignition sequence. After three (3) Trial-For-
Ignition attempts with no ignition of the main burner, the module board will de-energize
the gas valve immediately and blower will run for 90 seconds and then shutdown in
lockout.
Heating Cycle
If during the heating cycle, the limit switch circuit opens and remains open the gas valve
will close and the blower motor will continue to run.
90 Second Shut
Down
When the thermostat has reached its set point and the demand for heat ends, the gas
valve will be de-energized and the flame will go out. The post purge period of 90
seconds begins. When it times out, the blower motor output is removed, and the blower
stops.
Sequence of Operations for SHD-2542
1st Stage Call for Heat
The wall thermostat controls the operation of the dual stage furnace by reacting to room temperature. This allows current to flow through
the On/Off switch to the Blower Speed Control Board then to the Module Board.
The module board constantly checks for a minimum 9.5 volts. If there is not 9.5 volts, the module board will go into a standby mode until
adequate power is supplied. It will then resume normal operation.
Upon a call from the thermostat the first stage will be activated. The module board thermostat circuit will go active and the sail switch is
verified as being open. The blower output is energized. The blower motor starts.
15 Second Purge Cycle
The module board will then verify that the sail switch circuit is closed and motor is up to speed. If this circuit remains open for 30 seconds
after the blower motor starts, the module board will go into lockout and shut down the blower motor.
The module board checks that the gas valve relay contacts (located on the module board) are open before the igniting sequence starts.
The board has a pre-purge timing circuit of approximately 15 seconds. This allows the combustion chamber to purge.
7 Second Ignition Cycle and Flame Sense
The module board will energize the gas valve and enable the high voltage spark output to the electrode for a seven second ignition period.
Summary of Contents for DD-17DSI
Page 7: ...7 SH VENT ASSEMBLY INSTALLATION SF and SH SERIES Figure 2 SF Figure 2A...
Page 8: ...8 SH and SHD 2542 VENT ASSEMBLY INSTALLATION SF and SH SERIES Figure 3 SF Figure 3A...
Page 9: ...9 SH VENT ASSEMBLY INSTALLATION SFV Figure 4 SF Figure 4A...
Page 10: ...10 Figure 5A Figure 5...
Page 11: ...11 Figure 6...
Page 14: ...VENT ASSEMBLY INSTALLATION NT SERIES 14 NT 20S Figure 11 Figure 12...
Page 16: ...16 VENT ASSEMBLY INSTALLATION NT 40 and P 40 P 40 Figure 16 NT 40 Figure 17...
Page 19: ......
Page 20: ......
Page 21: ......
Page 22: ......
Page 23: ......
Page 24: ......
Page 25: ......
Page 26: ......
Page 27: ......
Page 40: ...40 Figure 28 Fan Control Board NT 24 30 34SP and NT 40 Figure 29 Fan Control...
Page 41: ...41 P 30S Figure 30 Fan Control Board P 40...
Page 46: ...46 Figure 36 Figure 37...


