background image

39

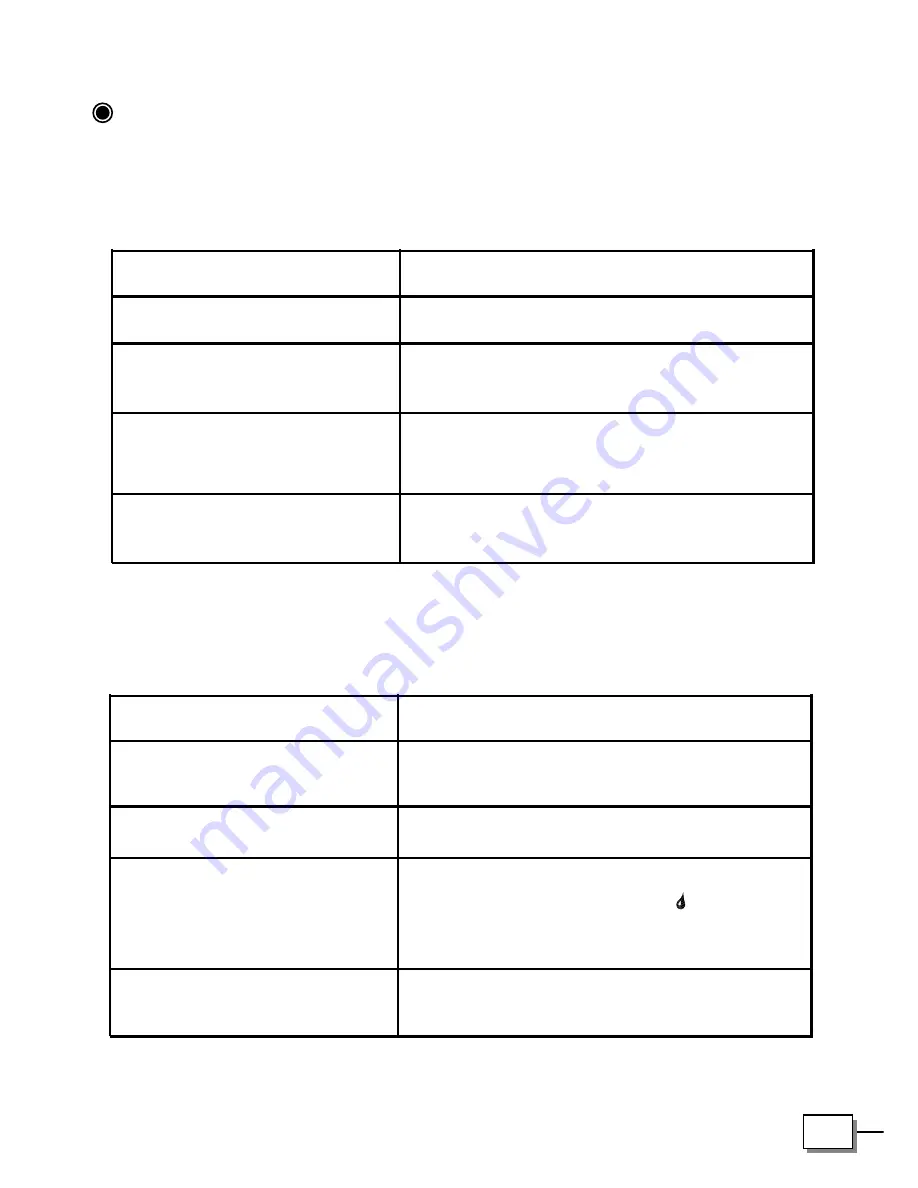
 Problem in Operation

1. If the meter does not display a message after inserting   

    a test strip:

2. If the test does not start after applying the sample: 

PROBABLE CAUSE 

WHAT TO DO

a.Battery exhausted.

Replace the Battery.

Check that the battery is correctly 

installed with the positive “+” side up. 
Insert the test strip correctly with the 

contact bars end first and facing up. 

Please call your local customer

service for help.

b.Battery incorrectly

   installed or absent.

.

c.Test strip inserted upside

   down or incompletely. 

d.Defective meter. 

PROBABLE CAUSE 

WHAT TO DO

a.Insufficient blood sample.  Repeat the test with a new test strip 

and a larger volume of blood sample.


Repeat the test with a new test strip. 

Repeat the test with a new test strip; 

apply sample only when “    ” appears 

on the display. 

Please call your local customer

service for help.

b.Defective test strip. 
c.Sample applied after 

   automatic shutoff (three

   minutes after last user 

   action). 

d.Defective meter. 

Summary of Contents for TD-4207B

Page 1: ...Ver 2 0 2011 June 311 4207200 002 BLOOD GLUCOSE MONITORING SYSTEM ...

Page 2: ... that you must know about your system Please read it carefully and keep it for future reference For other questions regarding this system please contact your local customer service At all other times you should contact your health care professional for assistance ...

Page 3: ...ries which are not supplied by the manu facturer 4 Do not let the equipment come into contact with surfaces which are too hot to touch 5 Do not use the equipment where aerosol sprays are being used or where oxygen is being administered 6 Do not use device if it is not working properly or if it has suf fered any damage 7 Before using product to test your blood glucose read all instructions thorough...

Page 4: ... the Meter 11 Meter Display Segments 12 Appearance of the Test Strip 13 PREPARATION BEFORE USE 14 Battery Replacement 14 Setting the Meter and Deleting the Memory 16 BEFORE TESTING 20 Coding the meter 20 Checking the System with SUGARCHEK Control Solutions 20 TESTING YOUR BLOOD 21 Testing Procedure 22 Expected Test Results 28 Special Messages 29 COMPARING METER AND LABORATORY RESULTS 30 USING THE ...

Page 5: ...5 CARING FOR YOUR METER AND STRIP 34 Cleaning 34 Storage 34 PROBLEM SOLVING GUIDE 37 Error Message 28 Problem in Operation 39 SPECIFICATIONS 41 SUMMARY OF OPERATION 42 SYMBOL INFORMATION 44 ...

Page 6: ...blood sample to the absorbent hole Applying other substances to the absorbent hole will cause inaccurate results If you are experiencing symptoms that are not consistent with your blood glucose test results and you have followed all instructions described in this owner s manual call your healthcare professional Inaccurate results may occur in severely hypotensive individuals or pa tients in shock ...

Page 7: ...full of nerve endings receptors At other body sites since nerve endings are not so condensed you will not feel as much pain as at the fingertip When to use AST Food medication illness stress and exercise can affect blood glucose levels Capillary blood at fingertip reflects these changes faster than capil lary blood at other sites Therefore when testing blood glucose during or immediately after mea...

Page 8: ...n has a significant influence on the glucose value obtained Blood from the site without rubbing exhibits a measurably different glucose con centration than blood from the massaged finger When the puncture site is rubbed prior to blood extraction the difference is significantly reduced Please follow suggestions below before getting a drop of blood Rub the puncture site about 20 seconds before penet...

Page 9: ...ome and in clinical settings It should not be used for the diagnosis of diabetes or for the testing of newborns AST in this system can be used only during steady state blood glucose conditions described in the section of About AST Principle of Measurement The test is based on the measurement of electrical current generated by the reaction of glucose with the reagent of the strip The meter mea sure...

Page 10: ...glucose test results Use only SUGARCHEK test strips with the SUGARCHEK blood glucose meter Your system includes j A meter o Lancing device k 5 Lancets p A clear cap l Owner s manual q Warranty card m Sporty carrying case Code strip n First use guide Log book Check your system to be sure that it is unopened prior to use and that it contains all parts listed above If either of these conditions occur...

Page 11: ... displaye located at the side is for cable connection d here The large easy to read display guides you through the test using symbols and simple messages SETTING BUTTON Setting the date time and unit located in the battery compartment MAIN BUTTON The main button in front of the meter is used to set up the meter enter the memory mode change the value of data time unit setting memory deleting and tu...

Page 12: ... results are displayed here A decimal point appears when the unit of measurement is millimoles per litre TEST STRIP MESSAGE Appears when you push the test strip firmly into the insertion site or when power of meter is on and did not insert strip into the meter this massage flashes TEMPERATURE MESSAGE Appears with the ambient temperature after insert a test strip BATTERY SYMBOL Appears when the bat...

Page 13: ... of the following parts Contact Bars Insert this end of the test strip into the meter Push it in firmly until it will go no further Test Strip Handle Hold this part to insert the test strip into the slot Confirmation Window This is where you confirm if enough blood has been applied to the absorbent hole of the strip Absorbent Hole Apply a drop of blood here The blood will be sucked automatically S...

Page 14: ...tings may need to be updated Batteries might leak chemicals if not used for a long time Re move the battery if you are not going to use the device for an extended period i e 3 months or more PLEASE NOTE 1 The symbol appears on the display when the meter is turned on and all other display messages are functional The rest results will be accurate but it is time to change the battery 2 The symbol app...

Page 15: ...ttery Make sure that the positive side is facing up 3 Close the battery cover If the battery is inserted correctly you will hear a beep As with all small batteries the batteries should be kept away from small children who still put things in their mouths If they are swal lowed promptly see a doctor for help If there is no beep sound after you install the battery please see Problem in Operation WAR...

Page 16: ...ease the Main button to advance one year To move faster keep pressing the Main button until the cor rect number appears With the correct year on the display press the Set button and then the month segment flashes STEP 2 Set the Month Press and release the Main button until the correct month appears To move faster hold the Main button down With the correct month on the display press the Set button ...

Page 17: ...th the correct minute on the display press the Set button and then the current unit of measurement starts flashing STEP 6 Select mg dL or mmol L Press and release the Main button to se lect the unit of measurement you want to use Press the Set button and then the cur rent unit of temperature flashes The milligram per deciliter mg dL is the standard unit in India The mmol L is the standard unit in ...

Page 18: ...delete all of the memory following the meter will display and OK to show that the memory is deleted Then press the Set button to turn off the meter STEP 7 Select ºC or ºF Press and release the Main button to select the unit of temperature you want to use Press the Set button and the meter will dis play dEL with flashing symbol ...

Page 19: ... a glucose testing those parameters are not possible to be changed Your meter displays 7 14 21 28 60 and 90 day averages which you can access from the meter memory These averages are cal culated from results obtained during the 7 14 21 28 60 and 90 day preceding the current date and time settings When the date and time are changed the 7 14 21 28 60 and 90 day averages may change While the meter is...

Page 20: ...r on the test strip vial Checking the System with SUGARCHEK Control Solutions SUGARCHEK control solutions contain a known amount of glucose that reacts with test strips By comparing your control solution test results with the expected range printed on the test strip vial label it is able to check that the meter and the test strips are working together as a system and that you are performing the te...

Page 21: ...needed to test A Blood Glucose Meter B Test Strip C Lancing Device D Sterile Lancet E Clear Cap For AST use To reduce the chance of infection Never share a lancet or the lancing device with others Always use a new sterile lancet Lancets are for single use only Avoid getting hand lotion oils dirt or debris in or on the lancets and the lancing device WARNING A B C D E ...

Page 22: ...ce Insert a lancet into the lancet holder and push down firmly until it is fully secured Twist the protective disk off the lancet Replace the cap by aligning the arrow on the cap with the release button If your lancing device differs from the one show above please refer to the manufacturer s manual to ensure proper usage PLEASE NOTE ...

Page 23: ...on when it is ready If it does not click the device may have been cocked when the lancet was inserted Blood from sites other than the fingertip Replace the lancing device cap with the clear cap for AST Pull the cock ing control back until it clicks When lancing the forearm upper arm hand thigh or calf avoid lancing the areas with obvious veins be cause of excessive bleeding The lancing device is n...

Page 24: ...t Strip Insert a test strip with contact bars end first and facing up into the test slot The meter will turn on automatically and the meter display the followings in sequence CHK and ambient temperature the code number and ...

Page 25: ...for available punctured sites After penetration discard the first drop of blood with a clean tissue paper or cotton Then gently squeeze the punctured area to obtain blood But be attention NOT to smear the blood sample The volume of blood sample must be at least 0 7 microliter actual size Choose a different spot each time you test Repeated punc tures in the same spot may cause soreness and calluses...

Page 26: ... it against the test strip or try to apply a smeared sample on the test strip If you do not apply a blood sample to the test strip within 3 min utes the meter will automatically turn off You must remove and reinsert the test strip to restart the test procedure The blood should be completely filled the confirmation window before the meter begins to count down If you find that the confirmation windo...

Page 27: ...he lancet Take the lancet out carefully Place the disk on a hard surface and push the exposed tip into the pro tective disk The used lancet and the used test strip may be potentially biohazard Please discard it carefully according to your local regulations WARNING ...

Page 28: ... control of your diabetes a Sacks DB in Carbohydrates Burtis CA Ashwood ER ed Tietz Textbook of Clinical Chemistry Philadelphia WB Saunders Company 1999 b ADA Clinical Practice Recommendations 2003 1 American Diabetes Association position statement on the Diabetes Control and Complications Trial 1993 Time of day Plasma glucose range mg dL for people without diabetes Your tar get range mg dL Fastin...

Page 29: ...care profes sional If your blood glucose test result is above 600 mg dL 33 3 mmol L Hi will appear on the meter display This indicates se vere hyperglycemia high blood glucose You should seek immediate medical assistance If you blood glucose test result is above 240 mg dL 13 3 mmol L KETONE and will appear on the meter display This indicates high blood glucose 2 and you should seek immediate medic...

Page 30: ...ests the meter test and the lab test are taken and tested within 15 minutes of each other Wash your hands before obtaining a blood sample Never use your meter with blood that has been collected in a gray top test tube Use fresh capillary blood only You may still have a variation from the result because blood glucose levels can change significantly over short periods especially if you have recently...

Page 31: ...rences 3 Surwit R S and Feinglos M N Diabetes Forecast 1988 April 49 51 4 Sacks D B Carbohydrates Burtis C A and Ashwood E R ed Tietz Text book of Clinical Chemistry Philadelphia W B Saunders Company 1994 959 ...

Page 32: ... 1 Enter the Memory Mode With the meter turned off press the Main button twice The 7 day average will appear indicating that you are in the memory mode If you continue to press the Main button the 14 21 28 60 and 90 day average will appear You can then review the last 450 tests in the memory The 7 day average is calculated from the blood glucose results obtained during the last 7 days The example ...

Page 33: ...mation The list of past results and the result average are for blood glucose results only When using the meter for the first time will appear show ing that there are no test results in memory If no button is pressed for 2 minutes the meter will show OFF and turn off automatically PLEASE NOTE After viewing the oldest test result push down the Main button again to resume to the 7 day average If you ...

Page 34: ...pe with a cloth moistened with tap water or a mild cleaning agent then dry the device with a soft and dry cloth Do not flush with water 2 Do not use organic solvents to clean the meter Storage 1 Meter Storage Storage condition 20 C 60 C 68 F 140 F below 95 relative humidity Always store or transport the meter in its original storage case Avoid dropping and strong impact Avoid direct sunlight and h...

Page 35: ...e the vial cap and close it tightly Touch the test strip with clean and dry hands Use each test strip immediately after removing it from the vial Write the discard date the date opened plus 90 days on the vial label when you first open it Discard remain ing test strips 90 days after first open ing date Do not bend cut or alter a test strip in any way Keep the strip vial away from children since th...

Page 36: ...tion storage Storage condition Store the control solution tightly closed at temperatures 2 30 C 35 6 86 F Do NOT freeze Record the discard date date opened plus 90 days on the control solution vial Discard after 90 days ...

Page 37: ...ed Improper use may cause an inaccurate result without producing an error message or a symbol In the event of a problem refer to the information under action Never try to disassemble the meter in any circumstances If you en counter any error messages not listed below or if you have followed the actions recommended below but the problem keeps unsolved please call the local agent for support ...

Page 38: ... have reached a temperature within the operation range Error message indicates that there may by a problem with the meter or code strip Repeat the test with a new code strip If the problem persists please call the Customer Care Line for help Error message indicates that there is a problem with the mete r he Review the instructions and try again with a new test strip If t problem persists please ca...

Page 39: ...se call your local customer service for help b Battery incorrectly installed or absent c Test strip inserted upside down or incompletely d Defective meter PROBABLE CAUSE WHAT TO DO a Insufficient blood sample Repeat the test with a new test strip and a larger volume of blood sample Repeat the test with a new test strip Repeat the test with a new test strip apply sample only when appears on the dis...

Page 40: ...aminated control solution Check the expiry date or the discarded date of the control solution Control solution that is too warm or too cold Control solution meter and test strips should come to room temperature 20 25 C 68 77 F before testing Test strip deterioration Repeat the test with a new test strip Meter malfunction Contact local customer service POSSIBLE CAUSE WHAT TO DO PROBABLE CAUSE WHAT ...

Page 41: ...n Auto reaction time count down Auto turn off after 3 minutes without action Temperature warning Operating condition 10 C 40 C 50 F 104 F below 85 R H noncondensing Storage Transportation condition 20 C 60 C 68 F 140 F below 95 R H Measurement Units Either mg dL or mmol L Measurement Range 20 600 mg dL 1 1 33 3 mmol L The device has been certified to meet the electrical and safety require ments of...

Page 42: ...e substitute for the Owner s Manual Please read the entire manual before you begin doing test STEP 1 Insert Test Strip The meter is automatically turned on and displayed room temperature and the code number Match the code Check if LCD displayed code number is same as the number on the strip vial 1513 ...

Page 43: ...ion window is complete ly filled STEP 3 Obtain a Result The meter starts to count down Never try to add any blood into the absorbent hole even if you find that the confirmation win dow is not fulfilled Discard the strip and retest with a new strip STEP 4 Discard the used strip and the lancet according to your local regulations ...

Page 44: ...reuse In vitro diagnostic medical device Consult instructions for use Keep away from sunlight Keep dry Temperature limitation Use by Date of manufacture Batch code Manufacturer Serial number Biological risks Caution consult accompanying documents ...

Reviews: