S CLASS™ 2 cutter
User’s Manual
Setup
1-35
1.7.2.3
Pouncing pin installation
The S CLASS 2 tangential cutters can also be operated with a pouncing tool. After replacing
the knife with a pouncing tool, the cutter can be used as a pouncer.
1.
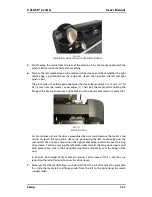
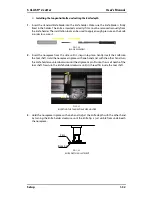
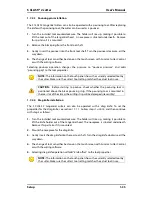
Turn the installed tool counterclockwise. The holder will rise up, making it possible to
lift the tool out of the tangential head. A nosepiece is situated underneath. Remove
this part also if it is mounted.
2.
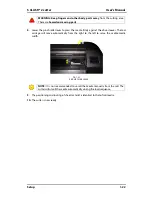
Remove the black plug from the front tool shaft.
3.
Gently insert the pouncer into the front tool shaft. Turn the pouncer clockwise, all the
way down.
4.
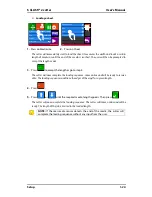
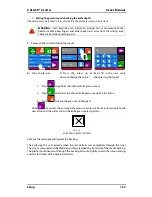
The change of tool can either be done on the touch screen with Summa Cutter Control,
or with the cutting software.
Selecting pouncer operation changes the pressure to “pouncer pressure” and adds
“pouncing gap” to the tool properties.
NOTE:
The information on the touch panel shows the currently selected tool by
the cutter. Make sure the cutter’s tool setting matches the actual tool in use.
CAUTION:
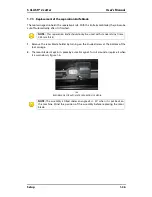
Before starting to pounce, check whether the pouncing tool is
positioned above the black pouncing strip. If the pouncing tool is mounted in
the rear slot of the clamp, the cutting strip will be damaged irreversibly!
1.7.2.4
Drag knife installation
The S CLASS 2 tangential cutters can also be operated with a drag knife. To set the
properties for the drag knife, see section 1.7.1.1. Follow steps 1 until 4, and then continue
with step 5 as follows:
1.
Turn the installed tool counterclockwise. The holder will rise up, making it possible to
lift the knife holder out of the tangential head. The nosepiece is situated underneath.
Remove this part also if it is mounted.
2.
Mount the nosepiece for the drag knife.
3.
Gently insert the drag knife into the rear tool shaft. Turn the drag knife clockwise, all the
way down.
4.
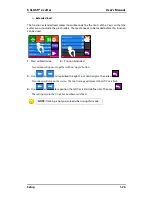
The change of tool can either be done on the touch screen with Summa Cutter Control,
or with the cutting software.
5.
Selecting drag knife operation will add “knife offset” to the tool properties.
NOTE:
The information on the touch panel shows the currently selected tool by
the cutter. Make sure the cutter’s tool setting matches the actual tool in use.
Summary of Contents for S Class 2 OPOS-CAM
Page 1: ...User s Manual Rev 3b...

