


S One
User’s Manual
Introduction
1-13
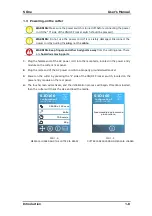
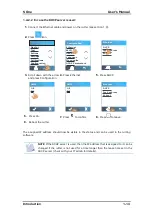
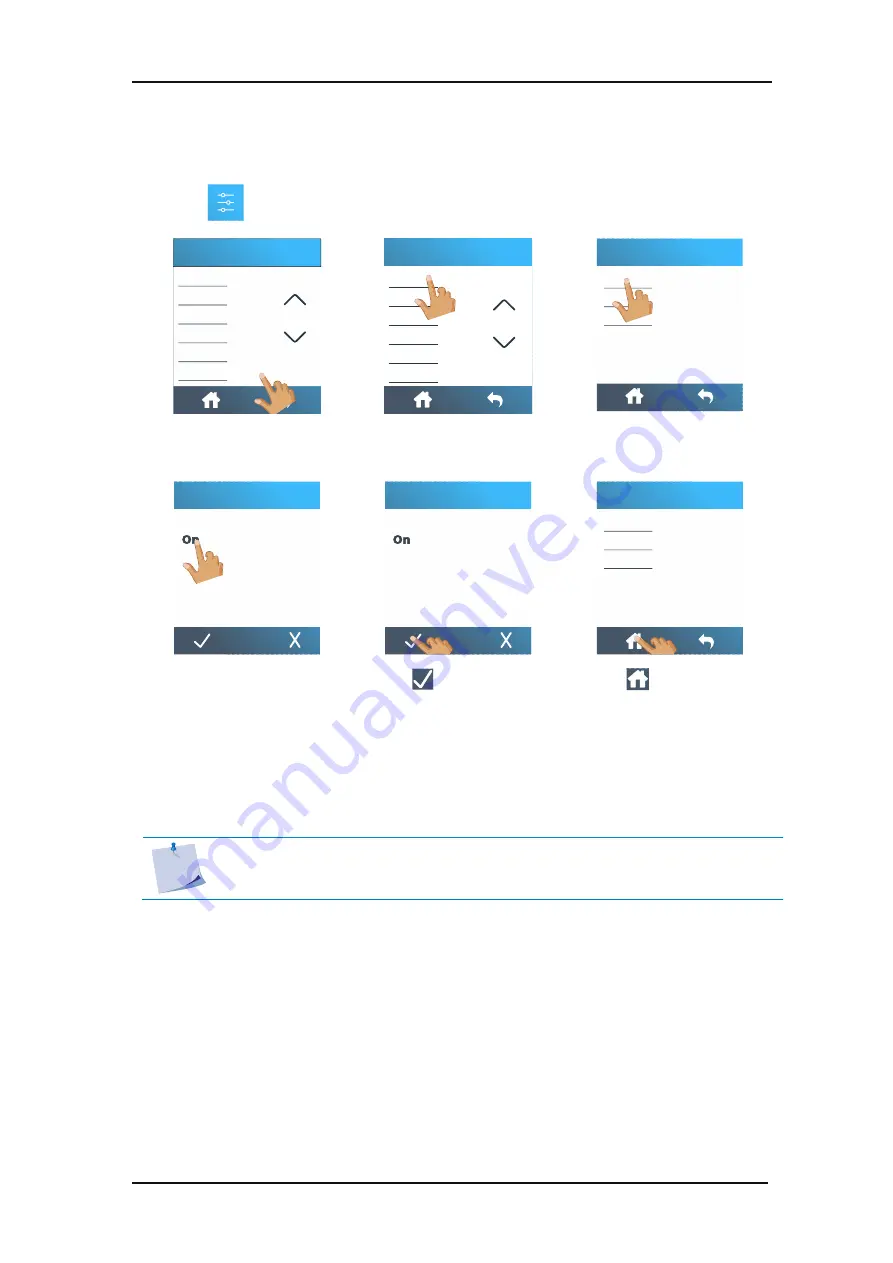
1.
Connect the Ethernet cable and power on the cutter (see section 1.3).
2.
Press
icon.
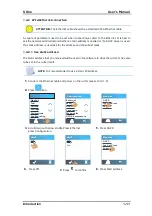
3.
Scroll down with the arrow
and press Configuration.
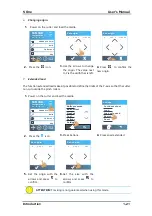
4.
Press Ethernet.
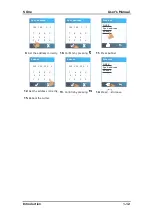
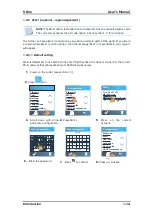
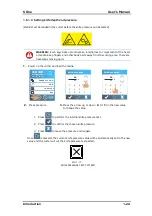
5.
Press DHCP.
6.
Press On.
7.
Press
to confirm.
8.
Press
to leave.
9.
Reboot the cutter.
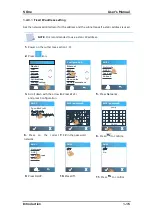
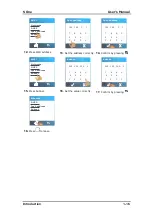
The assigned IP address should now be visible in the status and can be used in the cutting
software.
NOTE:
If the DCHP server is used, then the IP address that is assigned to it can be
changed if the cutter is not used for a time longer than the lease time set in the
DHCP server (check with your IT admin for details).
FlexCut
Tool
Actions
Settings
Calibrations
Configuration
Ethernet
Wi-Fi
USB Port
Language
Menu units
OPOS Parameters
Configuration
Subnet
Ipv4 address
DHCP
Ethernet
Off
DHCP
Off
DHCP
Subnet
Ipv4 address
DHCP
Ethernet
Tool
1.4.2.2
In case the DHCP server is used:


