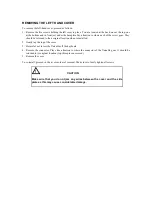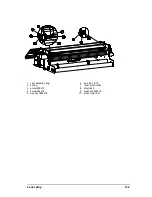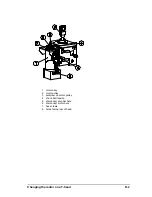
REMOVING THE LEFT HAND COVER
To remove the left-hand cover, proceed as follows:
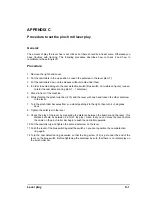
1. Remove the five screws holding the left cover in place. Two are located at the back, one at the top, one
at the bottom and in front just under the baseplate Pay attention to where each of the screw goes. They
should be returned to their original location when re-installed.
2. Gently tap the top of the cover.
3. Be careful not to tear the flatcable off the keyboard
4. Remove the connector. Play close attention to where the connector of the flatcable goes. It should be
returned to its original location (top three pins uncovered)
5. Remove the cover.
To re-install, proceed in the reverse order of removal. Make sure to firmly tighten all screws.
!
CAUTION
Make sure that you do not jam any wires between the cover and the side
plate as this may cause considerable damage.
Summary of Contents for SummaSign D1010
Page 1: ...Service Manual SummaSign Series Summa NV Rochesterlaan 6 8470 Gistel Belgium...
Page 80: ...SummaSign Service Manual 106 107 2 36 Replacements Guidelines Blank page...
Page 85: ...Service Manual SummaSignT se 3 2 OPERATING VOLTAGE CONVERSION Maintenance and Cleaning 3 5...
Page 87: ...Service Manual SummaSignT se Maintenance and Cleaning 3 7 blank page...
Page 92: ...Service Manual SummaSign Calibration 4 5...
Page 93: ...SummaSign Service Manual HEAD CALIBRATION 4 6 Calibration...
Page 131: ...Service Manual SummaSign Spare Parts List 7 13...
Page 134: ...Summasign Service Manual 7 16 Spare Parts List...

