Service Manual
SummaSign
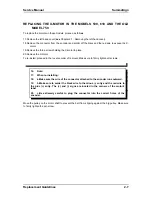
REPLACING THE X-MOTOR IN THE MODELS 500, 610 AND THE OLD
MODEL 750
To replace the X-motor in these models, proceed as follows:
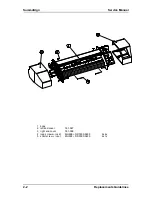
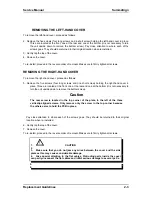
17.Remove the left-hand cover (
see
Chapter 2.1, Removing the left-hand cover).
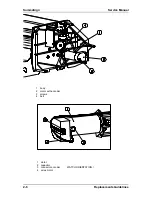
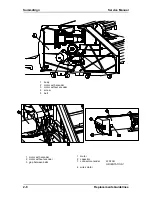
18.Remove the connector from the encoder and solder off the black and the red wire to expose the X-
motor.
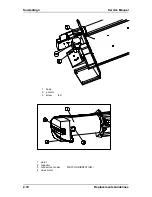
19.Remove the three screws holding the X-motor in place.
20.Remove the X-motor.
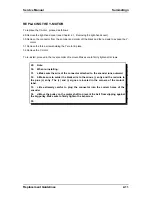
To re-install, proceed in the reverse order of removal. Make sure to firmly tighten all screws.
16.
Note:
17.
When re-installing:
18.
a.Make sure the wire of the connector attached to the encoder runs outward.
19.
b.Make sure to solder the black wire to the minus (-) entry and the red wire to
the plus (+) entry. The (+) and (-) signs are located in the corners of the motor's
label.
20.
c.Be extremely careful to plug the connector into the correct holes of the
encoder.
Move the pulley on the motor shaft to prevent the belt from slipping against the big pulley. Make sure
to firmly tighten the set-screw.
Replacement Guidelines
2-7
Summary of Contents for SummaSign D1010
Page 1: ...Service Manual SummaSign Series Summa NV Rochesterlaan 6 8470 Gistel Belgium...
Page 80: ...SummaSign Service Manual 106 107 2 36 Replacements Guidelines Blank page...
Page 85: ...Service Manual SummaSignT se 3 2 OPERATING VOLTAGE CONVERSION Maintenance and Cleaning 3 5...
Page 87: ...Service Manual SummaSignT se Maintenance and Cleaning 3 7 blank page...
Page 92: ...Service Manual SummaSign Calibration 4 5...
Page 93: ...SummaSign Service Manual HEAD CALIBRATION 4 6 Calibration...
Page 131: ...Service Manual SummaSign Spare Parts List 7 13...
Page 134: ...Summasign Service Manual 7 16 Spare Parts List...

