Service Manual
SummaSign
REPLACING THE SMALL PCB ON THE MAIN PCB
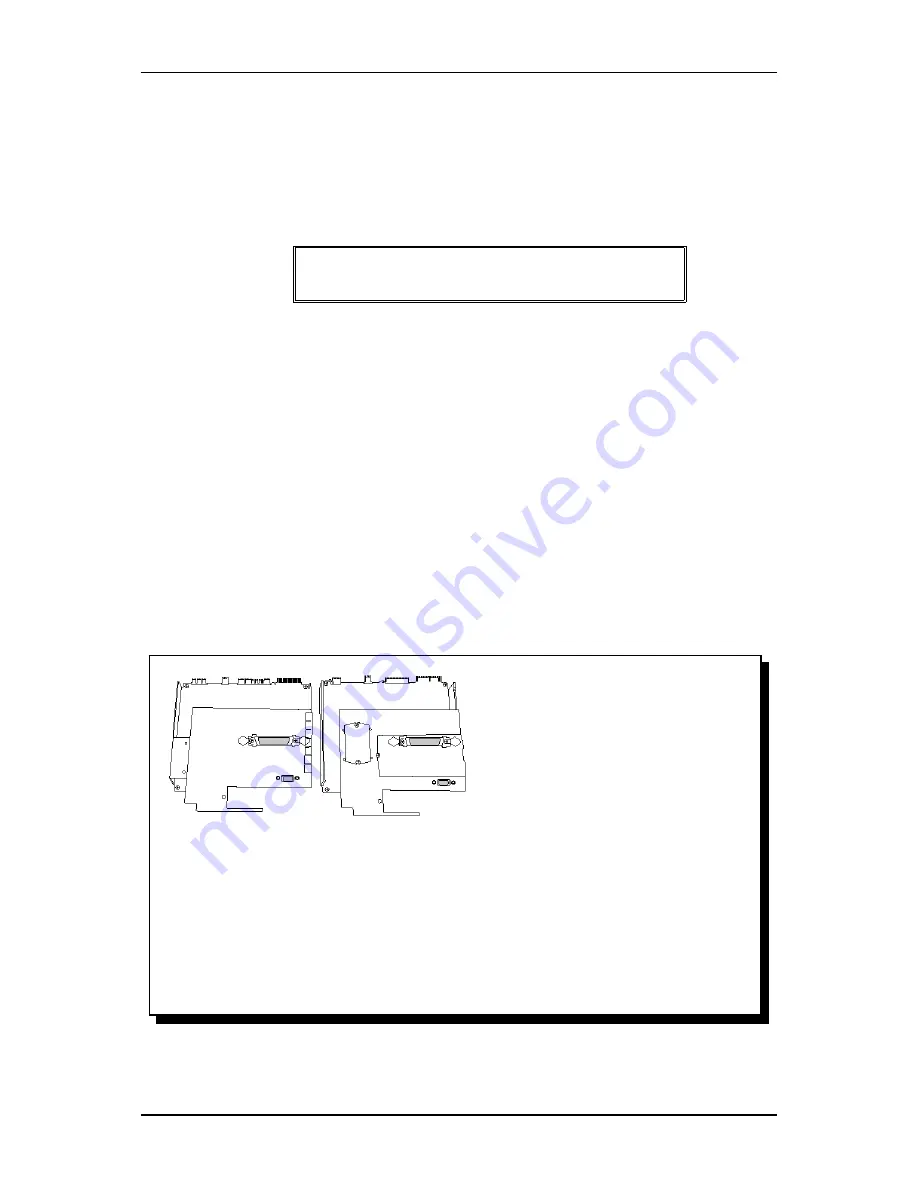
The SummaSign and SummaCut D500 cutters manufactured since December 1995 have a different
main PCB from those manufactured before that date. This has also had consequences for the small
PCB.
There are currently two types of main PCBs:
Type 1:
Main PCBs dating from before December 1995
Type 2
:
Main PCBs dating from after December 1995
The small board on Type 1 main PCBs has head driver and head rotation functions and a parallel
port.
The small board on Type 2 main PCBs only has a parallel port.
To replace the small PCB, proceed as follows :
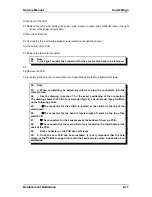
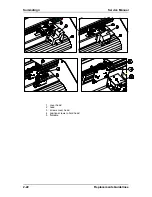
56.Remove the right-hand cover (see Chapter 2.2, Removing the right-hand cover).
57.Remove the main PCB (see Chapter 2.8, Replacing the main PCB).
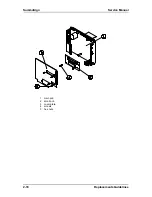
58.Remove the screw on either side of the parallel port.
59.Remove the clamp on either side of the serial port.
60.Remove the cover.
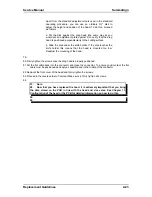
61.Remove the two screws holding the small PCB in place.
62.Remove the screw or the two screws on the right-hand side that hold the drivers against the small
PCB (this only applies to Type 1 PCBs).
63.Remove the small PCB.
64.To re-install, proceed in the reverse order of removal. Make sure to firmly tighten all screws.
2
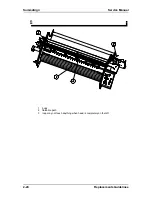
The old PCB consists of:
a 3-pin connector for the X-motor. Use the cable coming from the motor with the encoder if you are dealing with a
unit with 2 motors. Connect the motor without encoder to the small satellite board.
3-pin connector for the Y-motor;
a 3-pin connector coming from the transformer;
a 4-pin connector coming from the X-motor encoder;
a 4-pin connector coming from the Y-motor encoder;
6 connectors that are not used.
On the right-hand side you see the connectors for the LCD and the keyboard.
On the bottom you find:
a 2-pin connector coming from the fan motor;
a 5-pin connector coming from the sensor;
2 connectors that are not used.
Replacement Guidelines
2-19
Summary of Contents for SummaSign D1010
Page 1: ...Service Manual SummaSign Series Summa NV Rochesterlaan 6 8470 Gistel Belgium...
Page 80: ...SummaSign Service Manual 106 107 2 36 Replacements Guidelines Blank page...
Page 85: ...Service Manual SummaSignT se 3 2 OPERATING VOLTAGE CONVERSION Maintenance and Cleaning 3 5...
Page 87: ...Service Manual SummaSignT se Maintenance and Cleaning 3 7 blank page...
Page 92: ...Service Manual SummaSign Calibration 4 5...
Page 93: ...SummaSign Service Manual HEAD CALIBRATION 4 6 Calibration...
Page 131: ...Service Manual SummaSign Spare Parts List 7 13...
Page 134: ...Summasign Service Manual 7 16 Spare Parts List...


