SummaSign Pro SL D-series Cutters
User’s Manual
General Information
1-23
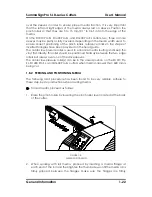
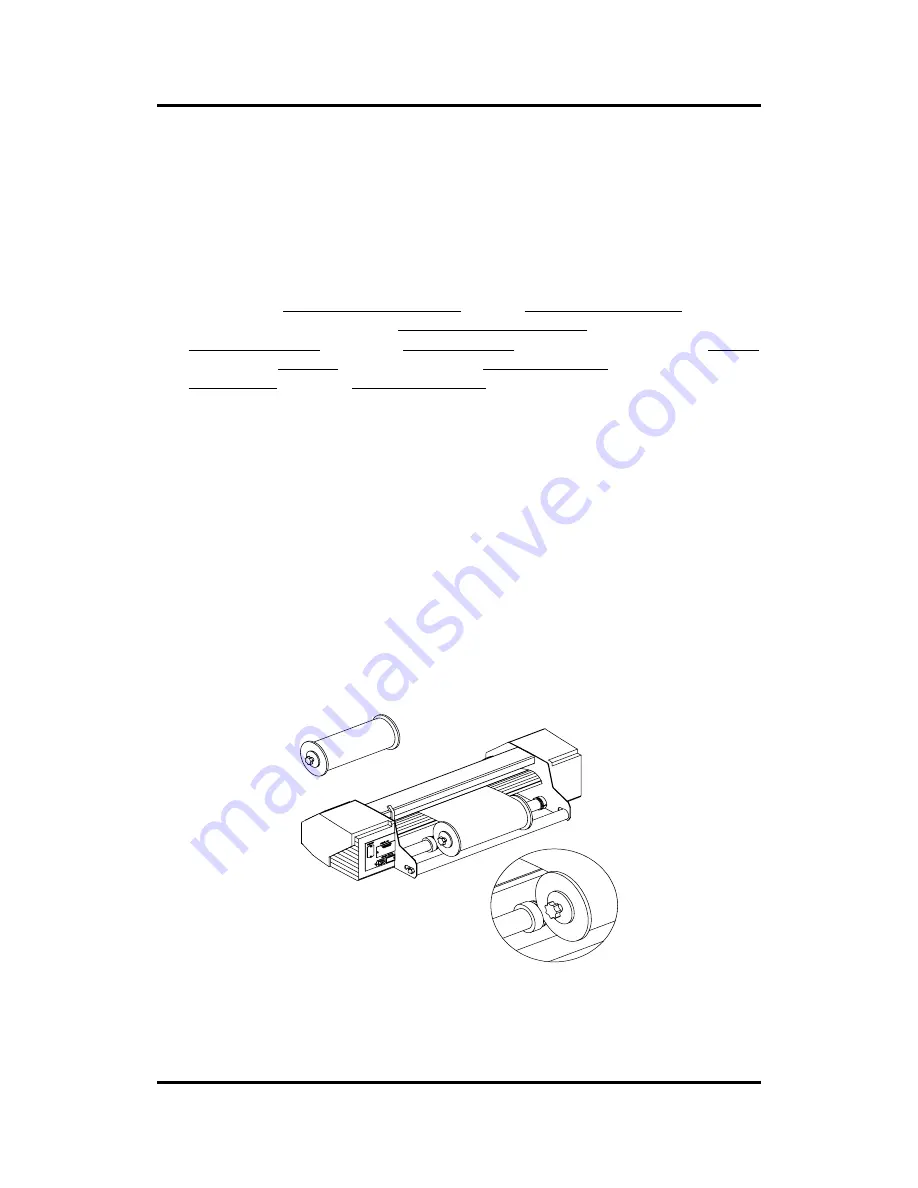
pressed against the roll. Place the flanges on the media support rollers at
the rear of the cutter.
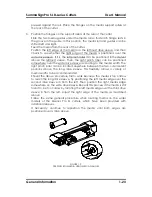
3. Position the flanges on the support rollers at the rear of the cutter.
Slide the two media guides under the media roll so that each flange rests in
the groove in the guide. In this position, the media roll and guides can be
shifted left and right.
Feed the media from the rear of the cutter.
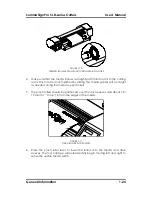
Position the left edge of the media on the leftmost drive sleeve and then
check to see whether the right edge of the media is positioned over the
wide drive sleeve. If it is, the left pinch roller can be positioned in the detent
above the leftmost sleeve. Then, the right pinch roller can be positioned
somewhere over the wide drive sleeve according to the media width. The
right pinch roller can be located anywhere between the two outer detent
positions above the long drive sleeve. This flexibility allows a variety of
media widths to be accommodated.
Should the above procedure fail to work because the media is too narrow
to reach the long drive sleeve, try positioning the left media edge over the
second drive sleeve in from the left. Then position the right media edge
somewhere on the wide drive sleeve. Repeat this process if the media is still
found to be too narrow by locating the left media edge over the third drive
sleeve in from the left. Adjust the right edge of the media as described
above.
Follow the same general procedure when loading media on the wider
models of the D-series Pro SL cutters, which have been provided with
additional sleeves.
If necessary, continue to reposition the media until both edges are
positioned over a drive sleeve.
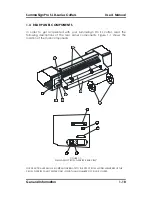
FIGURE 1-9:
FEEDING ROLL MEDIA USING MEDIA FLANGES

