background image


The 6x8 Greenhouse 185 – Summer Greenhouses 


CHECK CONTENTS 

CHECK CONTENTS 

Description 

Quantity 

Description 

Quantity 


Ridge 

Tubular eaves braces 

Gutter 

Bar capping 

Side cill 

Vent top rail 

Rubber beading 

Vent bottom rail 

M4 Nuts and bolts 

Vent side rail 

M6 x 10 Nuts and bolts 

Vent slam bar 

Self tapping screws 

Side diagonal corner bracing 

Rawlplugs and screws 

Roof glazing bars  - 1195mm 

Glass 

Side glazing bars  - 1490mm 

Eaves brace 

Door hardware and furniture 

Rainwater goods 

Door End Cill 

Tube of Silicon 

Plain End Cill 

Left Door right hand stile 

Left Door left hand stile 

Right Door left hand stile 

Right Door right hand stile 

Door top rail 

Door bottom rail 

Door middle rail 

Track inner 

Track outer 

1st Intermediate glazing bar right hand 

1st Intermediate glazing bar left hand 

Door track support 

Short door end brace 

Eaves plate 

Ridge plate 

Rear end purlin 

Left r/end glazing bar  - 

1195mm  - mitred both ends 

Right r/end glazing bar - 

1195mm  - mitred both ends 

Corner glazing bar left  - 

1490mm  - 90° one end 

Corner glazing bar right  - 

1490mm  - 90° one end 

Gable diagonal bracing 


4  


                    Summer Greenhouses 0800 9777 828

Summary of Contents for GREENHOUSE 185

Page 1: ...6x8 GREENHOUSE 185 Assembly instructions for the 6x8 Aluminium Greenhouse 185 PLEASE READ ALL INSTRUCTIONS BEFORE PROCEEDING Summer Greenhouses phone us free on 0800 9777 828 Summer Greenhouses ...

Page 2: ...efully through these instructions before beginning to put your greenhouse up SAFETY ADVICE It is advisable that the greenhouse be assembled by at least two people Favourable weather conditions should be chosen Do not try to erect the building in windy conditions the glass sheets are difficult to handle in high winds Keep children and pets away until the work is finished Take your time rushing caus...

Page 3: ...ious have not been included for example door furniture and the downpipe See page 4 for a full list of contents Gutter Long nut bolt Side Plain cill Eaves Plate Centre door stop Separator strip Vent top rail Ridge Plate Silicon syringe Door Top Bottom rails Vent bottom rail Side diagonal Short door end Self tapping screws bracing gable rear end purlin diagonal bracing Door middle rail Vent side rai...

Page 4: ...nwater goods 1 Door End Cill 1 Tube of Silicon 1 Plain End Cill 1 Left Door right hand stile 1 Left Door left hand stile 1 Right Door left hand stile 1 Right Door right hand stile 1 Door top rail 2 Door bottom rail 2 Door middle rail 2 Track inner 1 Track outer 1 1st Intermediate glazing bar right hand 2 1st Intermediate glazing bar left hand 2 Door track support 1 Short door end brace 2 Eaves pla...

Page 5: ...lass requirements Double check the sizes before you order a replacement piece of glass and remember to order toughened safety glass Summer Greenhouses 0800 9777 828 assembling this building yourself The assembly procedure falls easily into six distinct stages A Siting the greenhouse and ensuring that the base is right if the base is level flat and square then the greenhouse will go up easily The b...

Page 6: ... when the diagonal measurements are equal the base will be square VENTS Positioning of the louvre and roof vents can be at customers choice however the louvre vent has to be placed in any section which doesn t carry a diagonal support For these instructions it has been placed in the middle of the plain end The roof vent can be placed in any of the middle four sections The objective is to gain good...

Page 7: ...s and bolts Layout roughly in position on the ground Thread the glazing beads into the glazing bars if not already done so Loading the bolt s You will need to pre load an extra bolt in to the glazing bars before assembling This is to secure the purlin bar at a later time Start assembly by feeding the bolts through the plain end cill and securing with a nut Only finger tight at this stage The corne...

Page 8: ...elving and two bolts on the opposite side Finger tighten all these pre loaded nuts and bolts Connecting the corner side glazing bar to the corner roof glazing bar using the eaves brace Connecting the two corner roof glazing bars with the ridge brace 8 end of the greenhouse at eaves height Ensure you pick up the bolts you pre loaded earlier and secure with nuts Purlin bar Adding the purlin and diag...

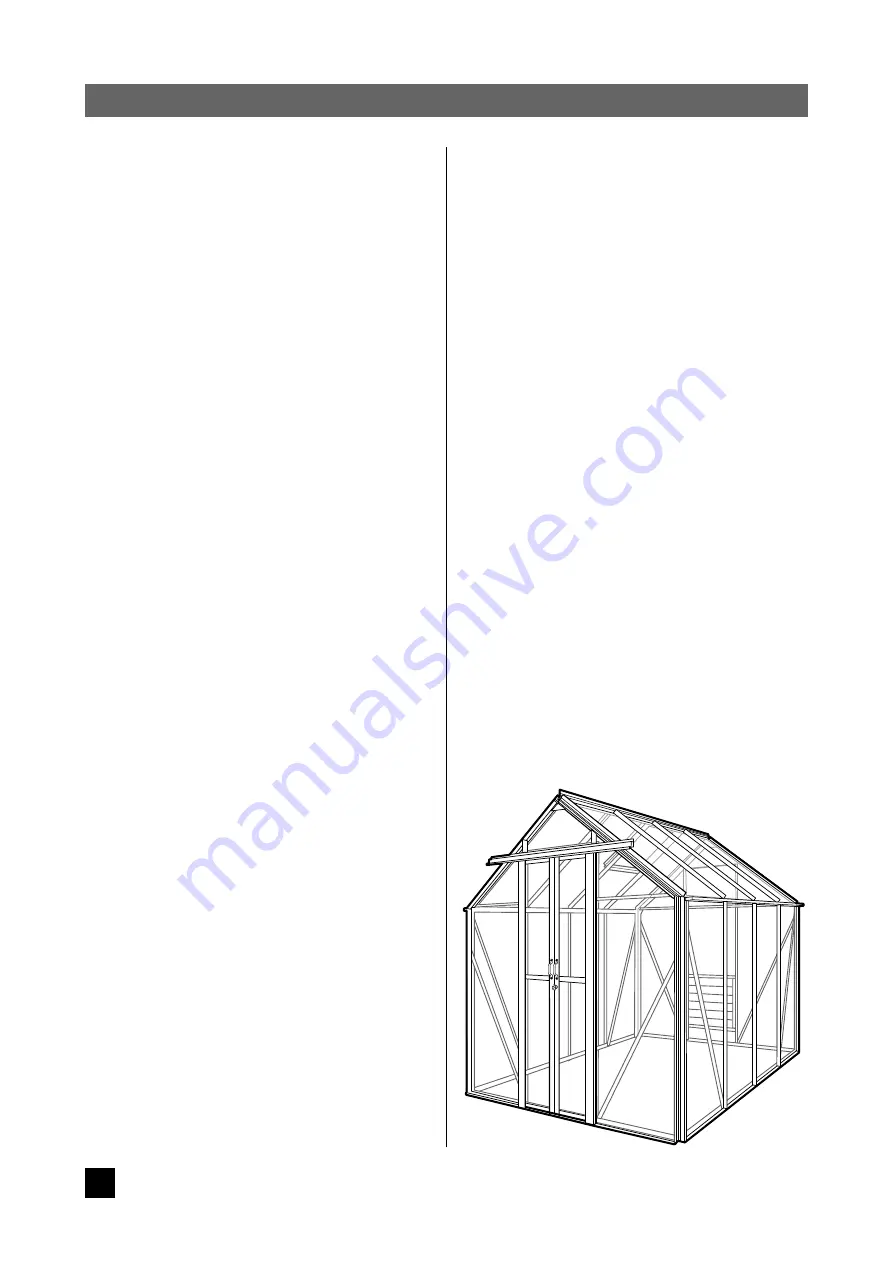
Page 9: ...rt Nuts and bolts Layout in a similar manner to the plain end Door braces Adding the door brace to the door end This time pre load two extra bolts in to the glazing bars This is for the door braces and the door track support Also pre load bolts into the roof corner bars and the side corner bars to be used when fixing the four sections together Once all is square you can tighten the bolts Note that...

Page 10: ...arry the staging and shelving that side must be pre loaded with 3 extra bolts in the appropriate glazing bars The opposite side will carry only 1 extra pre loaded bolt diagonal support and glazing bar holding three pre loaded bolts Assemble sides in the same way as the previous sections Each glazing bar will be secured to the cill with a nut and bolt and similarly to the gutter bar The diagonal su...

Page 11: ...nhouses 0800 9777 828 D ASSEMBLING THE ROOF For this you will need to identify the following 1xRidge 6xRoof Glazing bars Firstly the ridge has to be fixed to the two gable ends At one end use the pre loaded bolt in the roof corner bar to secure the ridge as shown Position the ridge under the top section of the glazing bar so that the pre loaded bolts can be slid into the slots of the ridge Tighten...

Page 12: ...cessary equipment together and having it near to hand Glass please refer to the glazing plans Bar capping Self tapping screws Suitable screwdriver Small hacksaw Before starting the glazing please refer to the glazing plans on page 20 23 Note The bar capping will need to be cut on the side sections so that the capping fits flush with the bottom of the gutter rail it is advisable not to force the ba...

Page 13: ...is firmly gripped Continue with the large pieces and complete both sides and the roof before starting on the gable ends securing the bar capping as you go Glazing the roof is next and completed in a similar way Again start at the door end and secure the glass as already described as you go Ensure the glass fits comfortably on the gutter ledge before securing Where the roof vent is to be located yo...

Page 14: ... fit perfectly Your greenhouse is almost complete just a few sections to go Door Assembly Identify and roughly layout on the ground the door components 1 x Left hand right hand stile 1 x Left hand left hand stile 1 x Right hand right hand stile 1 x Right hand left hand stile 2 x Door top rails 2 x Door bottom rails 2 x Door Middle rails 1 x Centredoor stop 1 x Inner door track 1 x Outer door track...

Page 15: ...ses 0800 9777 828 the side members and loosely fix using the bolts Carefully slide the long PVC edging strips into both door sides Take the larger size door sheet glass panel 922mm and slide into position between side members place a mid rail on the top edge so that the glass sits in the recess bolt to the side frames Select the remaining glass pane fit the short edging strip to both sides These s...

Page 16: ...ck is sitting squarely on the inner track Check that door track is parallel to door guide When the doors are running to your satisfaction fit a rubber door stop to each end of the track in the holes provided using M4 X l0mm stainless steel nut bolt and washer Check all fits and works Vents Roof Identify roof vent items and the casement stay and assemble with the required pane of glass You will nee...

Page 17: ...nywhere but suggest it is done near the bottom Note The downpipe is easily cut if you wish to collect the water in a butt for example Fixing the greenhouse to the ground One final check to ensure that your new greenhouse is now ready to be fixed to the ground If the greenhouse has to be repositioned then carefully with help slide the greenhouse into its correct position Place the L shaped brackets...

Page 18: ...ch end as shown in the above diagram This is done by using a pre loaded bolt in the roof corner bar Finger tighten the nut but minor adjustments may be required to get the correct height Next fix the three shelving brackets in the same way as the staging using the pre loaded bolts The position should be just low Staging Staging will come in two pieces and will be joined by the supporting legs on t...

Page 19: ... at a time Place the shelf into the shelf brackets and then screw the straps to the shelf Minor adjustments may be required to ensure the shelf is level Once this is completed tighten all fixings and repeat the operation on the other piece of shelving Finally secure the joining plate and tighten the shelf straps to the roof glazing bar Check for level The greenhouse is now complete We hope you enj...

Page 20: ...uvre H 305mm 305mm I J 43mm 610mm 610mm Glass Dimensions mm Quantity F 610 x 457 1 A 610 x 1489 12 G 610 x 737 1 B 610 x 1205 7 H 610 x 140 1 C 610 x 610 2 I 610 x 496 shaped 4 D 812 x 249 2 J 610 x 290 shaped 1 E 922 x 249 2 K 610 x 348 shaped 1 20 Summer Greenhouses 0800 9777 828 ...

Page 21: ...E E 305mm 305mm I 100mm 610mm 610mm Glass Dimensions mm Quantity F 610 x 457 1 A 610 x 1489 12 G 610 x 737 1 B 610 x 1205 7 H 610 x 140 1 C 610 x 610 2 I 610 x 496 shaped 4 D 812 x 249 2 J 610 x 290 shaped 1 E 922 x 249 2 K 610 x 348 shaped 1 21 Summer Greenhouses 0800 9777 828 ...

Page 22: ...sides B B B B C B B B C Glass Dimensions mm Quantity F 610 x 457 1 A 610 x 1489 12 G 610 x 737 1 B 610 x 1205 7 H 610 x 140 1 C 610 x 610 2 I 610 x 496 shaped 4 D 812 x 249 2 J 610 x 290 shaped 1 E 922 x 249 2 K 610 x 348 shaped 1 22 Summer Greenhouses 0800 9777 828 ...

Page 23: ...A GLAZING PLAN ROOF VENT C Glass Dimensions mm Quantity F 610 x 457 1 A 610 x 1489 12 G 610 x 737 1 B 610 x 1205 7 H 610 x 140 1 C 610 x 610 2 I 610 x 496 shaped 4 D 812 x 249 2 J 610 x 290 shaped 1 E 922 x 249 2 K 610 x 348 shaped 1 23 Summer Greenhouses 0800 9777 828 ...

Page 24: ...eason the instructions are not delivered with the product you are advised to obtain the most recent version before assembly No guarantee is given regarding the accuracy of these instructions and no liability will be accepted for any errors or inaccuracies SummerGreenhouses com is a specialist greenhouse website administered by Summer Garden Buildings a leading UK retailer of garden buildings Our c...

Reviews: