


14
15
C O M P L E T I N G
T R A C K
I N S T A L L A T I O N
1
The unit should be parked in the
middle of the track to evenly
distribute its weight.
2
To complete the track installation,
tighten each of the brackets -
making sure they are tight to the
stairs.
3
Press down on the track at each
bracket and tighten the track
bracket bolts to further anchor
the track and minimize any flex in
the track.
A
D
D
I
T
I
O
N
A
L
N
O
T
E
S
F
I
N
A
L
C
H
E
C
K
S
1
Read the Owner’s Manual before
riding the lift or allowing anyone
else to ride the unit.
2
Test unit controls located on the
chair arm – run unit a short
distance down and up.
3
Test operation of upper and lower
call controls.
4
Check footrest safety.
5
Warranty is in the owners manual.
6
Start enjoying years of reliable
service from your new Summit
Stairway Lift.
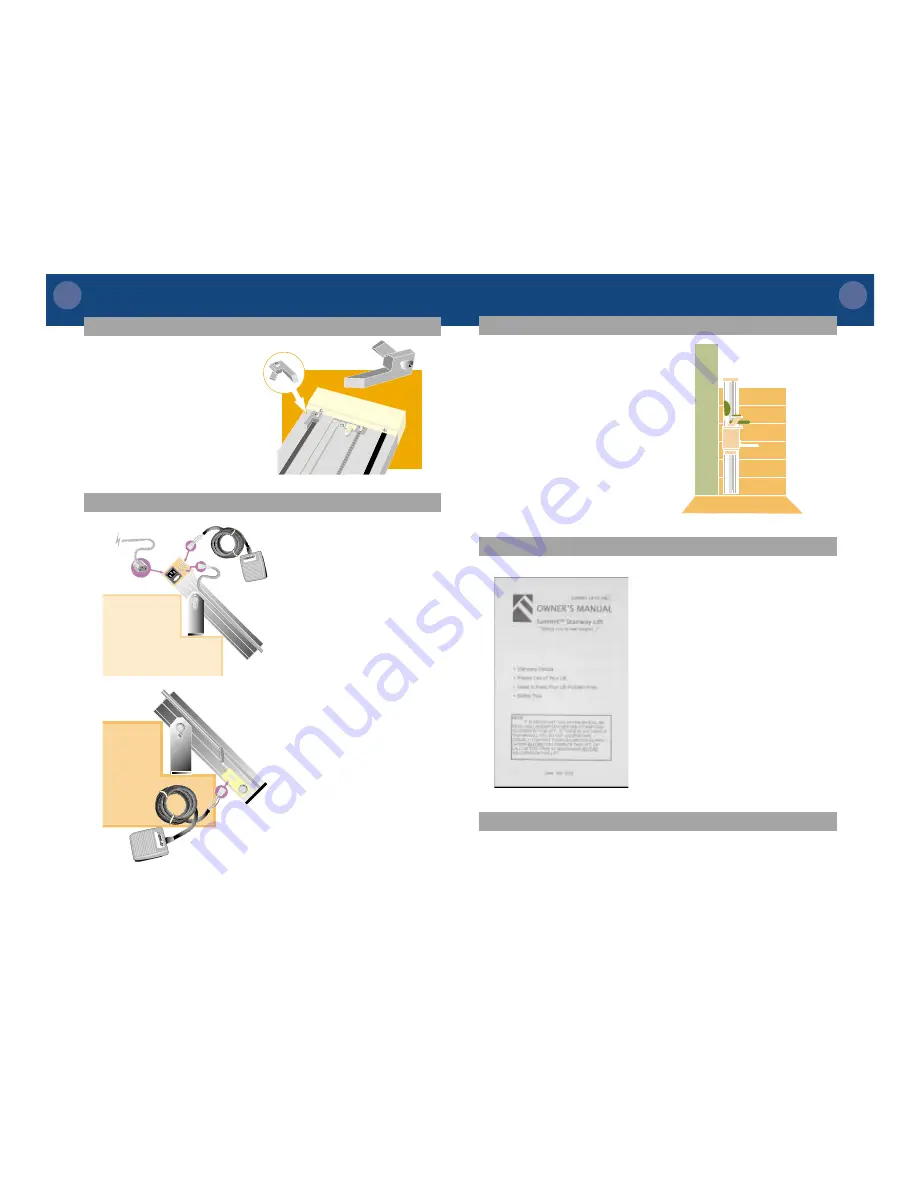
I N S T A L L I N G
T H E
U P P E R
L I M I T
C A M
1
To install the upper limit cam, run
the lift down about 1 foot by
using the control on the armrest.
2
Locate the upper limit cam and
move to the top of the track -
butting it against the top track
cover and tighten into place.
Upper limit cam
1
Finish routing the call control
wire into the upper track channel
on the wall side of the track. Plug
into one of the two call control
connectors.
2
Plug in the upper call control box
to a call control connector.
3
Plug in the lower call control box
to the call control connector at
the bottom of the track.
NOTE:
Call controls can be
mounted to the floor so they can
be operated by your foot, or
placed on the wall and operated
by hand.
4
Run the unit down to a few
inches past the lowest track
splice.
I N S T A L L I N G
T H E
C A L L
C O N T R O L S
lower call
control box
upper call
control box


