


55
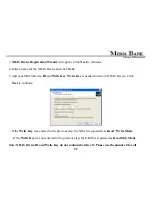
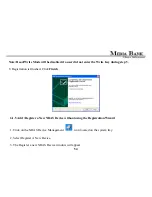
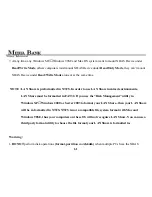
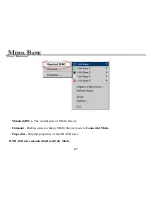
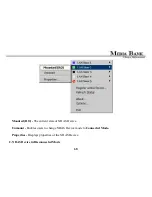
4. Enter in a NDAS Device Name.
5. Type in NDAS Device ID and Write Key. Write Key is needed to write to NDAS Device.
Leave the
Activate this device after registration box
checked to automatically enable the device after
registration.
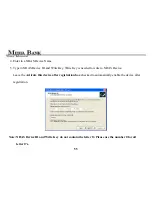
Note:
NDAS Device ID and Write Key do not contain the letter O. Please use the number 0 for all
letter 0’s.
Summary of Contents for ME-747AK
Page 1: ...USER MANUAL Media Bank ME 747AK...
Page 9: ...9 6 8 Uninstall 109 6 9 Use NDAS Device in Linux 109 7 FAQ 110...
Page 11: ...11 1 3 Take a look to the ME 747AK...
Page 12: ...12...
Page 16: ...16 2 6 Start To Assemble Step1 Step2 Step3 Step4...
Page 23: ...23 a power source...
Page 32: ...32 FOLDER REPEAT...
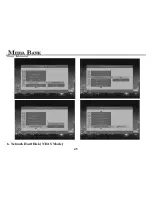
Page 45: ...45 6 Network Hard Disk NDAS Mode...
Page 63: ...63...
Page 64: ...64...


