Chapter 5
Removing and Replacing Hot-Swappable Cards
5-9
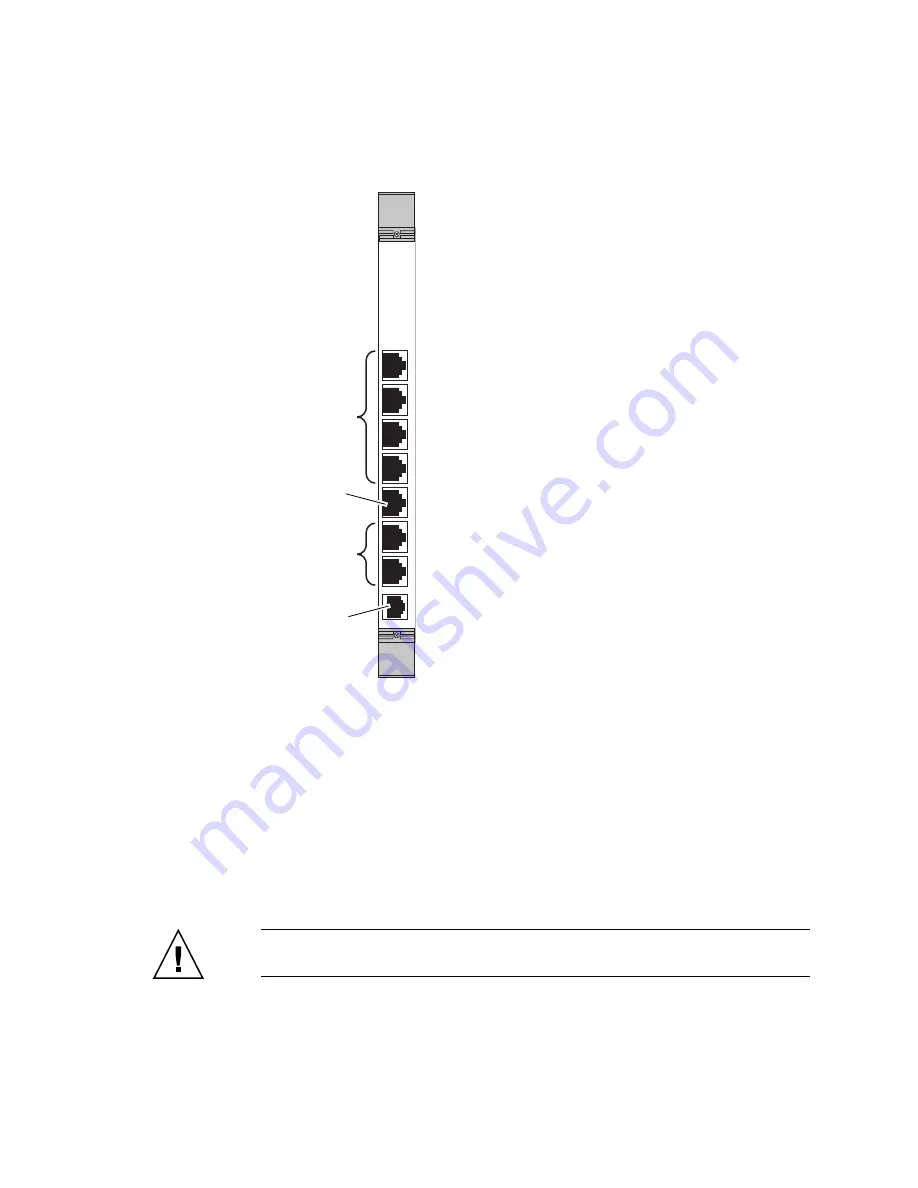
FIGURE
5-4
Ports on the Rear Transition Card for the Switching Fabric Board
3. Unscrew any retention screws that fasten the card to the enclosure.
4. Open the ejectors fully, rotating the handles outward until the board disengages
from the midplane.
5. Begin to slide the card evenly out of the enclosure.
6. Install a replacement rear transition card or a filler panel to maintain the
enclosure's shielding and cooling performance.
Refer to
5.2.2.1, “Installing the Rear Transition Card for a Switching Fabric
.
Caution –
Failure to cover all rear panel slots with rear transition cards or filler
panels can lead to overheating of power supplies.
CONSOLE
1000M 26X
1000M 25X
10/100M 24X
10/100M 23X
10/100M 22X
10/100M 21X
10/100M 20X
Console port
10/100 Mbps
Ethernet ports
(20 – 23)
1000 Mbps
Ethernet ports
(25 and 26)
Reserved for
future use
Summary of Contents for Netra CT 820
Page 7: ...Contents vii Index Index 1...
Page 8: ...viii Netra CT 820 Server Service Manual July 2004...
Page 18: ...xviii Netra CT 820 Server Service Manual July 2004...
Page 22: ...1 4 Netra CT 820 Server Service Manual July 2004...
Page 28: ...2 6 Netra CT 820 Server Service Manual July 2004...
Page 46: ...4 16 Netra CT 820 Server Service Manual July 2004...
Page 72: ...6 8 Netra CT 820 Server Service Manual July 2004...
Page 80: ...7 8 Netra CT 820 Server Service Manual July 2004...
Page 84: ...8 4 Netra CT 820 Server Service Manual July 2004...
Page 118: ...A 34 Netra CT 820 Server Service Manual July 2004...
Page 128: ...Glossary 4 Netra CT 820 Server Service Manual July 2004...
Page 132: ...Index 4 Netra CT 820 Server Service Manual July 2004...


