Chapter 11
System Board and Component Replacement
11-27
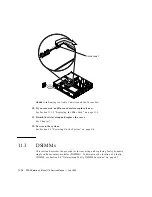
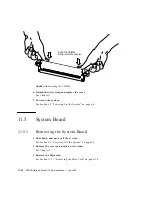
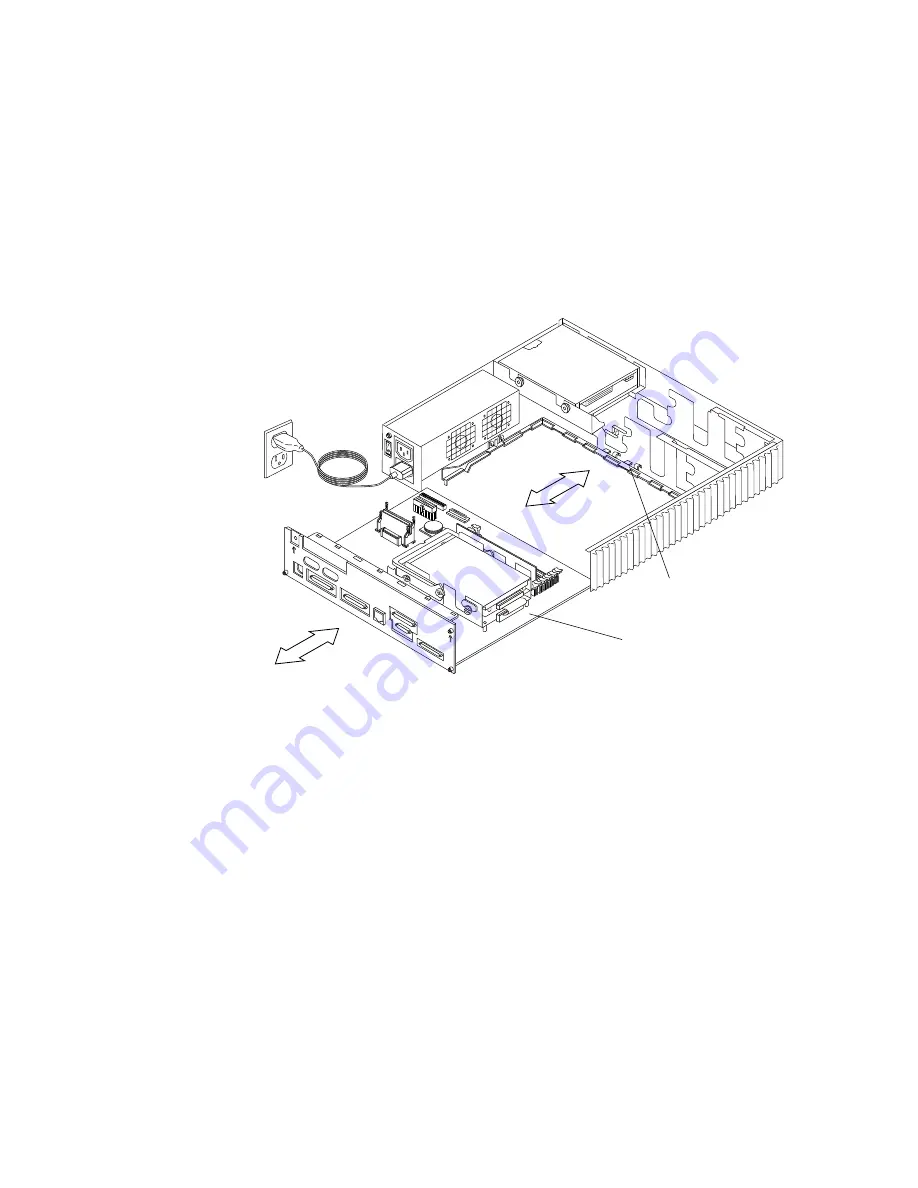
a. Insert the front edge of the board (the edge with the DSIMMs) into the card
guide.
b. Lift the rear panel of the board slightly to make sure that the “foot” on the
underside of the board doesn’t catch the metal edge of the chassis.
c. Slide the board along the card guide until it is fully inserted.
FIGURE 11-30
Installing the System Board
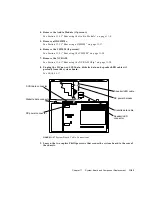
2. Tighten the two captive Phillips screws that secure the board to the rear of the
chassis.
Do not overtighten these screws.
Card guide
System board
Summary of Contents for SPARCstation 4 110
Page 24: ...1 6 SPARCstation 4 Model 110 Service Manual July 1996...
Page 36: ...2 12 SPARCstation 4 Model 110 Service Manual July 1996...
Page 46: ...3 10 SPARCstation 4 Model 110 Service Manual July 1996...
Page 108: ...10 4 SPARCstation 4 Model 110 Service Manual July 1996...
Page 146: ...12 6 SPARCstation 4 Model 110 Service Manual July 1996...
Page 150: ...A 4 SPARCstation 4 Model 110 Service Manual July 1996...
Page 160: ...B 10 SPARCstation 4 Model 110 Service Manual July 1996...
Page 174: ...Glossary 4 SPARCstation 4 Model 110 Service Manual July 1996...


