Chapter 8
Major Subassemblies
8-5
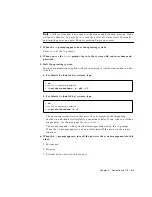
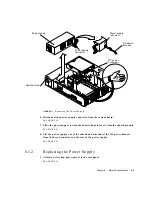
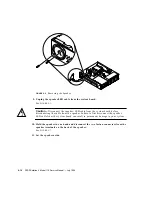
9. Plug in the power cord to the system unit and the wall outlet.
10. Power on the system.
See Section 6.2 “Powering On the System” on page 6-4.
8.2
Speaker/LED Cable
The system power LED is located at one end of the speaker/LED cable assembly.
8.2.1
Removing the Speaker/LED Cable
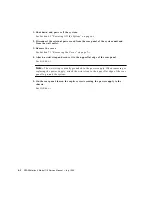
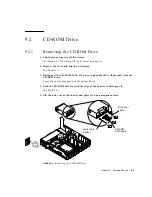
1. Shut down and power off the system.
See Section 6.1 “Powering Off the System” on page 6-1.
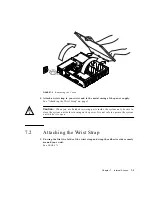
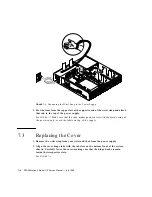
2. Remove the cover and attach a wrist strap.
See Chapter 7.
3. Remove the CD-ROM drive (if present).
See Section 9.2.1 “Removing the CD-ROM Drive” on page 9-5.
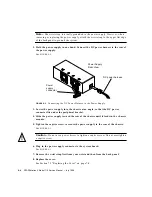
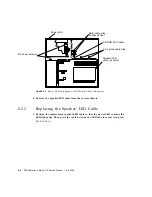
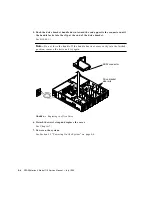
4. Remove the CD-ROM SCSI cable and the DC power harness from the metal cable
clips.
See
FIGURE 8-3
.
5. Unplug the speaker/LED cable from the system board.
See
FIGURE 8-3
.
Caution –
Disconnect the speaker/LED cable from the system board before
disconnecting the cable from the speaker. Failure to first disconnect the speaker/
LED cable from the system board can result in permanent damage to your system.
6. Disconnect the speaker/LED cable from the rear of the speaker.
Use needlenose pliers to remove the two fast-on connectors.
7. The power LED cable is located at the shrink-wrapped end of the speaker/LED
assembly. Using the tip of a small, flat-blade screwdriver, work the cable and LED
free from the plastic tabs that hold them in place.
See
FIGURE 8-3
.
Summary of Contents for SPARCstation 4 110
Page 24: ...1 6 SPARCstation 4 Model 110 Service Manual July 1996...
Page 36: ...2 12 SPARCstation 4 Model 110 Service Manual July 1996...
Page 46: ...3 10 SPARCstation 4 Model 110 Service Manual July 1996...
Page 108: ...10 4 SPARCstation 4 Model 110 Service Manual July 1996...
Page 146: ...12 6 SPARCstation 4 Model 110 Service Manual July 1996...
Page 150: ...A 4 SPARCstation 4 Model 110 Service Manual July 1996...
Page 160: ...B 10 SPARCstation 4 Model 110 Service Manual July 1996...
Page 174: ...Glossary 4 SPARCstation 4 Model 110 Service Manual July 1996...


