Chapter 9
Storage Devices
9-11
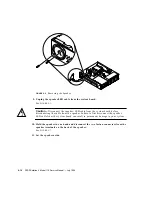
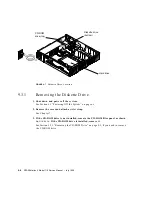
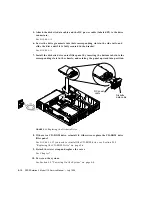
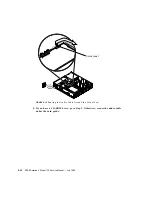
FIGURE 9-10
Removing the Diskette Drive
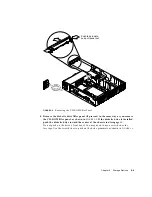
6. Lift the diskette drive out of the chassis and place it on an antistatic mat.
9.3.2
Replacing the Diskette Drive
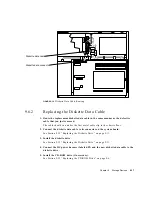
1. Remove the new diskette drive and its related parts from the antistatic bag, and
place them on an antistatic surface.
Read the diskette drive specifications sheet for related installation information.
2. Hold the diskette data cable by the end that has the single bend, and feed the
connector through the opening in the drive bracket wall.
3. Hold the diskette data cable by the end that has the double fold, and plug in the
connector to the system board.
Adjust the single end of the diskette data cable until it is flat and extended under the
first metal clip on the chassis floor.
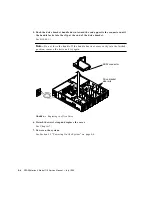
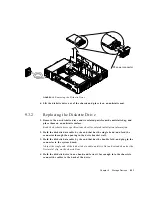
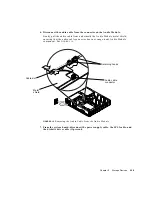
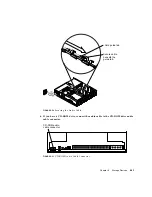
4. Hold the diskette drive in one hand, and lower it far enough into the chassis to
connect the cables to the back of the drive.
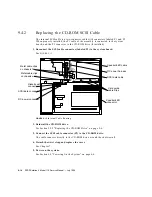
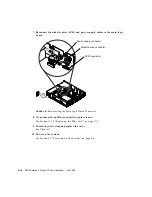
P4
P3 power connector
Summary of Contents for SPARCstation 4 110
Page 24: ...1 6 SPARCstation 4 Model 110 Service Manual July 1996...
Page 36: ...2 12 SPARCstation 4 Model 110 Service Manual July 1996...
Page 46: ...3 10 SPARCstation 4 Model 110 Service Manual July 1996...
Page 108: ...10 4 SPARCstation 4 Model 110 Service Manual July 1996...
Page 146: ...12 6 SPARCstation 4 Model 110 Service Manual July 1996...
Page 150: ...A 4 SPARCstation 4 Model 110 Service Manual July 1996...
Page 160: ...B 10 SPARCstation 4 Model 110 Service Manual July 1996...
Page 174: ...Glossary 4 SPARCstation 4 Model 110 Service Manual July 1996...


