Chapter 9
Storage Devices
91
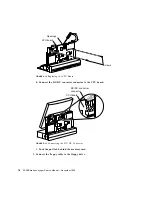
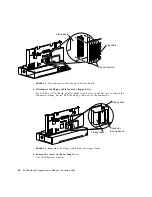
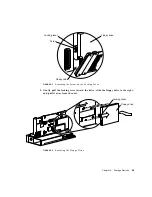
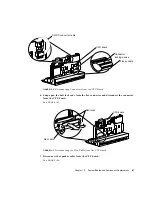
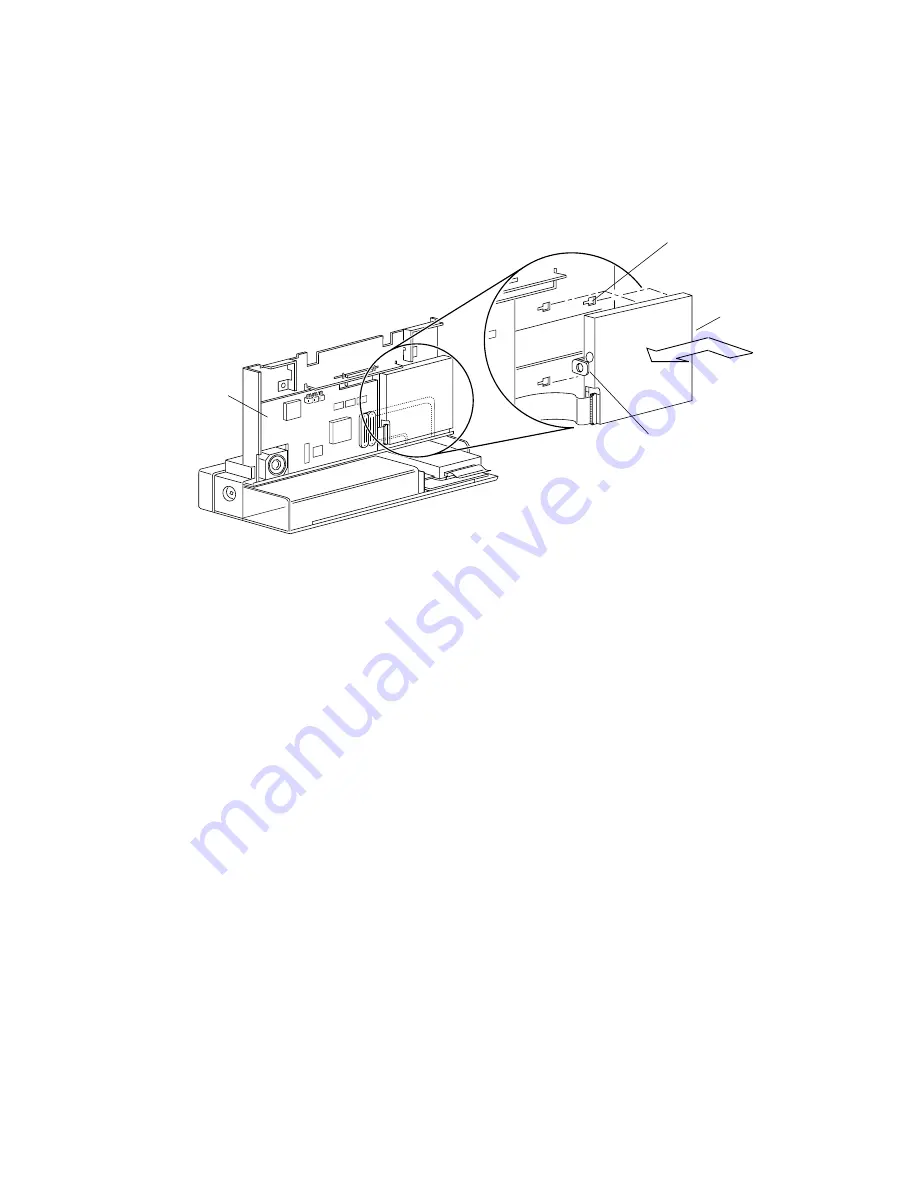
4. Position the floppy drive so that the four mounting feet are aligned with the four
slots on the system.
FIGURE 9-7
Replacing the Floppy Drive
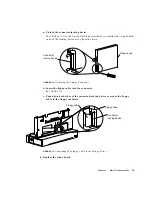
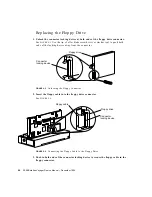
5. Push the four mounting feet in the slots and slide the floppy drive toward the
video board until you hear the floppy locking lever click.
See
FIGURE 9-7
.
6. Insert and tighten the screw on the locking lever.
Slots
(four places)
Floppy drive
Video board
Locking lever
Summary of Contents for SPARCstation Voyager
Page 9: ...Contents ix test memory 146 power off 147 Glossary 149...
Page 10: ...x SPARCstation Voyager Service Manual December 1994...
Page 16: ...xvi SPARCstation Voyager Service Manual December 1994...
Page 22: ...xxii SPARCstation Voyager Service Manual December 1994...
Page 28: ...6 SPARCstation Voyager Service Manual December 1994...
Page 36: ...14 SPARCstation Voyager Service Manual December 1994...
Page 46: ...24 SPARCstation Voyager Service Manual December 1994...
Page 88: ...66 SPARCstation Voyager Service Manual December 1994...
Page 108: ...86 SPARCstation Voyager Service Manual December 1994...
Page 142: ...120 SPARCstation Voyager Service Manual December 1994...
Page 170: ...148 SPARCstation Voyager Service Manual December 1994...
Page 178: ...156 SPARCstation Voyager Service Manual December 1994...


