Chapter 11
Replacing the Motherboard and Associated Components
11-11
Note –
If the ejector levers are not in the closed position, the DIMM cooling duct
binds when slid down.
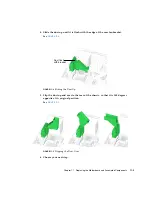
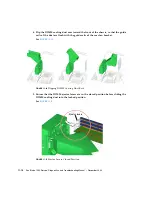
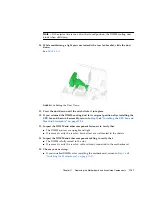
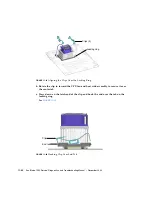
10. While maintaining a light pressure towards the rear fan bracket, slide the duct
down.
See
FIGURE
11-12
Sliding the Duct Down
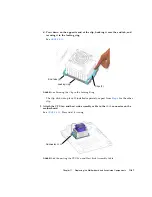
11. Press the duct down until the catch clicks it into place.
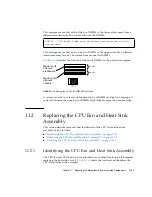
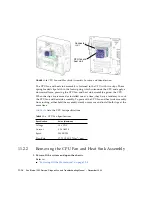
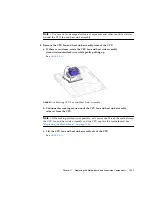
12. If you returned the DIMM cooling duct to its original position after installing the
CPU fan and heat sink assembly, return to
13. Inspect the DIMM and other component fasteners to verify that:
■
The DIMM ejectors are upright and tight.
■
If removed, verify the rear fan bracket feet are well seated in the chassis.
14. Inspect the DIMM and other component cabling to verify that:
■
The DIMM is fully seated in the slot.
■
If removed, verify the rear fan cable is firmly connected to the motherboard.
15. Choose your next step:
■
If you installed DIMMs after installing the motherboard, return to
Summary of Contents for Sun Blade 1500
Page 16: ...xvi Sun Blade 1500 Service Diagnostics and Troubleshooting Manual December 2004...
Page 30: ...xxx Sun Blade 1500 Service Diagnostics and Troubleshooting Manual December 2004...
Page 40: ...xl Sun Blade 1500 Service Diagnostics and Troubleshooting Manual December 2004...
Page 186: ...8 22 Sun Blade 1500 Service Diagnostics and Troubleshooting Manual December 2004...
Page 360: ...13 62 Sun Blade 1500 Service Diagnostics and Troubleshooting Manual December 2004...
Page 412: ...A 4 Sun Blade 1500 Service Diagnostics and Troubleshooting Manual December 2004...
Page 432: ...B 20 Sun Blade 1500 Service Diagnostics and Troubleshooting Manual December 2004...
Page 472: ...C 40 Sun Blade 1500 Service Diagnostics and Troubleshooting Manual December 2004...
Page 500: ...Index 14 Sun Blade 1500 Service Diagnostics and Troubleshooting Manual December 2004...


