Chapter 14
Replacing Internal Cables
14-17
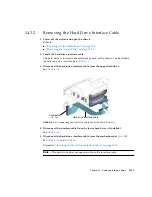
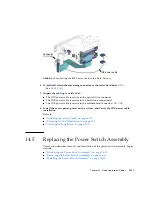
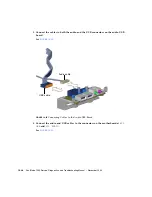
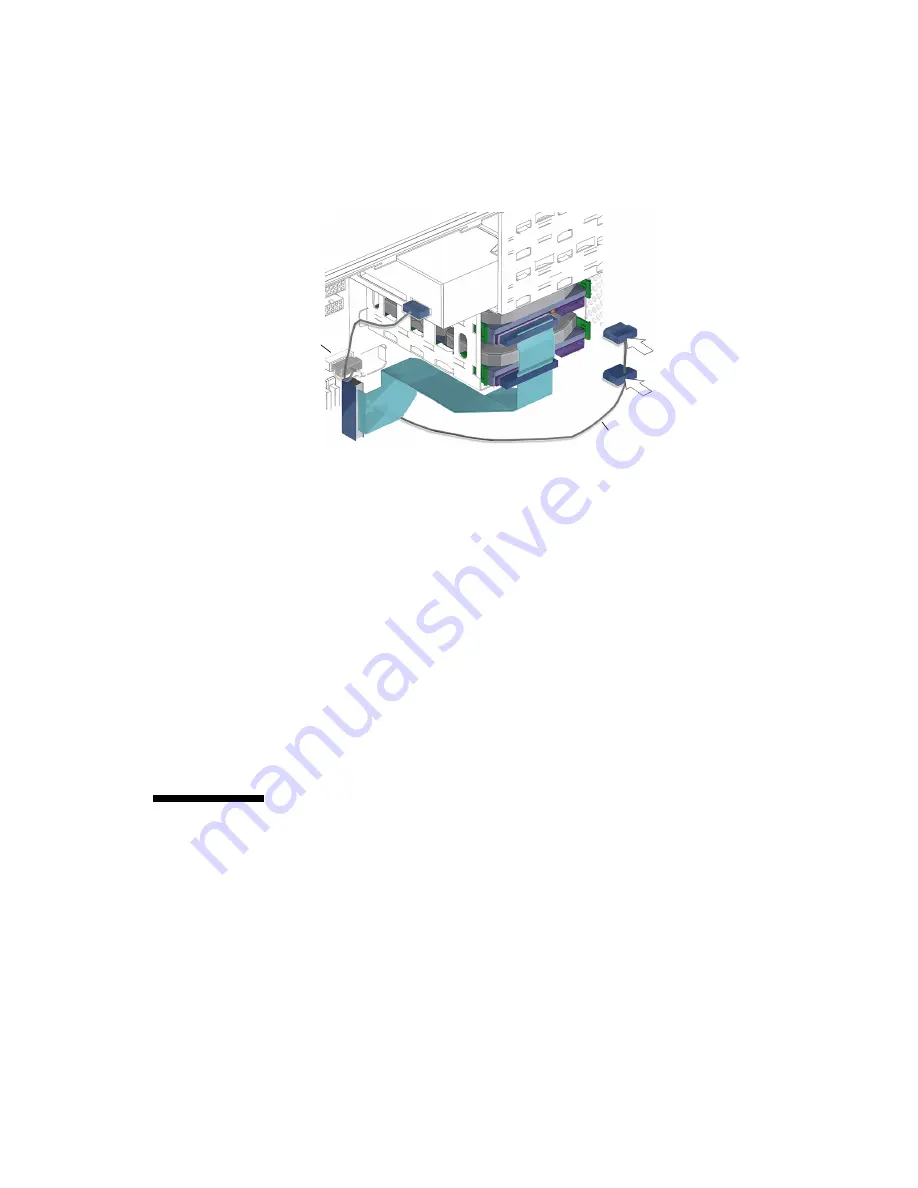
FIGURE
14-15
Connecting the IDE Power Cable to the Hard Drive(s)
6. If installed, attach the remaining connector to the lower hard drive
HDD1
.
See
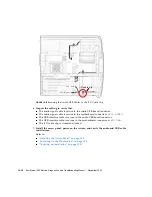
7. Inspect the cabling to verify that:
■
The IDE power cable is secure in the optical drive connector.
■
The IDE power cable is secure in the hard drive connector(s).
■
The IDE power cable is secure in the motherboard connector
IDE PWR
.
8. Install the access panel, power on the system, and verify the IDE power cable
installation.
Refer to:
■
“Installing the Access Panel” on page
■
“Powering On the Workstation” on page
■
“Verifying an Installation” on page
14.5
Replacing the Power Switch Assembly
This section describes removal and installation of the power switch assembly. Topics
include:
■
“Identifying the Power Switch Assembly” on page
■
“Removing the Power Switch Assembly” on page
■
“Installing the Power Switch Assembly” on page
IDE power cable
Connector
IDE PWR
Summary of Contents for Sun Blade 1500
Page 16: ...xvi Sun Blade 1500 Service Diagnostics and Troubleshooting Manual December 2004...
Page 30: ...xxx Sun Blade 1500 Service Diagnostics and Troubleshooting Manual December 2004...
Page 40: ...xl Sun Blade 1500 Service Diagnostics and Troubleshooting Manual December 2004...
Page 186: ...8 22 Sun Blade 1500 Service Diagnostics and Troubleshooting Manual December 2004...
Page 360: ...13 62 Sun Blade 1500 Service Diagnostics and Troubleshooting Manual December 2004...
Page 412: ...A 4 Sun Blade 1500 Service Diagnostics and Troubleshooting Manual December 2004...
Page 432: ...B 20 Sun Blade 1500 Service Diagnostics and Troubleshooting Manual December 2004...
Page 472: ...C 40 Sun Blade 1500 Service Diagnostics and Troubleshooting Manual December 2004...
Page 500: ...Index 14 Sun Blade 1500 Service Diagnostics and Troubleshooting Manual December 2004...


