Chapter 10
System Board and Component Replacement
10-21
Caution –
Avoid applying unequal force to one end or one side of the FFB card or
connector pin damage may occur.
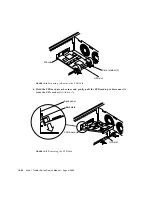
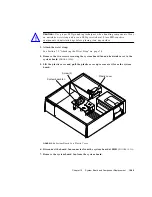
7. Slowly lift the FFB card at an upward angle.
8. Lower the FFB card backplate.
9. Disengage the FFB card backplate from the back panel.
10. Place the FFB card on antistatic surface.
10.4.2
Replacing an FFB Card
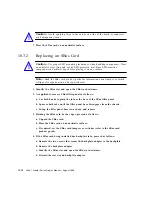
Caution –
Use proper ESD grounding techniques when handling components. Wear
an antistatic wrist strap and use an ESD-protected mat. Store ESD-sensitive
components in antistatic bags before placing it on any surface.
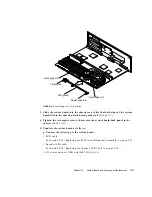
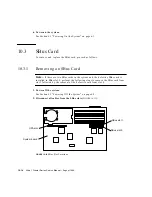
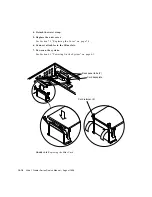
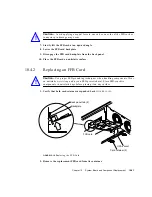
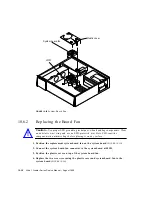
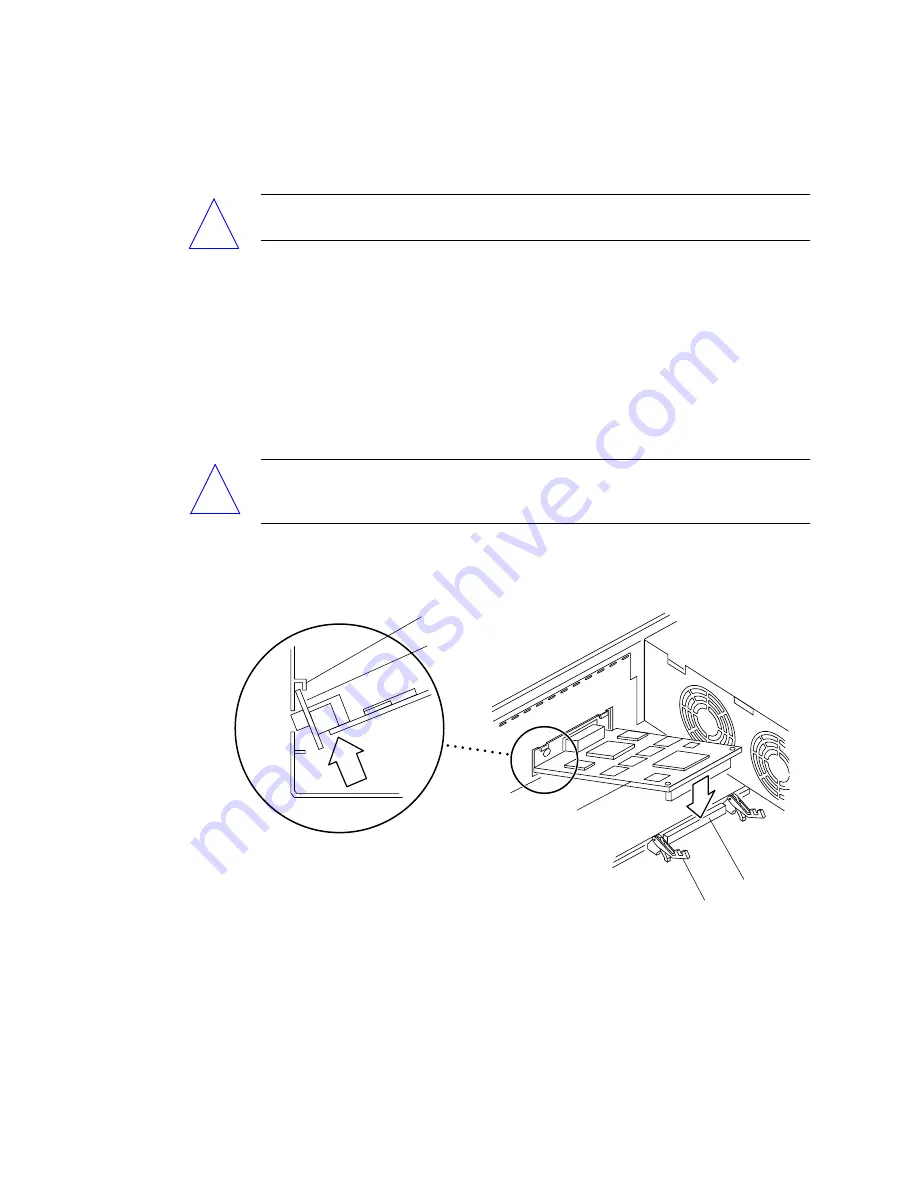
1. Verify that both card retainers are pushed back (
FIGURE 10-18
).
FIGURE 10-18
Replacing the FFB Card
2. Remove the replacement FFB card from its container.
!
!
FFB card
Backplate
Back panel tab (2)
Card retainer (2)
UPA socket
Summary of Contents for Ultra 1 Series
Page 8: ...viii Ultra 1 Creator Series Service Manual August 1996...
Page 21: ...Preface xxi Email smcc docs sun com Fax SMCC Document Feedback 1 415 786 6443...
Page 22: ...xxii Ultra 1 Creator Series Service Manual August 1996...
Page 34: ...2 4 Ultra 1 Creator Series Service Manual August 1996...
Page 70: ...6 4 Ultra 1 Creator Series Service Manual August 1996...
Page 110: ...8 36 Ultra 1 Creator Series Service Manual August 1996...
Page 126: ...9 16 Ultra 1 Creator Series Service Manual August 1996...
Page 158: ...10 32 Ultra 1 Creator Series Service Manual August 1996...
Page 164: ...A 4 Ultra 1 Creator Series Service Manual August 1996...
Page 186: ...B 22 Ultra 1 Creator Series Service Manual August 1996...
Page 208: ...C 22 Ultra 1 Creator Series Service Manual August 1996...
Page 212: ...Glossary 4 Ultra 1 Creator Series Service Manual August 1996...

