8-4
Ultra 1 Creator Series Service Manual • August 1996
Note –
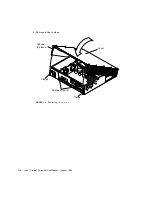
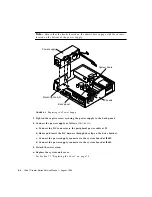
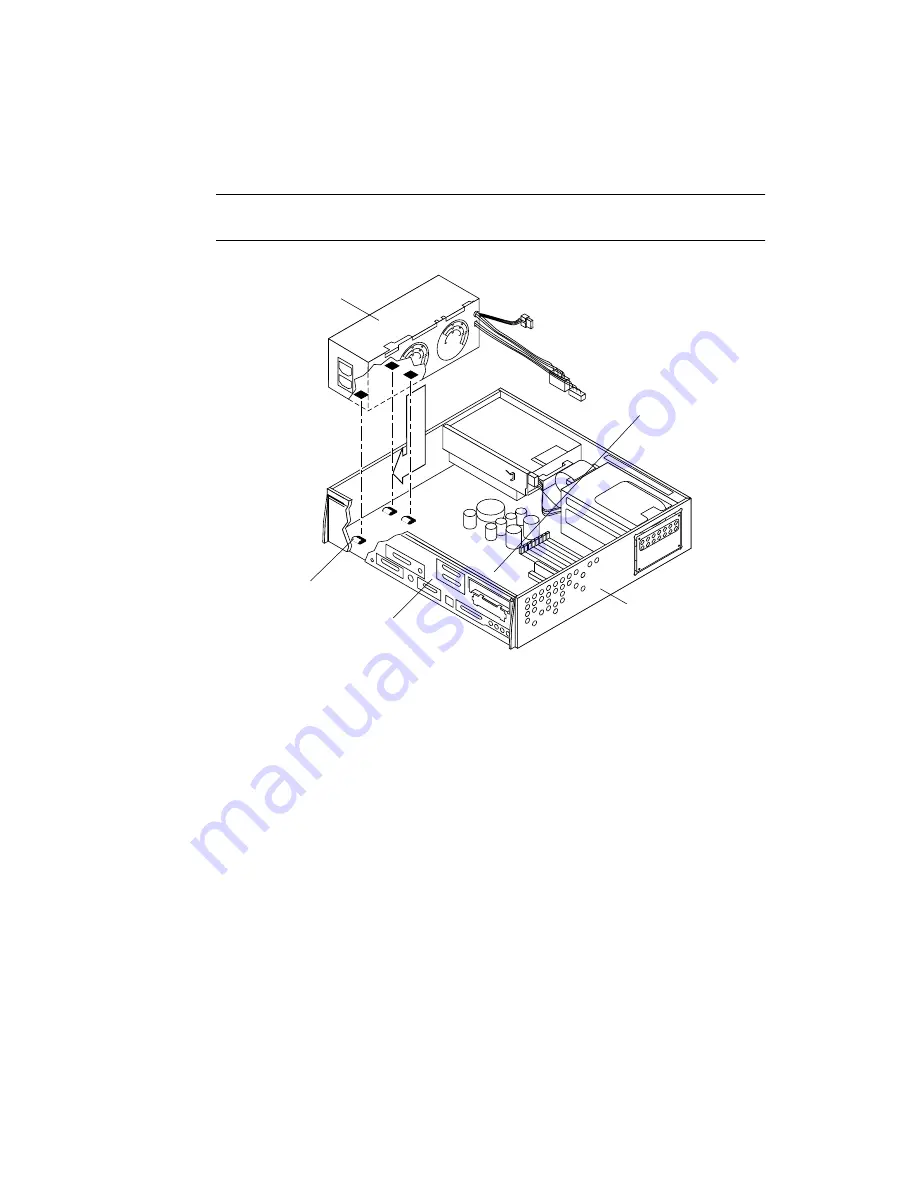
Ensure that the hooks located on the chassis base engage with the cutouts
located on the bottom of the power supply.
FIGURE 8-2
Replacing the Power Supply
3. Tighten the captive screw securing the power supply to the back panel.
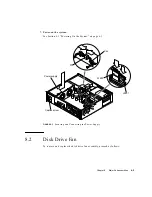
4. Connect the power supply as follows (
FIGURE 8-3
):
a. Connect the DC connector to the peripheral power cable at P1.
b. Route and insert the DC harness through the clip on the drive bracket.
c. Connect the power supply connector to the system board at J2603.
d. Connect the power supply connector to the system board at J2601.
5. Detach the wrist strap.
6. Replace the system unit cover.
See Section 7.3 “Replacing the Cover” on page 7-3.
Mounting hook (3)
System board
Power supply
Back panel
Chassis
Summary of Contents for Ultra 1 Series
Page 8: ...viii Ultra 1 Creator Series Service Manual August 1996...
Page 21: ...Preface xxi Email smcc docs sun com Fax SMCC Document Feedback 1 415 786 6443...
Page 22: ...xxii Ultra 1 Creator Series Service Manual August 1996...
Page 34: ...2 4 Ultra 1 Creator Series Service Manual August 1996...
Page 70: ...6 4 Ultra 1 Creator Series Service Manual August 1996...
Page 110: ...8 36 Ultra 1 Creator Series Service Manual August 1996...
Page 126: ...9 16 Ultra 1 Creator Series Service Manual August 1996...
Page 158: ...10 32 Ultra 1 Creator Series Service Manual August 1996...
Page 164: ...A 4 Ultra 1 Creator Series Service Manual August 1996...
Page 186: ...B 22 Ultra 1 Creator Series Service Manual August 1996...
Page 208: ...C 22 Ultra 1 Creator Series Service Manual August 1996...
Page 212: ...Glossary 4 Ultra 1 Creator Series Service Manual August 1996...

