5-52
Sun Ultra 20 M2 Workstation Service Manual • January 2007
Caution –
If you move the heatsink assembly too much during installation, the
layer of thermal grease might not be distributed evenly, leading to component
damage.
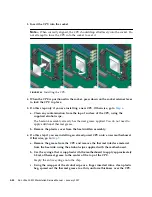
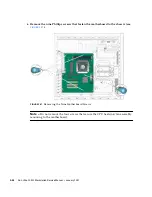
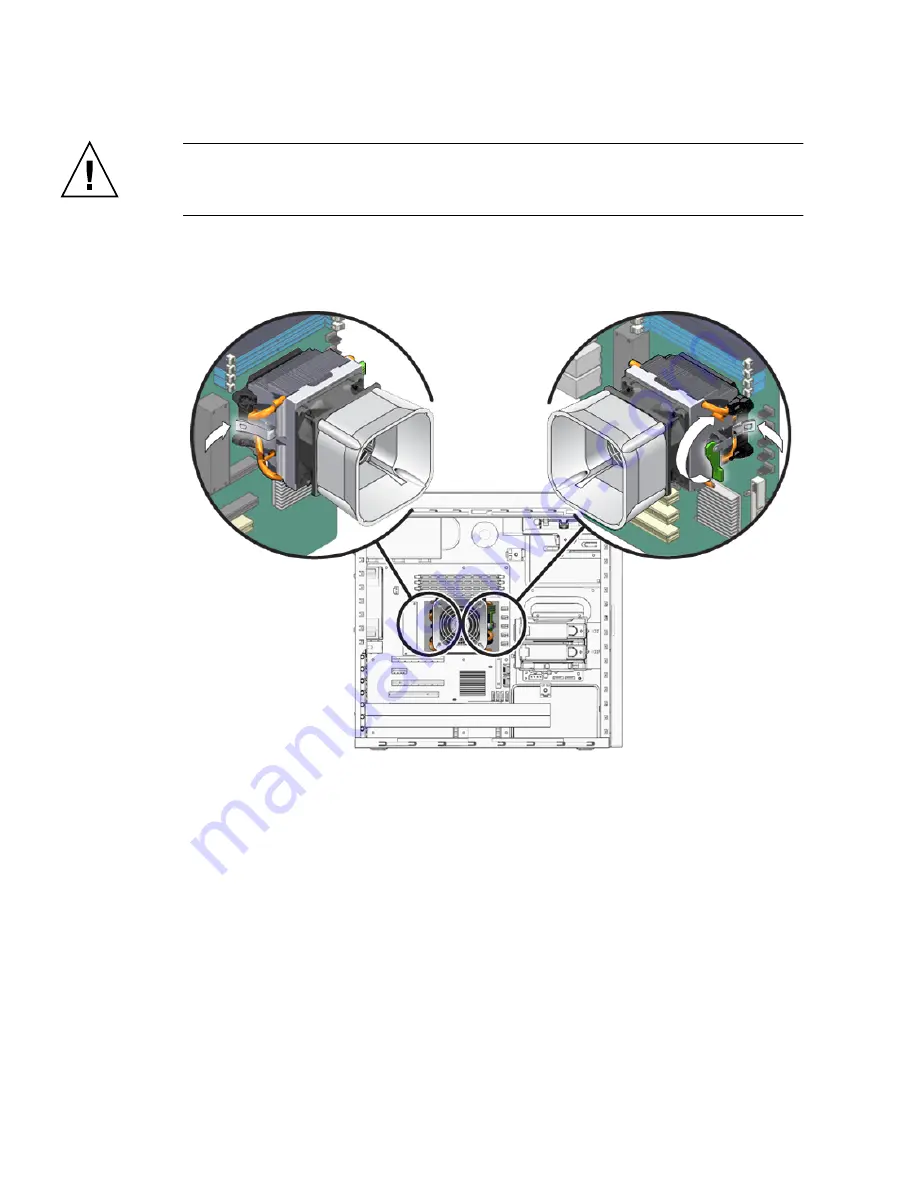
9. Attach the retaining bracket hook to the metal latch on the left side of the
heatsink/fan assembly (see
FIGURE 5-36
).
FIGURE 5-36
Securing the Heatsink/Fan Assembly Latches
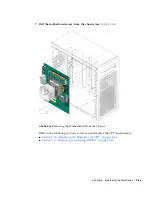
10. Push down on the lever on the right side of the heatsink/fan assembly to secure
the metal latch to the hook on the retaining bracket.
11. Connect the CPU fan cable to the connector on the motherboard.
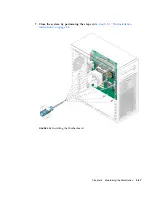
12. Close the system by performing the steps in
Section 5.3.1, “Postinstallation
Instructions” on page 5-5
.
Summary of Contents for Ultra 20 M2
Page 16: ...xvi Sun Ultra 20 M2 Workstation Service Manual January 2007...
Page 22: ...1 6 Sun Ultra 20 M2 Workstation Service Manual January 2007...
Page 30: ...2 8 Sun Ultra 20 M2 Workstation Service Manual January 2007...
Page 116: ...5 60 Sun Ultra 20 M2 Workstation Service Manual January 2007...
Page 132: ...B 10 Sun Ultra 20 M2 Workstation Service Manual January 2007...
Page 136: ...Index 4 Sun Ultra 20 M2 Workstation Service Manual January 2007...

