Chapter 5
Maintaining the Workstation
5-13
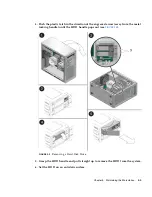
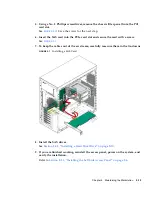
5. Using a No. 2 Phillips screwdriver, remove the chassis filler panel from the PCI
card slot.
See
FIGURE 5-19
. Save the screw for the next step.
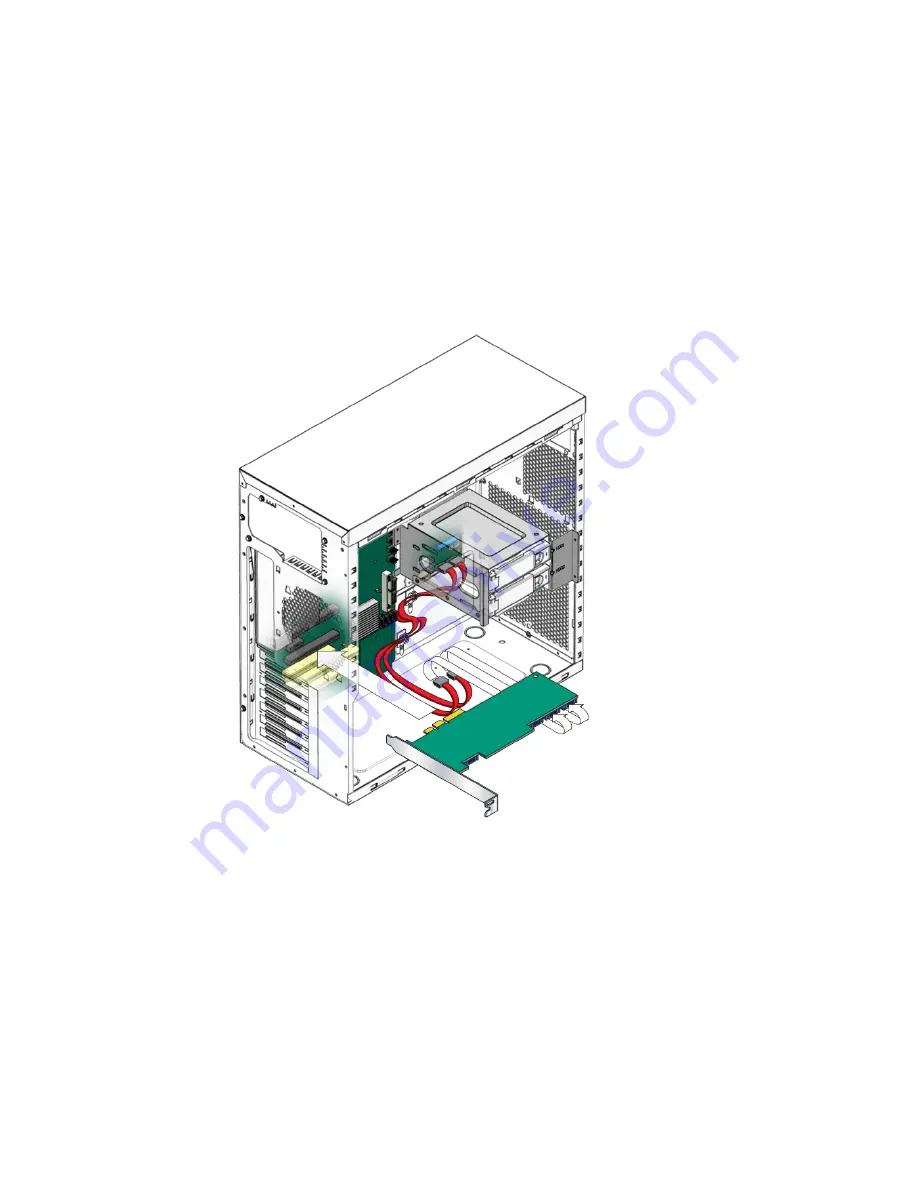
6. Insert the SAS card into the PCIe card slot and secure the card with a screw.
See
FIGURE 5-7
.
7. To keep the cables out of the air stream, carefully resecure them in the tie-downs.
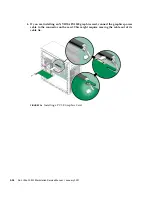
FIGURE 5-7
Installing a SAS Card
8. Install the SAS drives.
See
Section 5.4.2, “Installing a Hard Disk Drive” on page 5-10
.
9. If you are finished working, reinstall the access panel, power on the system, and
verify the installation.
Refer to
Section 5.3.3, “Installing the Left Side Access Panel” on page 5-6
.
Summary of Contents for Ultra 20 M2
Page 16: ...xvi Sun Ultra 20 M2 Workstation Service Manual January 2007...
Page 22: ...1 6 Sun Ultra 20 M2 Workstation Service Manual January 2007...
Page 30: ...2 8 Sun Ultra 20 M2 Workstation Service Manual January 2007...
Page 116: ...5 60 Sun Ultra 20 M2 Workstation Service Manual January 2007...
Page 132: ...B 10 Sun Ultra 20 M2 Workstation Service Manual January 2007...
Page 136: ...Index 4 Sun Ultra 20 M2 Workstation Service Manual January 2007...












![Lenovo 90B6 [H50-50 ES] User Manual preview](http://thumbs.mh-extra.com/thumbs/lenovo/90b6-h50-50-es/90b6-h50-50-es_user-manual_201023-01.webp)


