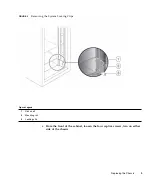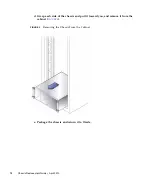
Replacing the Chassis
3
Procedure
To replace a failed chassis, you must complete the following steps, which are
explained in detail in the remainder of this guide:
1. Remove the failed chassis. See
“To Remove the Failed Chassis” on page 3
2. Install the new chassis. See
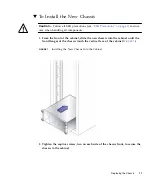
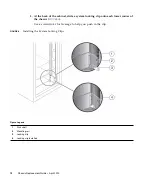
“To Install the New Chassis” on page 11
3. Install components into the new chassis. See
“To Install Components Into the
4. Power on the new chassis. See
“To Reconnect Power and Cables” on page 16
▼
To Remove the Failed Chassis
Caution –
You must remove power from the chassis you are replacing before you
start this procedure. All interconnected disk shelves will be disrupted during this
procedure. Powering off one disk shelf causes loss of access to other interconnected
disk shelves.
1. From the back of the cabinet, locate the chassis that you are replacing.
2. Remove the power cord tie strap from each power cord.
3. Ensure that the power supply on/of switch is in the “O” (off) position.
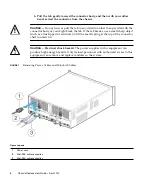
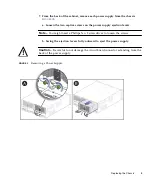
4. Unplug each power cord from its power supply connector (
Caution –
For products with multiple power cords, all power cords must be
disconnected to completely remove power from the chassis.
5. Label each mini-SAS cable connection for reconnection to the same connectors
on the replacement chassis.
For example,
Disk Shelf 1, SIM Link Out to Disk Shelf 0, Host or SIM Link IN
.
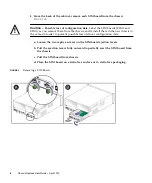
6. Disconnect the labeled mini-SAS cables from each SIM board (
):
a. Grasp the metal body of the connector with one hand, and use your other
hand to firmly grasp and pull the tab.


