1
MOTION ACTIVATED SECURITY LIGHT & VIDEO CAMERA
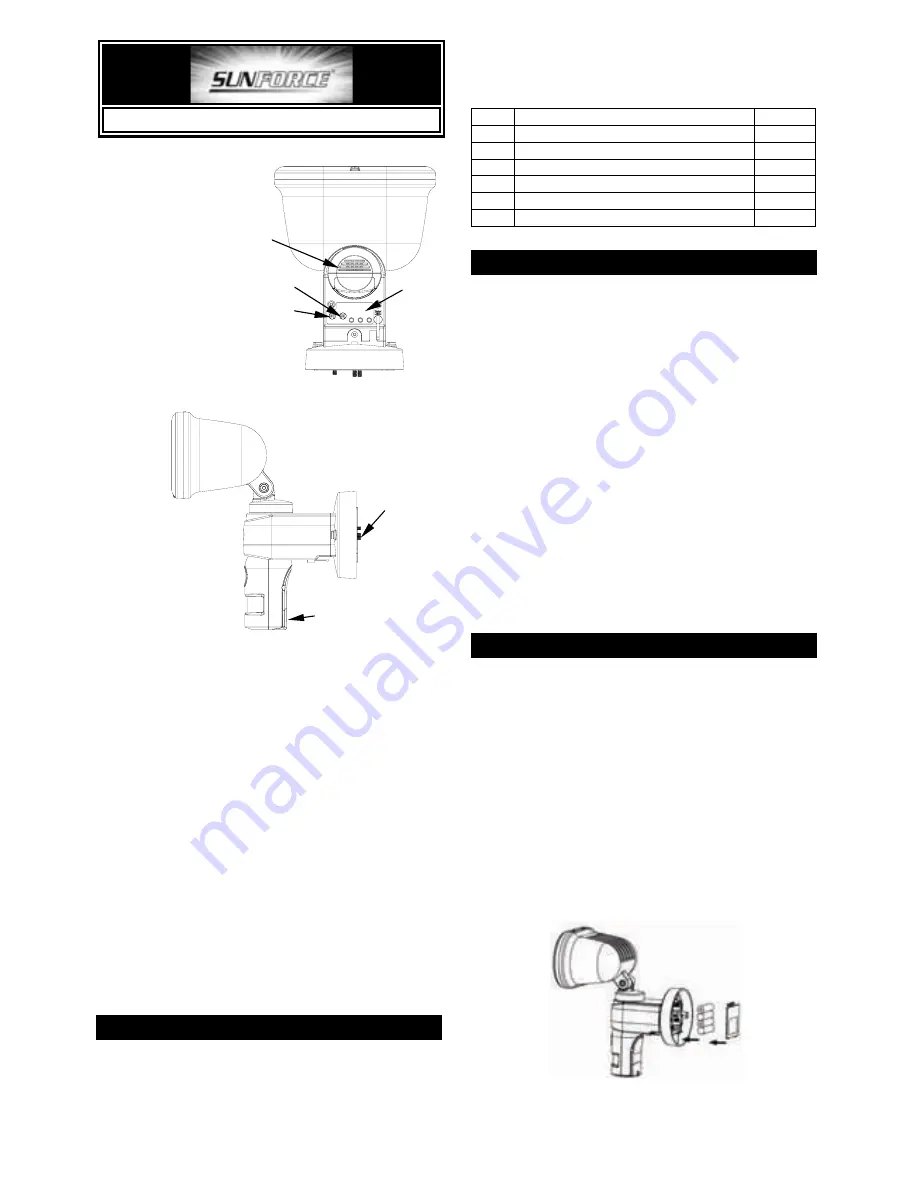
Front View
A
Front Surround
B
Lampshade
C
Microphone
D
Camera
E
PIR (Motion Sensor)
F
Warning Speaker
G
Lux Control Knob
H
Time Control Knob (PIR trigger time)
I
LCD control panel and Setting buttons
J
Battery Cover
K
SD Card Slot
PACKAGE CONTENT
The Motion Activated Security Light & Video Camera is
packed specially to minimize the chance of the
contents been damaged during shipping and handling.
Please check the unit carefully and confirm the
contents listed below are included.
No.
Item
Qty
1
Base Unit (VC603)
1
2
AA Size 1.5V Alkaline Battery
4
3
2GB SD Card
1
4
Screw Pack
1
5
Halogen Bulb
1
6
Operating Instruction Manual
1
INTRODUCTION
Your MOTION ACTIVATED SECURITY LIGHT &
VIDEO CAMERA is a unique surveillance system for
your home or business. At night, the built-in passive
infrared (PIR) motion sensor turns on the light when it
detects motion in its coverage area, so that camera
images can be clearly seen. During the day, the
built-in photocell sensor saves electricity by
deactivating the light. Built-in SD card slot for additional
storage, accept memory storage up to 32GB.
Pre-recorded function allows you to trace event
happening, and customized sound recording is
available at your disposal.
The MOTION ACTIVATED SECURITY LIGHT & VIDEO
CAMERA is compatible with O-Net product and can be
controlled by remote controller. The unit is designed
for indoor/outdoor use.
Note:
Read this entire manual before you start to install
the system.
BEFORE START
Please follow the steps as suggested below to get a
better result of installation.
CAUTION:
4 batteries provide for function setting
only, NOT installing the battery until you're ready to set
the function and mount on the wall, the battery power
supports for about 1 hour operation after installed.
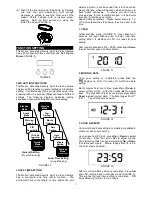
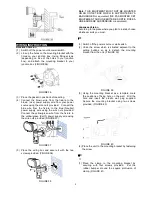
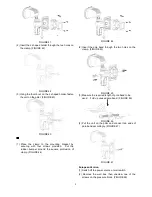
POWER UP
The Motion Activated Security Light & Video Camera is
powered by batteries at the initial stage. Press and
release the battery cover, insert 4 AA size 1.5V alkaline
batteries to the battery spring. Please ensure correct
polarity is put. After that, refit the battery cover.
(FIGURE 1)
FIGURE 1
Rear View
6
8
7
9
Side View
K


