11
3.4
LED Board
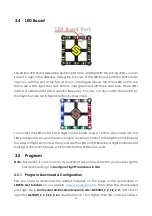
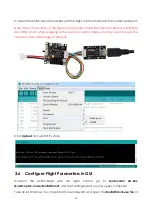
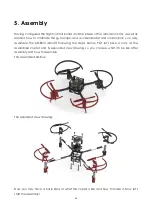
The 6D-Box LED board makes the quadcopter more dazzling! With the shining LEDs, you can
keep it in sight in the darkness. Taking the top view of the LED board (with the SunFounder
logo on), with the port at the top, as shown in the figure above, the three LEDs on the top
frame are white, right ones red, bottom ones green and left three ones blue. These LEDs
flash in a certain order with a specific frequency. You can not only locate the aircraft by
their light, but also tell its flight direction by their colors.
To connect the LED board to the flight control board, plug a 1.27mm 2-pin cable into the
LED board port as shown in the above figure, and then connect to the flight control. Repeat
the steps for flight control test. Then you'll see the LEDs on LED Board and flight control board
blinking or dim synchronously, which indicates the LED board works.
3.5
Program
Note
: This section is not a must-do. If you did not re-burn any sketch to your board, skip this
part and directly go to
Configure Flight Parameters in GUI
.
3.5.1
Program Download & Configuration
First you need to download the related materials on the page of the quadcopter in
LEARN
>
Get Tutorials
on our website
www.sunfounder.com
. Then unzip the downloaded
package. Go to
SunFounder 6D-Box Quadcopter\Code\MutltiWii_2_2_SE_2_0\
and click to
open the
MutltiWii_2_2_SE_2_0.ino
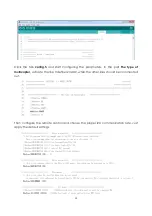
file with Arduino 1.0 or higher. Then the code is as folllows:
Summary of Contents for 6D-Box
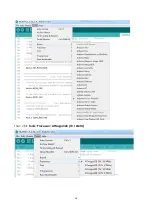
Page 17: ...14 Then click Tools Processor ATMega328 5V 16MHz ...
Page 32: ...29 ...


