31
Test the Modules
In case of anything wrong with the components, you can firstly debug them, then start your assembling
and use.
Initialize the Environment
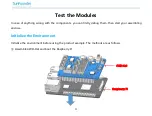
Initialize the environment before using the product example. The methods are as follows.
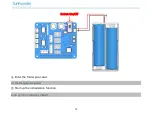
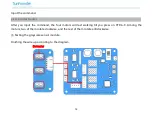
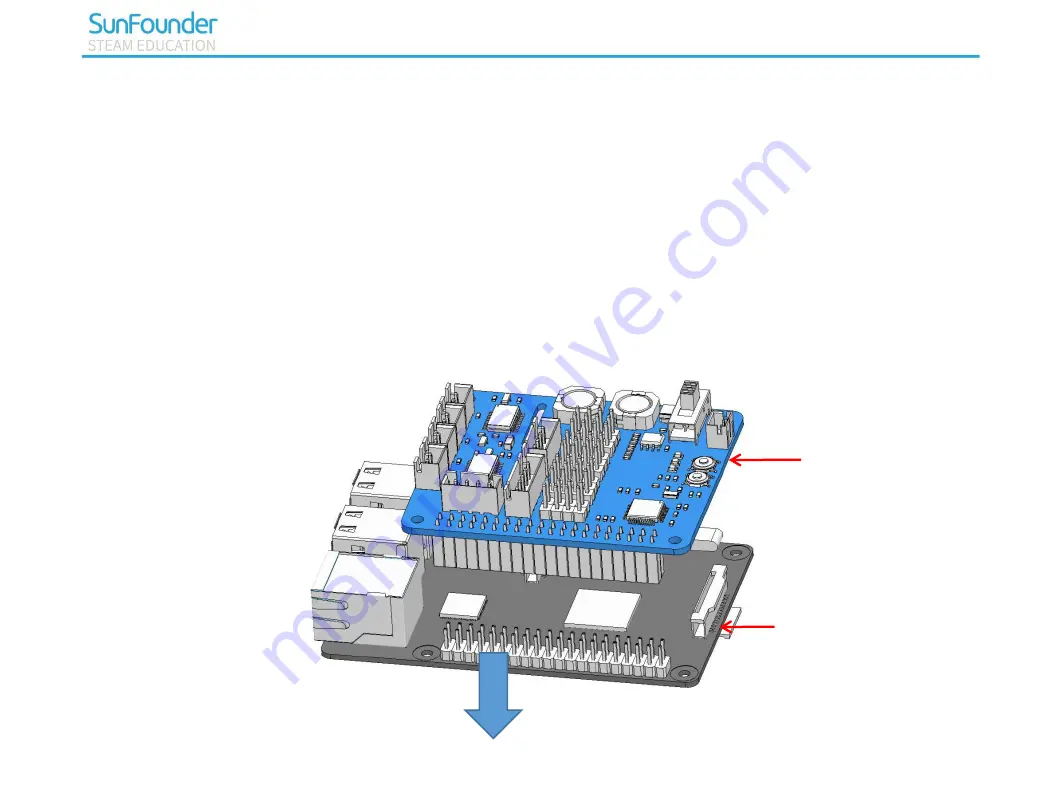
① Assemble 4WD-Hat and boot the Raspberry Pi.
4WD-Hat
Raspberry Pi
Summary of Contents for PiCar-4WD
Page 6: ...1 Component List Structural Plates ...
Page 7: ...2 Mechanical Parts ...
Page 8: ...3 Electronic Parts ...
Page 9: ...4 Other Parts ...
Page 10: ...5 ...
Page 20: ...15 Step 9 Set country region language and time zone and then click next again ...
Page 21: ...16 Step 10 Input the new password of Raspberry Pi and click Next ...
Page 22: ...17 Step 11 Connect the Raspberry Pi to WIFI and click Next ...
Page 23: ...18 Step 12 Retrieve update ...
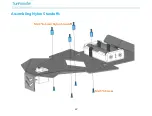
Page 47: ...42 Assembling Nylon Standoffs M2 5 6 Screw M2 5 8 6mm Nylon Standoff ...
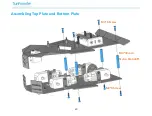
Page 48: ...43 Assembling Top Plate and Bottom Plate M3 8 Screw M3 30mm Nylon Standoff M3 8 Screw ...
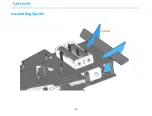
Page 49: ...44 Assembling Spoiler Spoiler ...
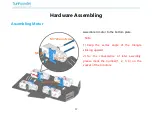
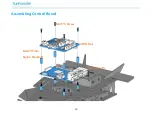
Page 50: ...45 Assembling Control Board 4WD Hat M2 5 11mm Nylon Standoff M2 5 6 Screw Raspberry Pi ...
Page 53: ...48 Assembling Ultrasonic Sensor Module M1 4 8 Screw M1 4 Nut Ultrasonic Module ...
Page 54: ...49 Assembling Wheels finished ...
Page 56: ...51 Interface Introduction ...
Page 63: ...58 ...
Page 67: ...62 Python Example Code Analysis Program Structure Framework ...


