


SunFounder Pironman
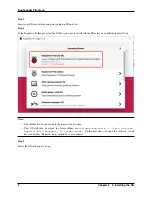
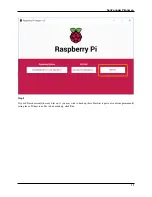
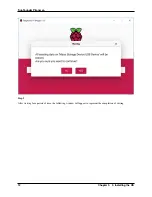
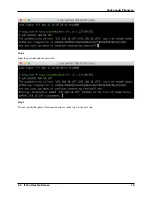
Step 5
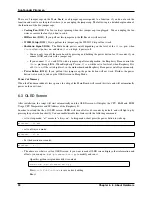
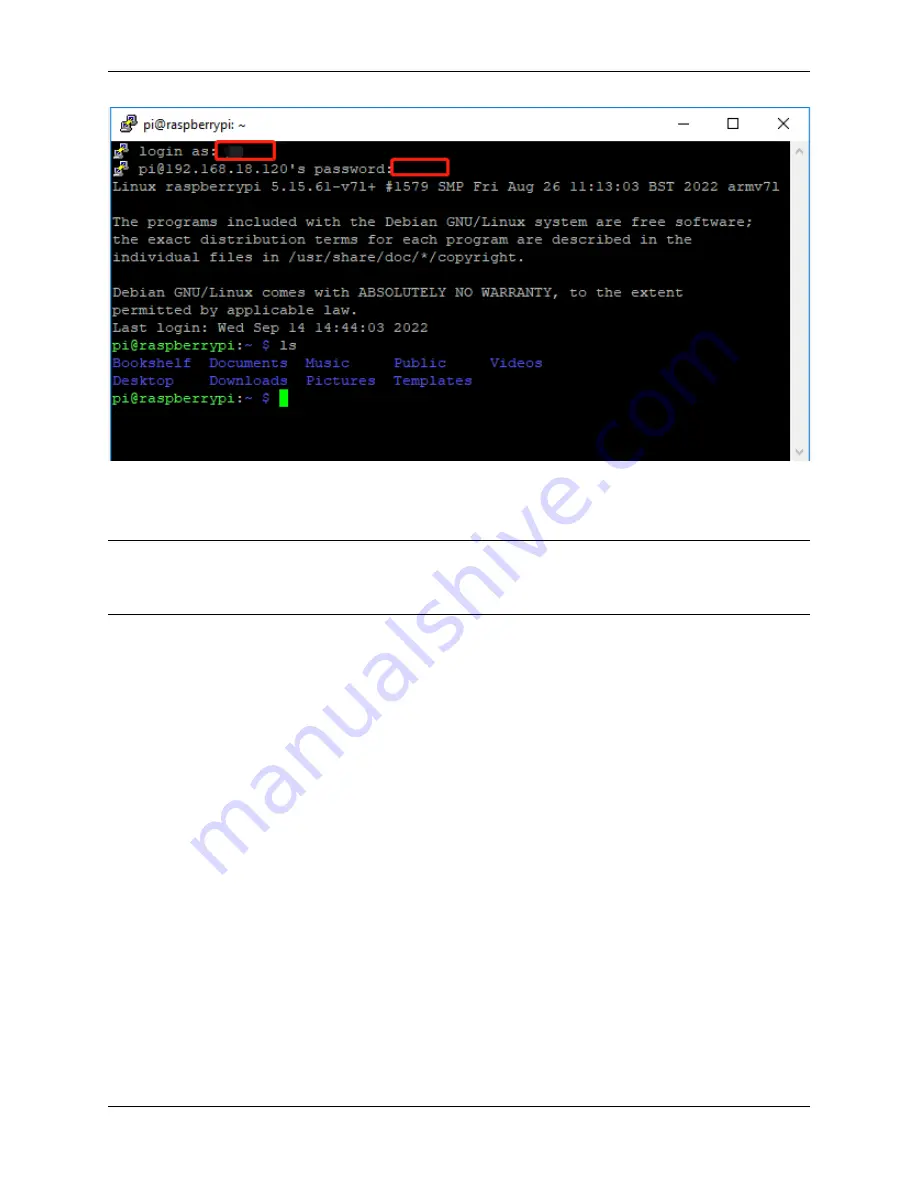
Here, we get the Raspberry Pi connected and it is time to conduct the next steps.
Note:
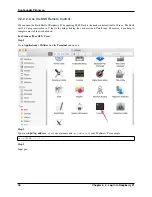
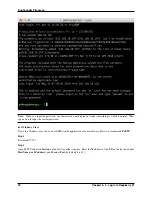
If you are not satisfied with using the command window to control the Raspberry Pi, you can also use the
remote desktop function, which can help us manage the files in the Raspberry Pi easily.
For details on how to do this, please refer to
22
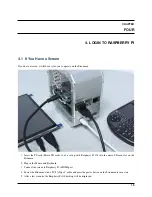
Chapter 4. 4. Login to Raspberry Pi
Summary of Contents for Pironman
Page 1: ...SunFounder Pironman www sunfounder com Nov 01 2022 ...
Page 2: ......
Page 4: ...ii ...
Page 6: ...SunFounder Pironman 2 CONTENTS ...
Page 10: ...SunFounder Pironman 6 Chapter 2 2 Component List and Assembly Instructions ...
Page 17: ...SunFounder Pironman 13 ...
Page 18: ...SunFounder Pironman 14 Chapter 3 3 Installing the OS ...
Page 30: ...SunFounder Pironman 26 Chapter 5 5 Set up the Pironman ...
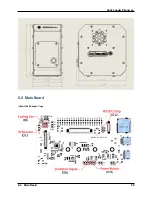
Page 33: ...SunFounder Pironman 6 2 Main Board About the Jumper Caps 6 2 Main Board 29 ...
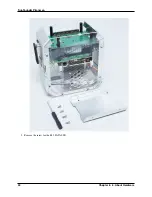
Page 38: ...SunFounder Pironman 2 Remove the screw for the M 2 SATA SSD 34 Chapter 6 6 About Hardware ...
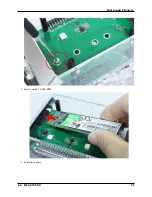
Page 39: ...SunFounder Pironman 3 Insert your M 2 SATA SSD 4 Screwed in place 6 8 M 2 SATA SSD 35 ...
Page 46: ...SunFounder Pironman Step 4 Double click the connection just created 42 Chapter 7 7 Appendix ...
Page 66: ...SunFounder Pironman 2 Select Samba SMB Server 3 Select Install 62 Chapter 7 7 Appendix ...


