SunFounder pisloth
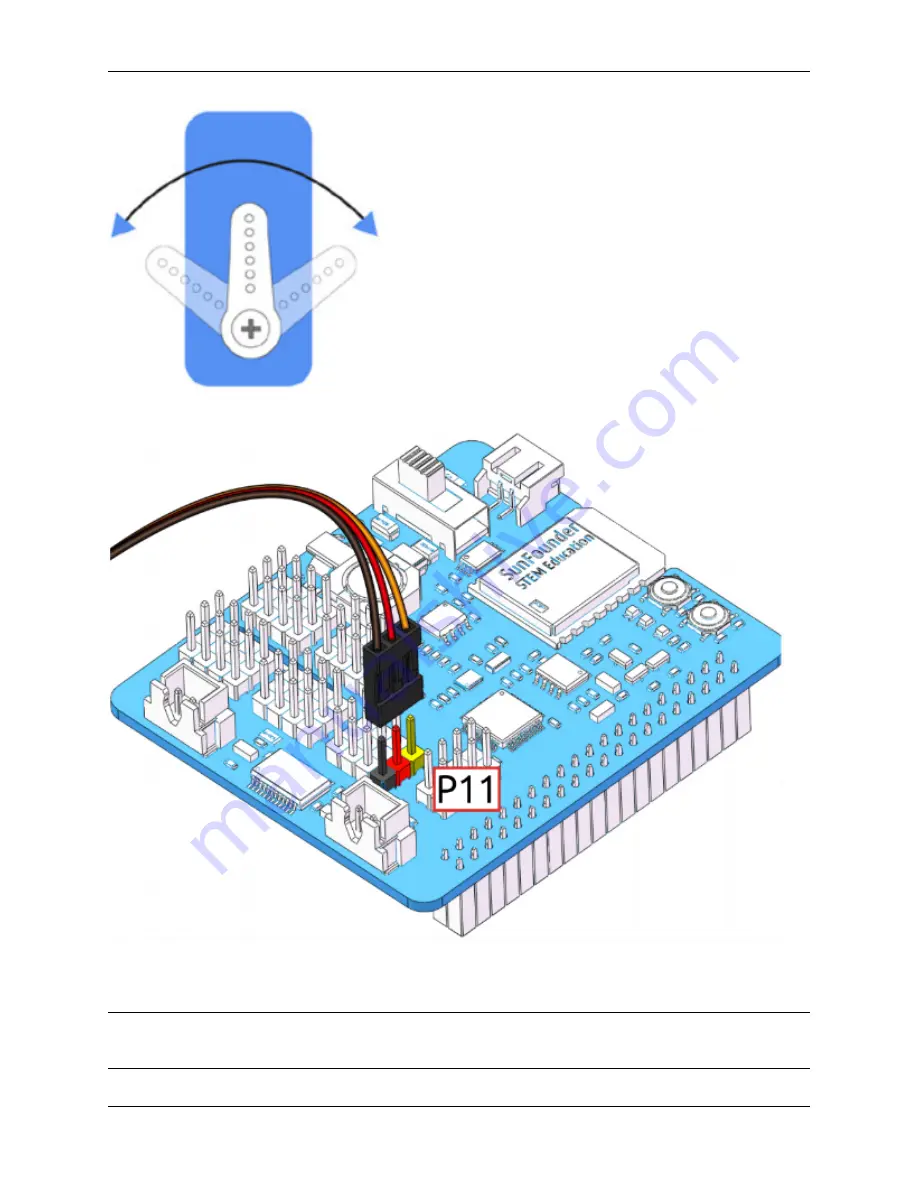
Next, insert the servo cable into the P11 port as shown below:
Turn on the
Power Switch
to the Robot HAT, and the servo arm should return to the 0° position. If the servo arm does
not return to 0°, press the
RST
button to restart the Robot HAT.
Note:
Before attaching each servo, plug the servo cable into P11 and turn the power on to set the servo to 0°.
This function will become invalid after writing any programs to the Micro SD card.
8
Chapter 3. Play with Ezblock
Summary of Contents for PiSloth
Page 1: ...SunFounder pisloth www sunfounder com Oct 19 2021 ...
Page 2: ......
Page 4: ...ii ...
Page 6: ...SunFounder pisloth 2 CONTENTS ...
Page 8: ...SunFounder pisloth 4 Chapter 1 Component List and Assembly Instructions ...
Page 18: ...SunFounder pisloth EXAMPLE 14 Chapter 3 Play with Ezblock ...
Page 20: ...SunFounder pisloth 16 Chapter 3 Play with Ezblock ...
Page 22: ...SunFounder pisloth Confuse Happy 18 Chapter 3 Play with Ezblock ...
Page 23: ...SunFounder pisloth Fear Sad 3 5 Emotional PiSloth 19 ...
Page 25: ...SunFounder pisloth 3 6 Dance Now PiSltoh will show you his newly learned dance 3 6 Dance 21 ...
Page 28: ...SunFounder pisloth 24 Chapter 3 Play with Ezblock ...
Page 32: ...SunFounder pisloth 28 Chapter 3 Play with Ezblock ...
Page 35: ...SunFounder pisloth 3 8 Remote Control 31 ...
Page 39: ...SunFounder pisloth 3 9 Custom Step 35 ...
Page 41: ...SunFounder pisloth The complete code is as follows 3 9 Custom Step 37 ...
Page 50: ...SunFounder pisloth Step 7 Click the WRITE button 46 Chapter 4 Play with Python ...
Page 86: ...SunFounder pisloth 82 Chapter 4 Play with Python ...
Page 90: ...SunFounder pisloth Yes then Ok Finish 86 Chapter 5 Appendix ...
Page 94: ...SunFounder pisloth Step 4 Double click the connection just created 90 Chapter 5 Appendix ...
Page 102: ...SunFounder pisloth 98 Chapter 5 Appendix ...


