ROLLBOTMICRO
22
3)
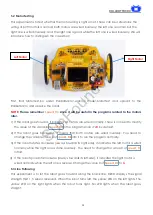
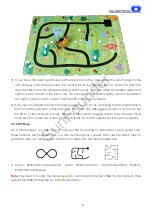
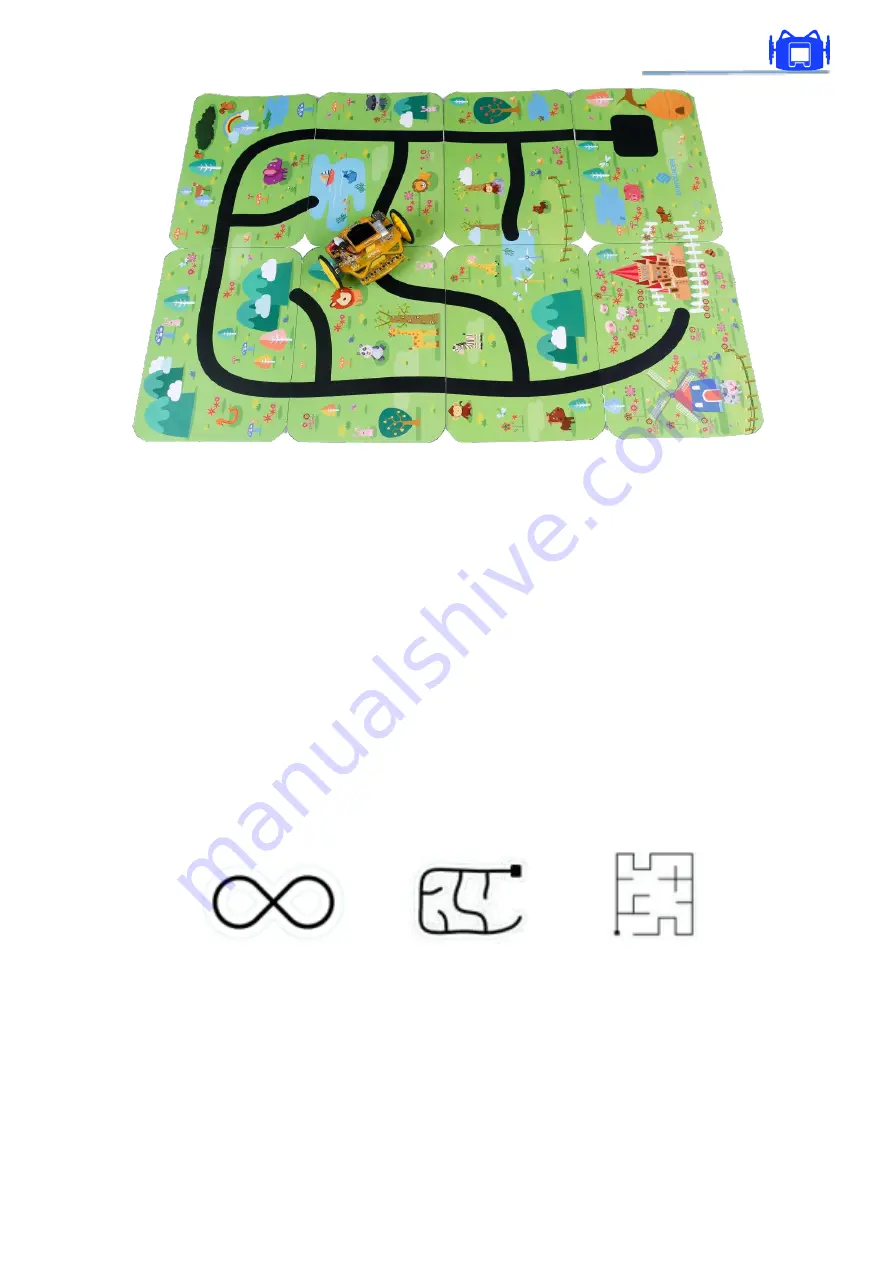
You will see the robot goes following the black line on the map. When the robot swings to the
left relatively from the black line, the robot will turn towards the right to correct its direction
and the LED on the left will keep blinking until it's back on track; when the middle detector is
right over the middle of the black line, the robot goes forward straightly; when it deviates to
the right, it will turn left to correct and the LED on the right will blink.
4)
If you have mastered the line-following program, you can try modifying the PD parameters to
learn more the principle of line-following. After test, the debugging process is as follows: Set
the PD to 0 and increase P slowly. When the robot starts wiggling side to side, increase the D
value slowly to make the motion of the robot flat. So the PD adjustment is done successfully.
5.3.2 DIY Map
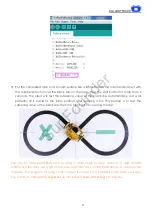
On a blank paper, you can draw a map you like according to instructions on the guide card.
Three patterns are provided and you can also design by yourself. Then use the black tape to
paste the map you designed on a flat floor or draw with the black Marker pen.
1)
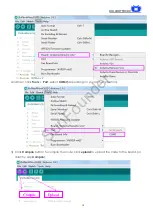
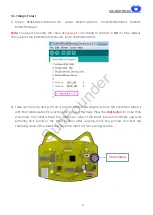
Open
RollbotMicroFollower2.ino
under
Rollbot\Arduino Code\Rollbot\Red Rollbot\
RollbotMicroFollower2
.
Note
: You need to modify the value
Speed_Dir
according to the test in
5.2.
It’s 0 by default. Then
upload the
RollbotFollower2.ino
to the RollbotMicro.
SunFounder


