52
•
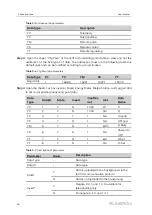
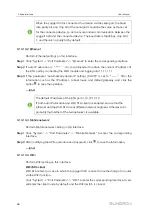
When the clock source is set to "NTP", time of all devices can be synchronized. Click
the "Time Zone" pull-down-list and select the local time zone. Fill in the domain, set
the time interval, and click "Save". In this way, the time of the Logger1000 is
synchronized with the time of the server.
•
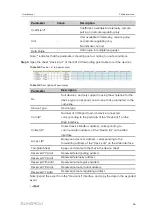
The clock source is set to "IEC104". In this way, the Logger1000 and the
background must use the IEC104 communication protocol, and otherwise, this
manner is invalid.
•
The clock source is set to "iSolarCloud".
•
The clock source is set to "MODBUS-TCP".
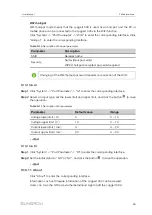
It is recommended to select "User Define" during debugging.
It is recommended that the top priority should be given to the IEC104 and then the
iSolarCloud.
Set the system time when using the Logger1000 for the first time.
9.10.6 iSolarCloud
Step 1
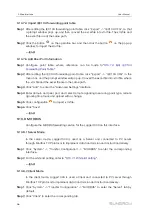
Click "System" -> "Transfer Configuration" to enter the corresponding interface.
Step 2
Click the button
to modify the forwarding configuration information of iSolarCloud.
-- -- E
En
nd
d
The default iSolarCloud station is "iSolarCloud of China". Users in mainland
China select "iSolarCloud of China", users in Europe select "iSolarCloud of
Europe", and users in other regions select the "iSolarCloud of International".
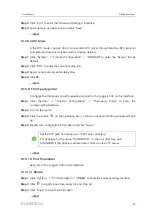
To ensure that the Logger1000 functions normally, the firewall network needs to open
the following access rights.
P
Pa
arra
am
me
ette
err
P
Pa
arra
am
me
ette
err vva
allu
ue
e
Destination address
•
api.isolarcloud.com
•
api.isolarcloud.com.hk
•
api.isolarcloud.eu
Destination port
•
TCP : 19999
•
TCP : 8443
•
TCP : 80
•
TCP : 443
•
UDP : 123
User Manual


