11
2.
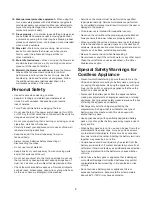
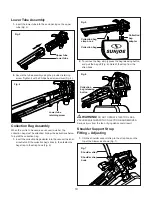
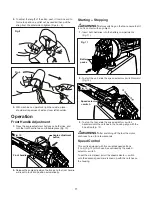
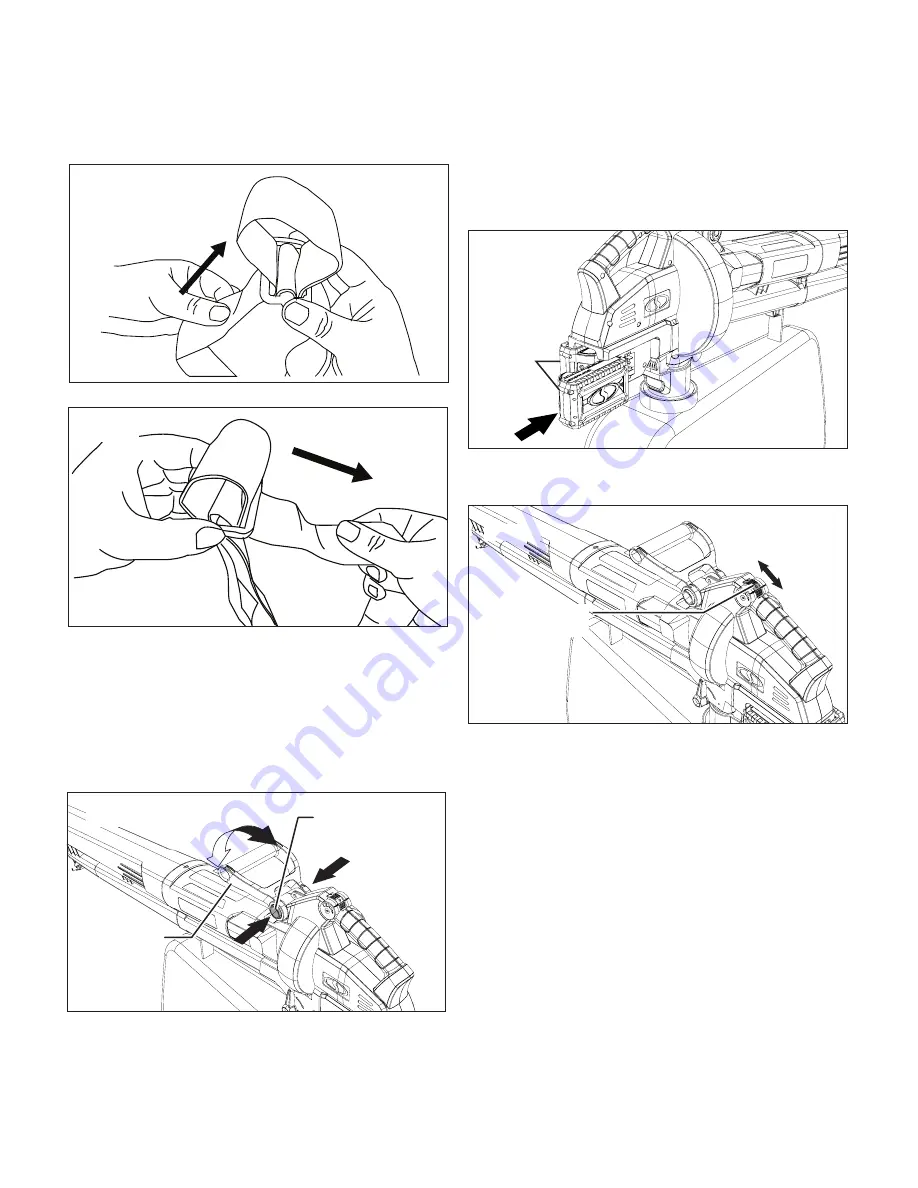
To adjust the length of the strap, push it from one end to
form a loop above, and let out as needed, then pull the
strap from the other side
to tighten (Figs. 8 – 9).
3.
With machine on operator's right hand side, place
shoulder strap across chest and over left shoulder.
Operation
Front Handle Adjustment
1.
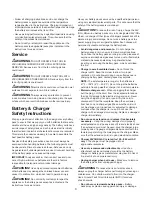
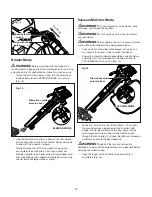
Press the angle adjustment buttons on both sides, and
turn the front handle to a comfortable place (Fig. 10).
2.
Release the angle adjustment buttons and the front handle
will reset to lock into position automatically.
St Stopping
m
WARNING!
Before switching on the tool, ensure that it
is not in contact with any object.
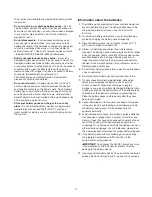
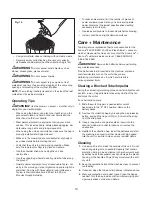
1. Insert both batteries into the battery compartments
(Fig. 11).
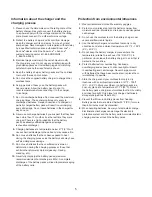
2. To start the unit, slide the speed se switch forward
(Fig. 12).
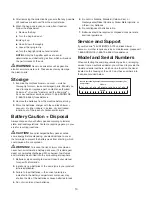
3. To stop the tool, slide the speed se switch
backward until the notches in the housing align with the
0 position (Fig. 13).
m
WARNING!
After switching off the tool the motor
continues to run for a few seconds.
Speed Control
This unit is equipped with five variable speed settings
(1 to 5) (Fig. 13), which can be controlled by the speed
se switch.
To set the wind speed, scroll the speed se switch
until the desired speed mark is lined up with the notches on
the housing.
Fig. 8
Fig. 9
Fig. 10
Angle adjustment
button
Front handle
Fig. 11
Battery
packs
Fig. 12
Speed selector
+ switch
ON
OFF


