106
4.02 Embossing and Scoring
4.02.1 General Info on Embossing
•
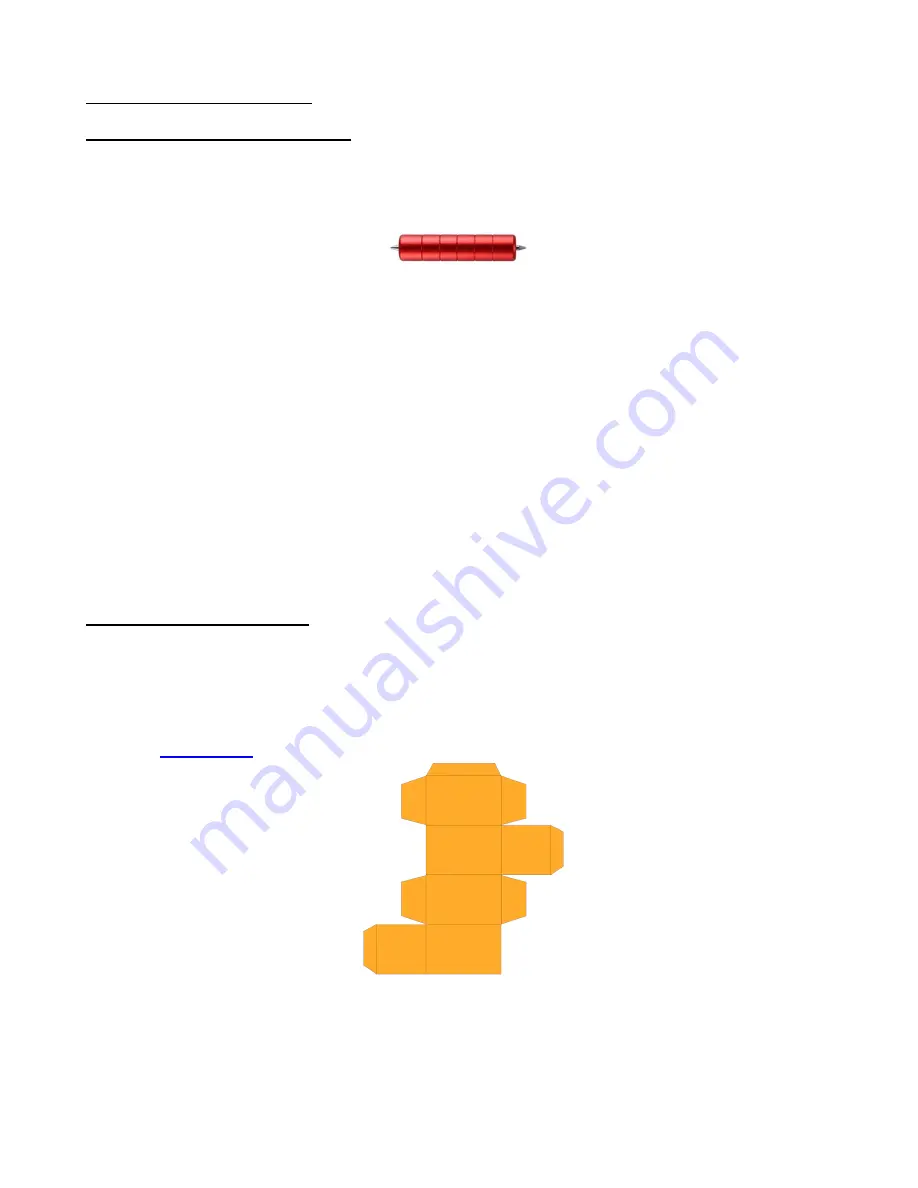
The Skycut embossing tool has two different sized embossing heads. The smaller one is recommended
when scoring cardstock for fold-up projects, such as pop-up cards, gift bags, and small boxes. Either head
can be used for embossing shapes.
•
When embossing cardstock, it is recommended that a soft material be place beneath the paper or cardstock
to allow a deeper impression to be made. One excellent material to use is non-slip shelf liner. Other
materials which can be used include rhinestone rubber, craft foam, and felt. Make sure the material is well
adhered to the mat (tape it down, if necessary). Then tape your paper or cardstock to the top of this
material.
•
When using the embossing tool for scoring fold-up projects, the paper or cardstock can be applied directly to
the mat, just as you do for cutting. This makes it much simpler when you need to score and then
immediately cut. Because the scoring may not be as deep on the underside of the paper or cardstock as the
top side, fold all score lines (valley and mountain) forward to establish the fold on both sides. Then flip over
and fold any mountain folds the opposite way. This especially works well on pop-up cards.
•
Make sure you do some tests first to get the best settings for the scoring or embossing you need. For
scoring cardstock, this typically involves a higher force (~160) and two or three passes. Refer to the
Suggested Settings
table at the end of this chapter. If you have a soft material beneath your
paper/cardstock, then a lower force will be used, but you may still need several passes. Also, to get more
force applied, raise the tool in the blade holder seat the same way you do with the blade holder (i.e. 20 Post-
It notes).
4.02.2 Score and Cut Project
•
When a project involves both scoring and cutting, the process used in
Section 4.01.1
cannot be followed.
This is because scoring normally requires multiple passes in order to get acceptable folds and the
Passes
setting does not currently work if the
Assign Tools by Color
option is in use. Thus you most likely will need
to do the two processes separately.
•
In this tutorial, a fold up box project will be used as a typical example. This small box file is provided in the
zip file
available here
.
•
Always make sure the project is organized so that you can easily select the score lines and the cut lines
separately. Click on the
Objects
tab on the
Page Thumbnail Viewer
and verify that the project is
organized as such. In this example, the score lines have been grouped today and the cut layer is just a
single object:


