110
•
IMPORTANT:
Carefully measure the actual tag and compare it to the dimensions of the contour. Adjust the
size of the contour if needed.
•
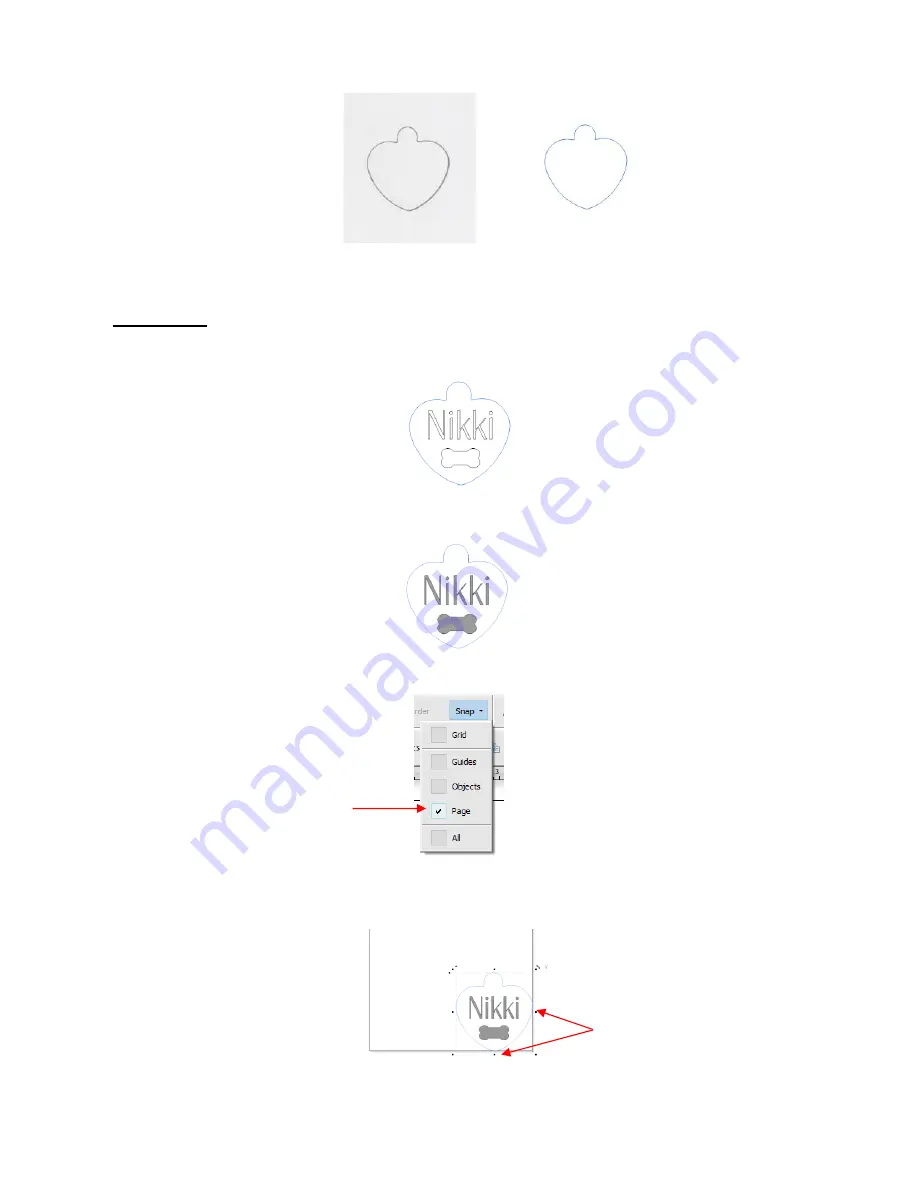
Create the design. In this case both text and a vector shape of a bone are added:
•
Because a filled engraving is desired, select the text and the bone shape and use the
Engraving Module
to
fill the design with lines. Details on this function are presented in
Section 5.03.
•
To arrange the design in the bottom corner of the
Page
, click on
Snap
in the middle taskbar and select
Page
:
•
With both the heart and the design selected, drag to the lower right corner until it snaps to the right and
bottom sides of the
Page / Drawing Area
(Note: to
better illustrate placement on the page and later in the
Preview
, the design has been made much larger. In reality the design is only about an inch in size):
•
Select only the design and not the heart tag shape. In the
Send to be Cut
window, mark the option for
Absolute (position)
so that the design will be positioned the same distance from the origin as it is from the
corner of the
Page / Drawing Area.
Also, verify that
Assign Tools by Color
is not marked:
Imported scan
Tracing from
Create
Contour Cut
window
Mark
Page
Snap the design to the lower
right corner of the page


