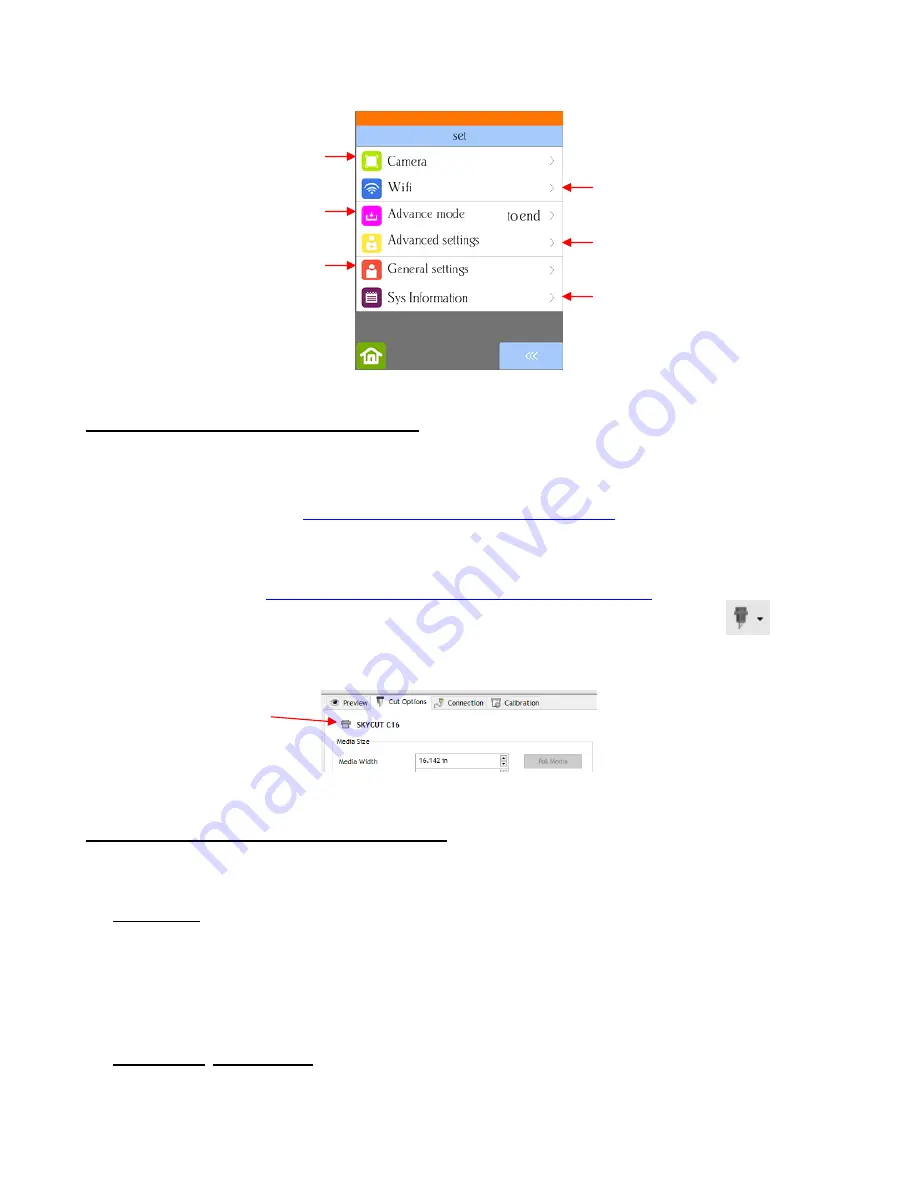
14
1.11 Registering and Installing SignMaster
•
Once you have purchased a registration for SignMaster, the software can be downloaded from the following
link
. It’s important to use this link so that the Skycut will be installed as the cutter of choice:
http://www.sky-cut.com/page89?product_id=63
•
Install the downloaded file and open SignMaster. If you run into any issues activating the program, please
visit this link:
http://www.iifuture.net/faq/index.php?action=show&cat=44
•
To verify the Skycut is available in SignMaster, click on the
Cut, Plot & Engrave Tools
icon
(6
th
from the left on the upper middle task bar). Select
Vinyl Spooler
from the drop-down menu. On the right
side of the
Vinyl Spooler
window, click on the
Cut Options
tab and you should see Skycut:
1.12 Connecting the Skycut to Your Computer
•
Place your Skycut on a sturdy horizontal surface. If using the cutting mat, be sure to allow enough free room
in both the front and the back for the mat to extend during cutting.
•
Powering On:
Connect the power cord to the power adaptor.
Plug the power cord into a wall outlet or power strip. Then plug the power adaptor into the right side of
the cutter.
Turn on the power using the power button below the control panel. After several seconds, the light
inside the Skycut will turn on and the head will do a slight jog.
•
Powering Off: Press and hold the power button until the light shuts off.
•
You have four options for sending files and information from your computer to the Skycut:
Direct USB using the included USB cable
Wi-Fi
– adding the Skycut to a home/office network that is also accessed by your computer
Set up wireless connection to home
or office network:
Section 1.12.2
Version numbers, software
selection, reset:
Section 1.14.3
Calibrate and use camera for print
and cut applications:
Chapter 3
Array setup, SignMastere, and options
for display and cutter behavior:
Section 1.14.2
Set end-of-cut options:
Section
2.06
Settings for: LED, Units,
Language, Screensaver, Alarm:
Section 1.14.2


