28
•
Before installing the test pen, make sure the pen will write by scribbling on scrap paper. Note that you will
probably need to remove a tiny bit of wax on the end of the pen nib. Then follow these steps:
Loosen the screw on the blade holder seat.
Use one hand to push down and hold the blade holder seat while inserting the test pen with the other
hand. Push down on the test pen until it touches the top of the cutting strip on the Skycut.
Release the blade holder seat and tighten the front screw. This will allow the pen to be slightly above
the paper when you insert the mat.
•
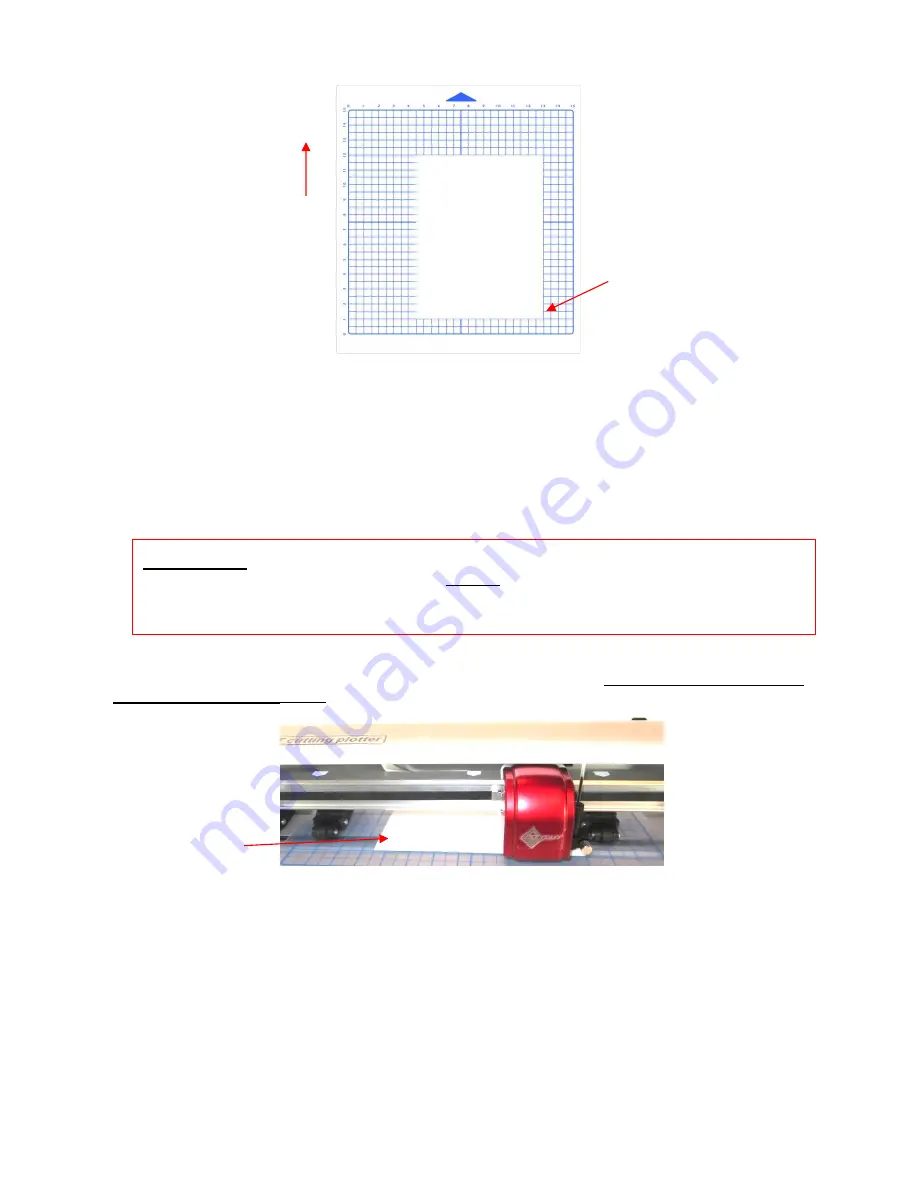
Use any of the horizontal markings at the front of the Skycut (such as the ruler) to align the mat
so that it’s
straight. Lift the pinch lever to drop the pinch wheels onto the cutting mat. Most of the mat and the paper
should now be behind the cutter, not in the front:
•
The arrow keys on the Skycut’s control panel will always be used to set the origin for cutting:
Only the front part of the
mat and material will be
in the front of the
machine.
Feed the mat this
direction into the
Skycut
Align the paper along
one of the grid lines on
the cutting mat.
IMPORTANT!
This is NOT the recommended method for loading the blade holder into the cutter.
This is presented as a quick way to insert the test pen so that it is in a good position for drawing.
The instructions for inserting the blade holder and setting a blade distance above the material will
be covered in
Section 2.01.


