74
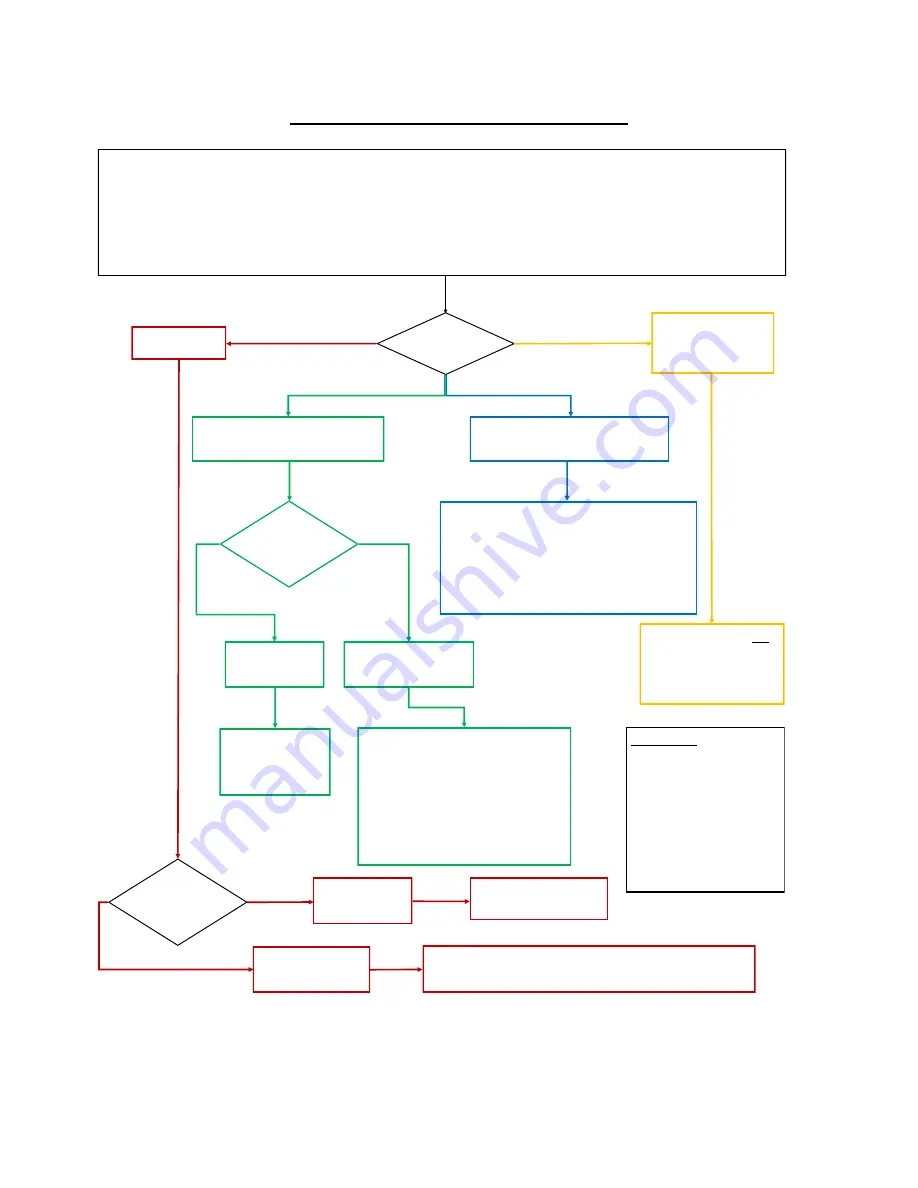
2.09 Test Cutting Flow Chart for the Skycut
© 2018 Sandy McCauley, All Rights Reserved
Scratched the surface;
did not cut through the
material.
Increase force by 10 and
increase blade exposure by
~1/4 turn.
Return to 1.
There are deep cut
lines in the mat
There are no cut lines
or faint lines.
If you have an intricate project, you may wish to repeat using a partial
section of the project. Otherwise you are done! Record your settings!
Retract the blade a tiny bit.
Return to 1.
Cut was clean!
Perform the
test cut.
Check cutting
mat*** for cut
lines.
1.
Partial cut (cut through in some spots
but not in others)
Increase force by 10. If you’ve already repeated this
step several times, try setting Passes = 2 (or higher
on dense materials). If doing test cut at control panel,
change
Advance Mode
:
to Start
so that a second
test cut will be in the same location.
Return to 1.
Cut was mostly clean but had some
tearing and/or crumpling
There are deep cut
lines in the mat.
There are no cut lines in
the mat or faint lines.
Retract the blade
~1/8 -1/4 turn.
Return to 1.
Try one or more of the following:
•
Decrease the force.
•
Make sure the mat is clean and sticky.
•
Try a different blade in case current
one is chipped.
•
Dry the material.
Return to 1.
Check cutting
mat*** for cut
lines.
A
B
C
D
*** or backing sheet, such as with vinyl
If a stuttering
sound occurs during a cut and/
or the mat begins skewing, slow
down the speed
,
lower the pres-
sure, and increase the number
of passes. This will allow the
blade to work its way through
the material versus being
forced.
•
Select a small test shape. You can use the built-in test on the Skycut. However, a shape with an internal path, such as a ring, works better
as it allows you to more easily check to see if the blade is cutting into the backing sheet or cutting mat.
•
Start with conservative Force and Speed. Refer to a similar material in the
Suggested Settings Table
in
Section 2.11.
•
Set the blade tip height above the material based on a similar material in the
Suggested Settings Table
in
Section 2.11.
•
On the control panel:
Set>Advance Mode
, choose
to End
or
to Left
and enter a small distance, such as 0.5” or 10 mm to space each test.
•
Set origin in the lower right corner of the material.


