89
(13) Click on
Next
and the Skycut’s camera will now move over each registration mark and take a photo and
make an adjustment. Once it has read all four marks plus the first one a second time, it will proceed to cut
out the printed shapes.
(14) After testing out this process, be sure to check out remaining sections in this chapter to understand
additional options, such as:
Preparing a vector image for a PNC application
–
Section 3.05.2
Adjusting camera calibration settings, if needed
–
Section 3.06.1
How to set up a grid of repeats
–
Section 3.07
Adding additional registration marks to improve accuracy
–
Section 3.08
Performing a PNC using the USB flash drive
–
Section 3.09.1
3.05 Preparing Designs for PNC Applications
3.05.1 Using Raster Images
•
Use
File>Import>File
to open a raster image (JPG, BMP, TIFF, PNG, etc) in Signmaster. To add a contour
cut around this image, there are two options:
Add the contour while in the main Signmaster window
– this process is covered in
Section 5.01
.
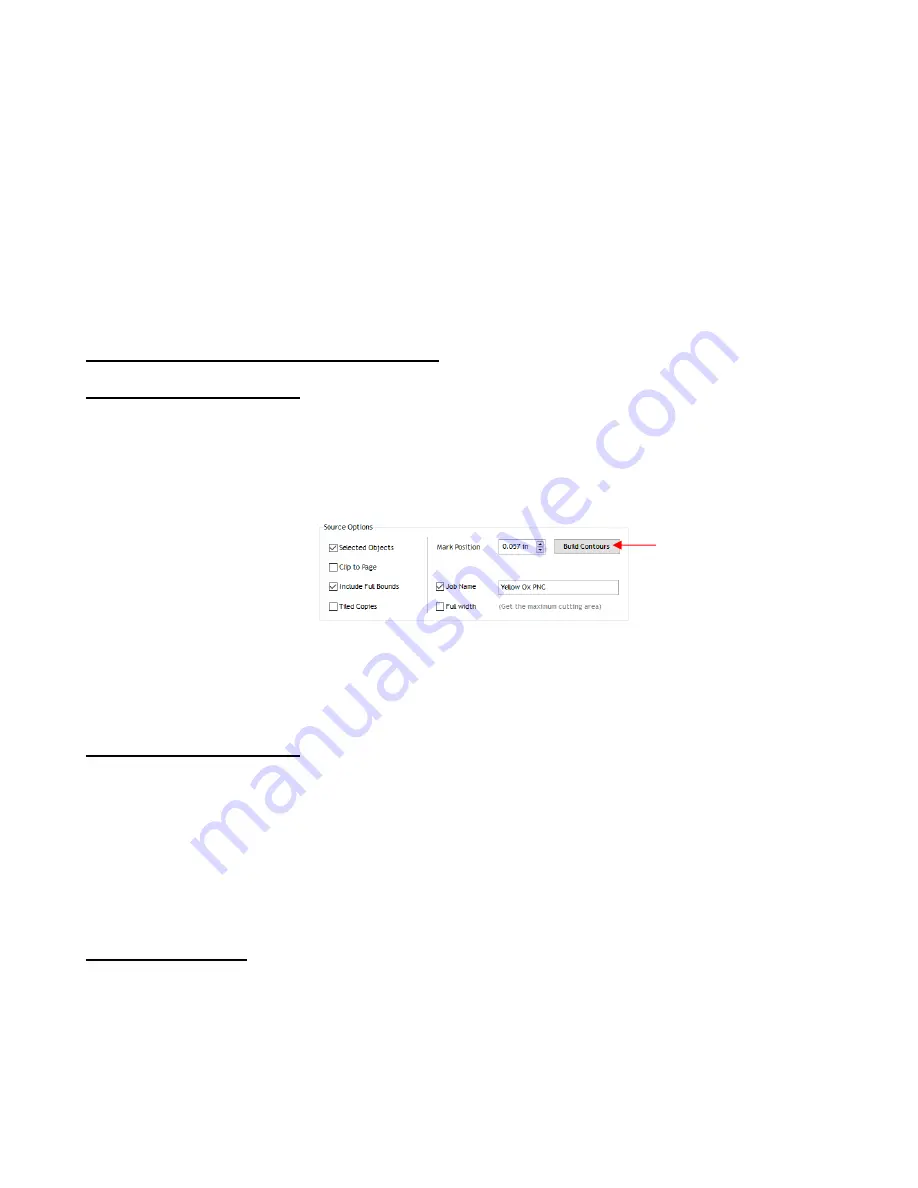
Add the contour after entering the
Contour Cut Wizard
window by clicking on
Build Contours
:
o
Using
Build Contours
essentially takes you to the same
Create Cut
–Contour
window and the
process is the same as presented in
Section 5.01
.
•
The advantage of tracing images before entering the
Contour Cut Wizard
window is the abilty to edit the
tracing and save the file with the tracing in place. An example of editing a trace is covered in
Section 5.01.2.
3.05.2 Using Vector Images
•
You can design your own vector images in SignMaster using various design and vectorizing tools. You can
also directly import vector files in a variety of common file formats including: AI, DXF, EPS, PDF, PLT, and
SVG.
•
While vector images are essentially ready-to-cut files, SignMaster will not apply them as contour cuts in print
and cut applications without having contour cuts created from them. Refer to
Section 5.02
for instructions on
adding a contour cut.
3.06 Inaccurate Cuts
•
There are several reasons why your print and cut results may not be as accurate as you need:
The calibration needs to be tweaked
The contours around the printed image are not accurate
The cut settings are too aggressive
•
The following sections present solutions for each of these.
Click here


