11
BREEZY 250
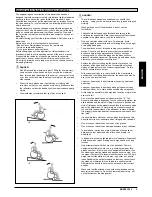
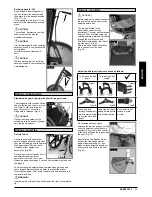
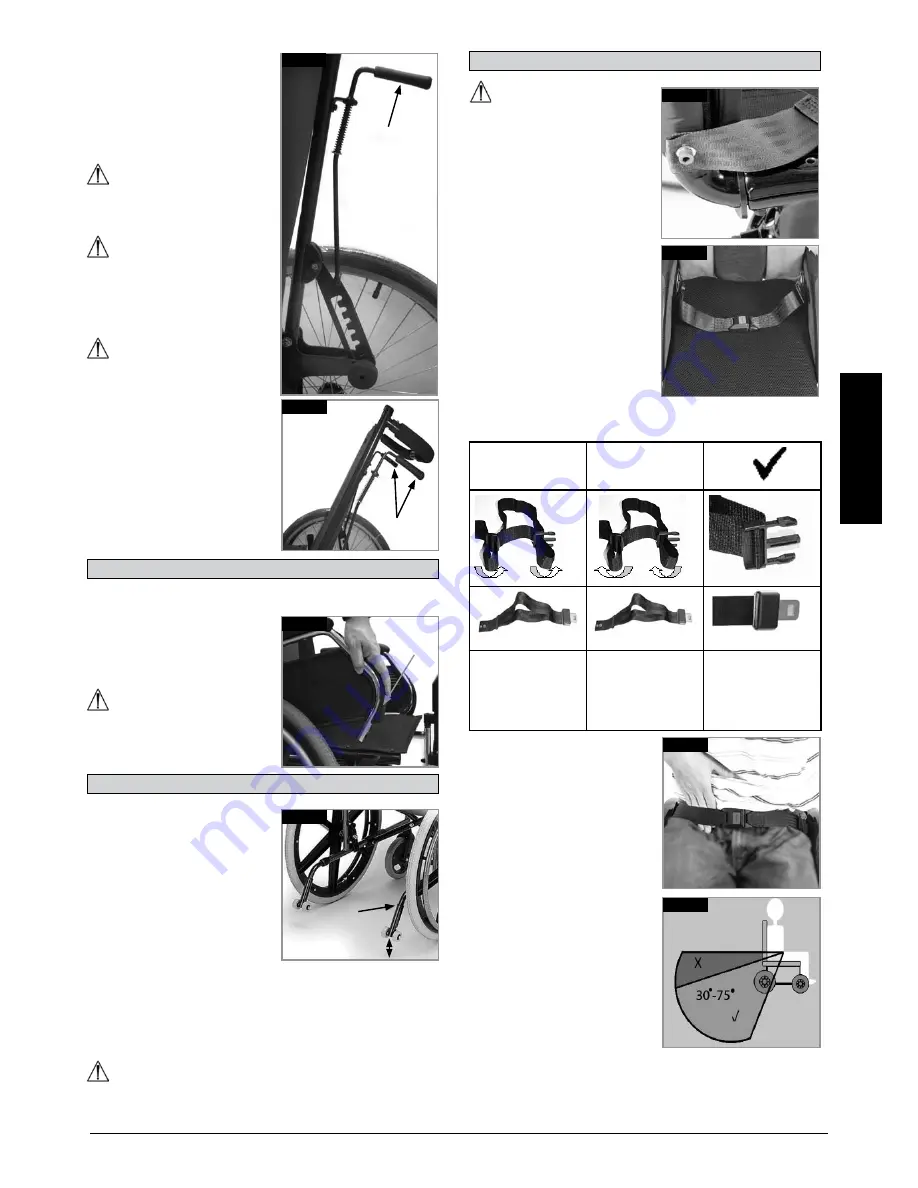
Reclining back (4 -55°)
By pulling both levers together (1),
you can release the backrest and
then move it to the desired position
(Fig. 17 + 18)
on releasing the two levers (1) the
backrest will automatically lock into
place
CAUTION!
the reclining backrest can only be
used in conjunction with the
wheelbase extension.
CAUTION!
It is recommended that the reclining
backrest is used in conjunction with
anti-tip tubes
(maximum ground clearance 3 -
5cm).
CAUTION!
we recommend that the reclining
backrest is used in conjunction with
a stabilising bar.
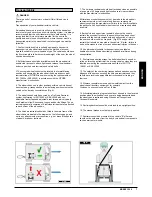
Standard side guard, flip-up, with short or long armrests
the side guard with rounded off front
edges will allow you to get up close
to a table. to flip the armrest up,
push the lever (1), so that the
side guard is released (Fig. 19).
CAUTION!
neither the side guards nor the
armrests are to be used for lifting or
carrying the wheelchair.
Anti-Tip Tubes
anti-tip tubes provide additional
safety for inexperienced users when
they are still learning how to operate
their wheelchair. they prevent a
wheelchair from tipping over
backwards, (Fig.20).
By pushing on the release button (1),
the safety wheels can be set
upwards or removed. there must
always be a gap of between 3 cm and 5 cm between the tube and
the ground.
you must swing the safety wheels upwards when going up and
down large obstacles (such as a kerb) to prevent them from
touching the ground. then rotate the safety wheels back down to
the normal position.
WARNING!
Incorrect setup of the anti-tips will increase the risk of a rearwards
tip.
Options - Side Guards
Options - Anti-Tips
Fig. 20
1
3-5cm
Fig. 19
1
Fig. 17
1
Fig. 18
1
Options - Lap Belt
warnInG!
Before using your wheelchair ensure
the seat belt is worn and correctly
adjusted before use.
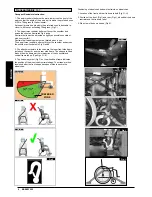
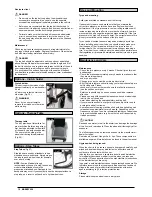
the lap belt is fitted to the
wheelchair as shown in the
illustrations. the seat belt comprises
2 halves. they are fitted using the
existing seat stay retaining bolt fitted
through the eyelet on the belt.
the belt is routed under the rear of
the side panel. (Fig. 21)
adjust the belt position so buckles
are in the centre of the seat.
(Fig. 22)
Adjust lap belt to suit the user’s needs as follows:
to increase the belt
length
to reduce the belt
length
Feed free belt
through slide adjust
-
ers and male buckle
to provide more belt
length.
Feed free belt back
through male buckle
and slide adjusters.
ensure belt is not
looped at male
buckle.
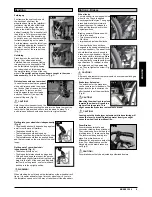
when fastened check space
between the lap belt and user, when
correctly adjusted it should not be
possible to insert more than the flat
of the hand between the lap belt and
the user. (Fig. 23)
Generally the Lap Belt should be
fixed so that the straps sit at an
angle of approximately 45°, and
when correctly adjusted should not
allow user to slip down in the seat.
(Fig. 24)
type a
type a
type a
Fig. 21
Fig. 22
Fig. 23
Fig. 24
ENGLISH
type B
type B
type B


