H o w t o O p e r a t e Y o u r C o m p r e s s o r
A-655
8
Models 3655 (Steps 1-3 and Steps 4-12)
1. Make sure the power switch is in the “Off” position
(
Fig. 1
) and unwrap power cord.
2. Place compressor so that the rubber feet are resting
on a level, sturdy surface (
Fig. 3
) and upon which
the controls can be easily reached when seated. Never
block the air openings of the product or place it on a
soft surface, such as a patient’s lap or a bed or couch
where the air openings may be blocked.
3. Plug power cord into an appropriate wall outlet.
DANGER
DeVilbiss compressor/nebulizer must be operated on
the specified power source to avoid risk of electric
shock and damage to the compressor.
All Models (Steps 4-12)
4. Wash hands.
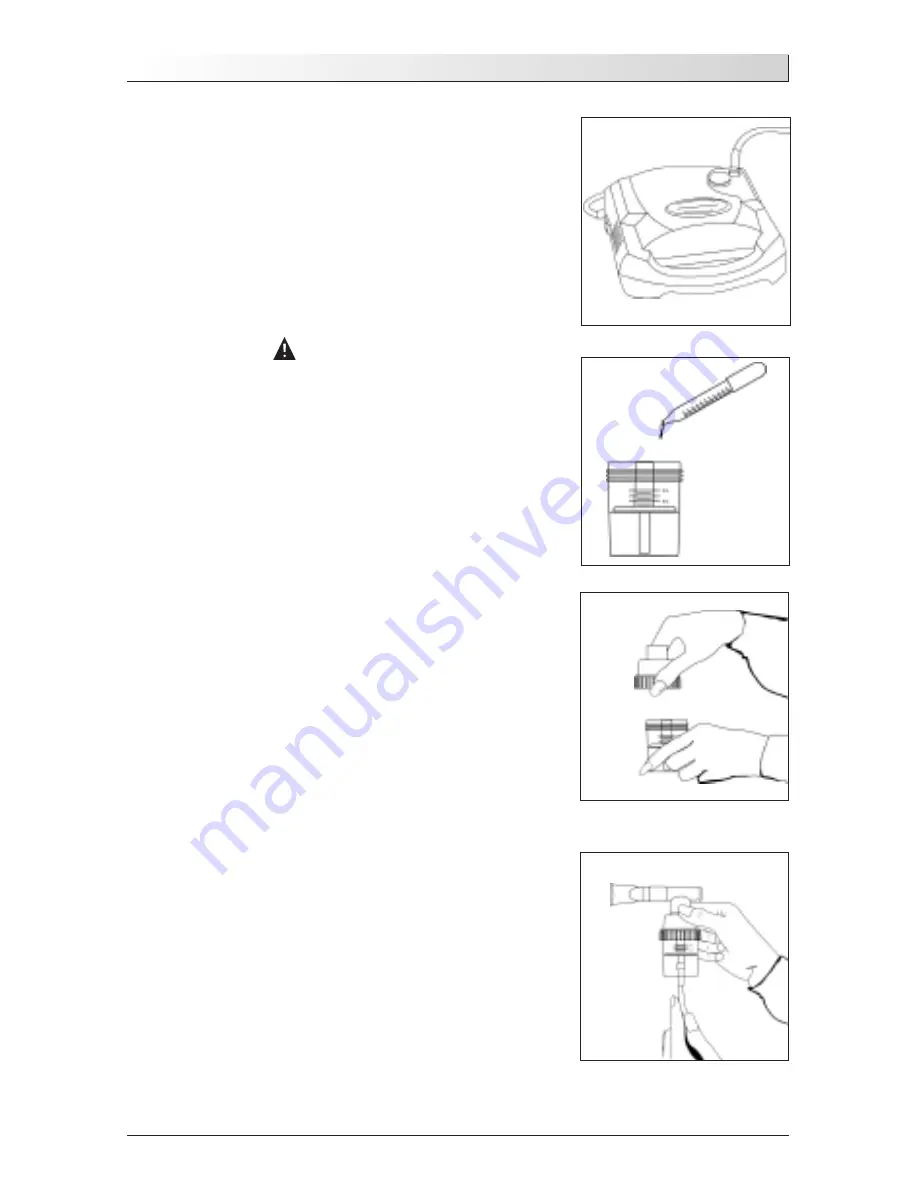
5. Connect one end of the nebulizer tubing to the com-
pressor air-outlet connector (
Fig. 2 or 3
).
NOTE–
During high-humidity weather conditions, condensation
(water build up) can occur in the nebulizer tubing.
6. Assemble clean nebulizer parts by placing baffle
down in medication cup. Add prescribed medication
into the medication cup (
Fig. 4
). Holding cup sta-
tionary, screw on nebulizer cap (
Fig 5
).
7. Assemble mouthpiece and t-piece (if applicable) and
insert into the top of the nebulizer cap. If using an
aerosol mask, insert the bottom part of the mask
directly into the top of the nebulizer cap.
8. Attach tubing to nebulizer air-inlet connector (
Fig. 6
).
9. Press the power switch “On” (
Fig. 1
) to start the
compressor.
10. Begin treatment by placing the mouthpiece between
teeth. With mouth closed, inhale deeply and slowly
through mouth as aerosol begins to flow, then
exhale slowly through the mouthpiece (
Fig. 7
). If
treatment needs to be interrupted, simply press
power switch “Off.”
NOTE–
Your physician may recommend a specific breathing
pattern during treatment. If so, follow his/her
recommendations.
Figure 3
Figure 6
Figure 4
Figure 5


