V I I . O p e r a t i n g I n s t r u c t i o n s
100336 Rev. D
22
A
A
B
C
20
21
22
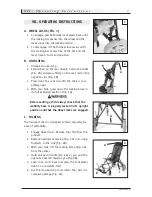
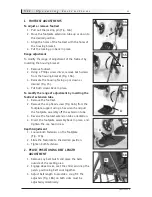
K. CRUTCH STRAP DEPTH ADJUSTMENT
1. Determine the appropriate depth for the user.
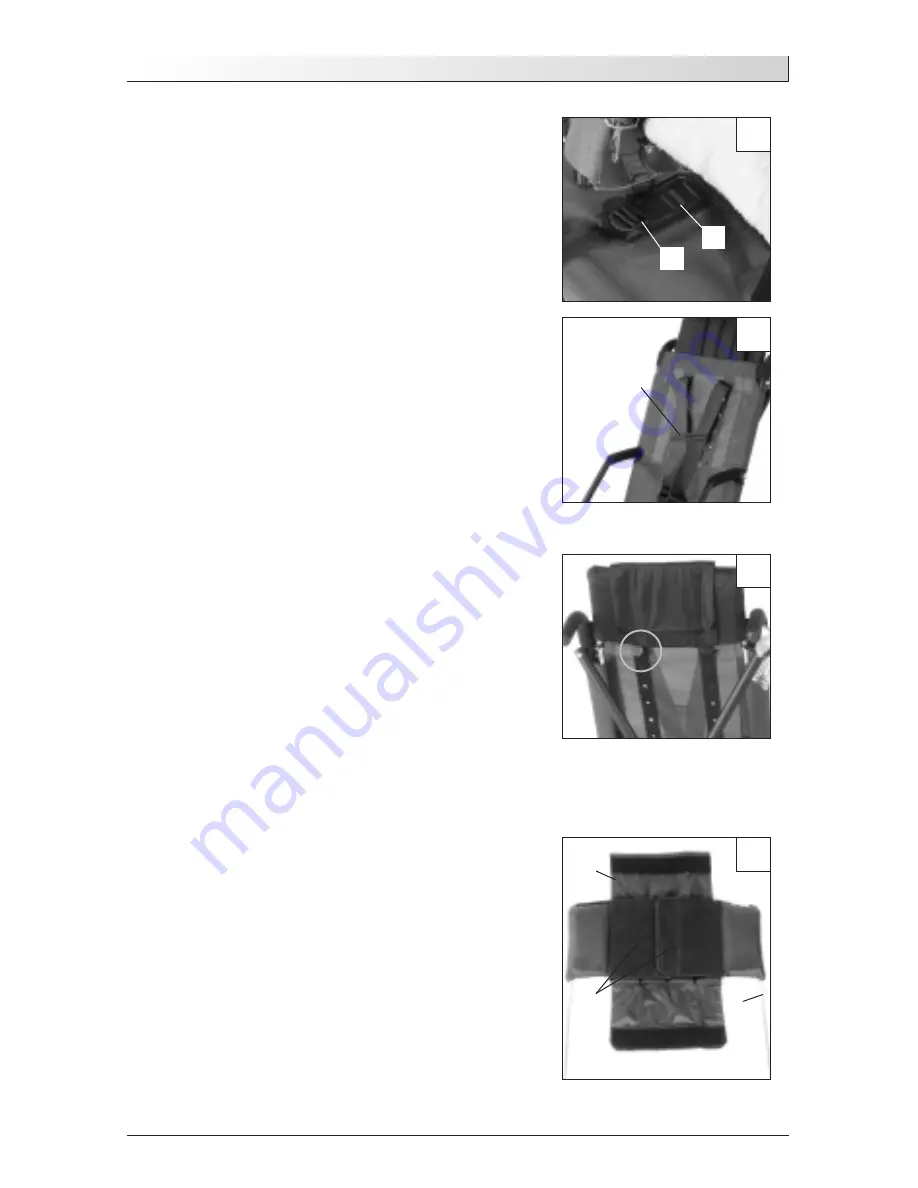
2. Undo the adjuster (Fig. 19A).
3. Relocate the strap in the appropriate slot
(Fig. 19B).
4. Thread the strap back in the adjuster.
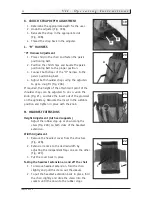
L. “H” HARNESS
“H” Harness Adjustment
1. Place child in the chair and fasten the pelvic
positioning belt.
2. Position the child's hips and buckle the pelvic
positioning belt to the proper position.
3. Connect both straps of the “H” harness to the
pelvic positioning belt.
4. Adjust both shoulder straps using the adjusters
to get a snug fit (Fig. 20A).
If required, the height of the attachment point of the
shoulder straps can be adjusted. To do so, undo the
knob (Fig. 21), and take the insert out of the grommet
on the upholstery. Relocate the insert in the suitable
position and tighten in place with the knob.
M. HEADREST EXTENSIONS
Height Adjustment (All head supports)
Adjust the rubber stop up or down along the
stem (Fig. 22A) on both sides of the headrest
extension.
Width Adjustment
1. Remove the headrest cover from the structure
(Fig. 22B).
2. Extend or reduce to the desired width by
adjusting the independent flaps one on the other
(Fig. 22C).
3. Put the cover back in place.
Taking the headrest extension on and off the chair
1. To remove headrest extension, fold the chair
slightly and pull the stems out the sleeves.
2. To put the headrest extension back in place, fold
the chair slightly and slide the stems into the
sockets until the down to the rubber stops.
A
B
19

