


29
EN
GLISH
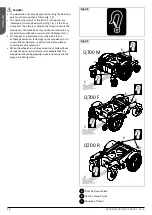
Q700 M/M HD/F/R/UP-M/UP-F Rev.G
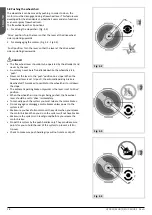
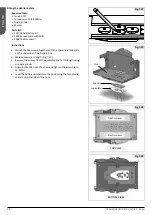
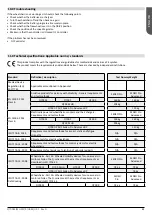
9.
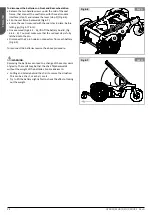
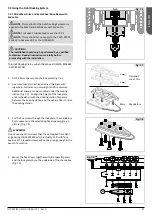
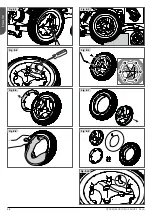
Attach the five screws together with the plastic spacer/
spacers (to prevent the batteries from coming into contact
with the nuts) and the lock plate on the underside of the
chassis box. Tightening torque: 16-18 Nm/13.3 lb.ft (Fig. 7.14).
Please refer to Section 6.6 of this manual for reverse the
procedure to replace batteries.
Fig. 7.14
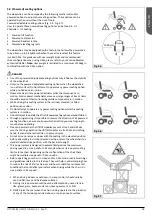
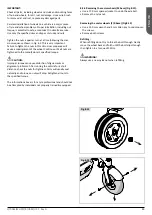
Fig. 7.15
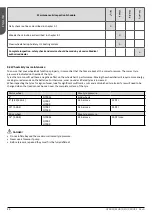
Fig. 7.16
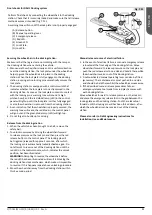
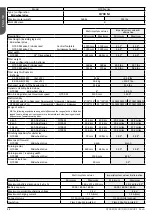
7.2.2 Sedeo Pro Advanced - with Q700M Base
NOTE:
This section only applies to Sedeo Pro Advanced with
Q700M base with a maximum user weight of 136kg.
NOTE:
This section does not apply to the Sedeo Pro Advanced
UP.
Fitting the stiffener plate
Required tools:
•
Torx bit T27
•
Torque wrench (16-18Nm)
•
Angle grinder
• Marker
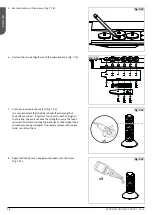
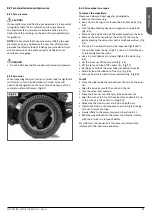
Parts list (Fig. 7.15):
1. Spacer (x2)
2.
Nut (x10)
3. Stiffener plate (x1)
For kit shown in Fig. 7.15 contact Dahl engineering.
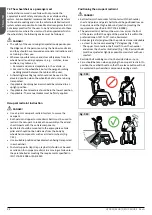
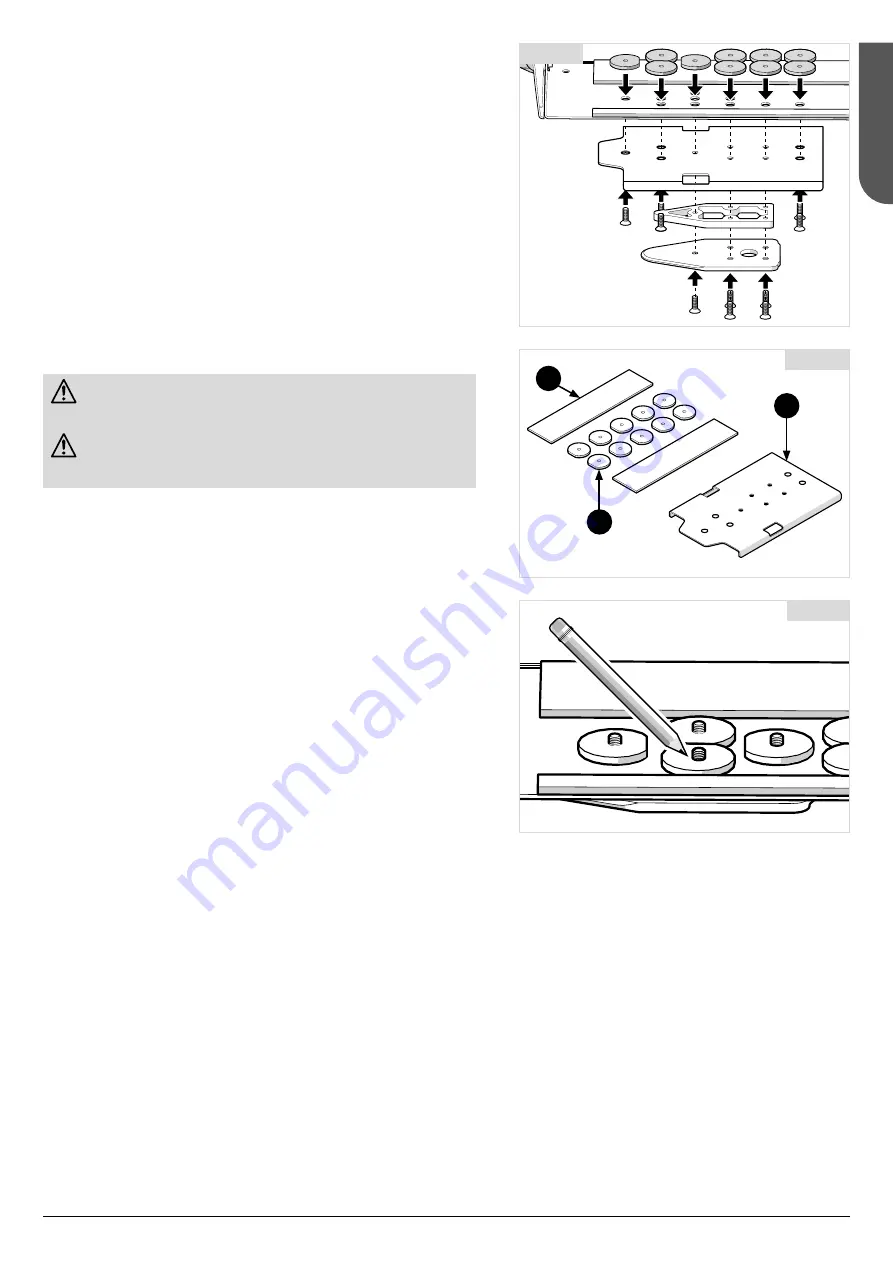
Instructions
a.
Select the stiffener plate suitable for the Q-series model.
b.
Mount the five screws together with the stiffener plate and
nuts on the underside of the battery box.
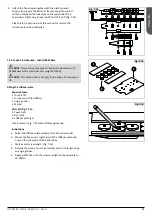
c.
Mark excess screw length. (Fig. 7.16)
d.
Remove the screws from the assembly and cut to length using
an angle grinder.
e.
Apply loctite 222 onto the screw and tighten the assembly to
16-18Nm.
1
2
3
Summary of Contents for Quickie Q700 M
Page 150: ...150 Q700 M M HD F R UP M UP F Rev G ...


