


11
④
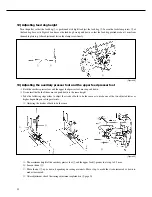
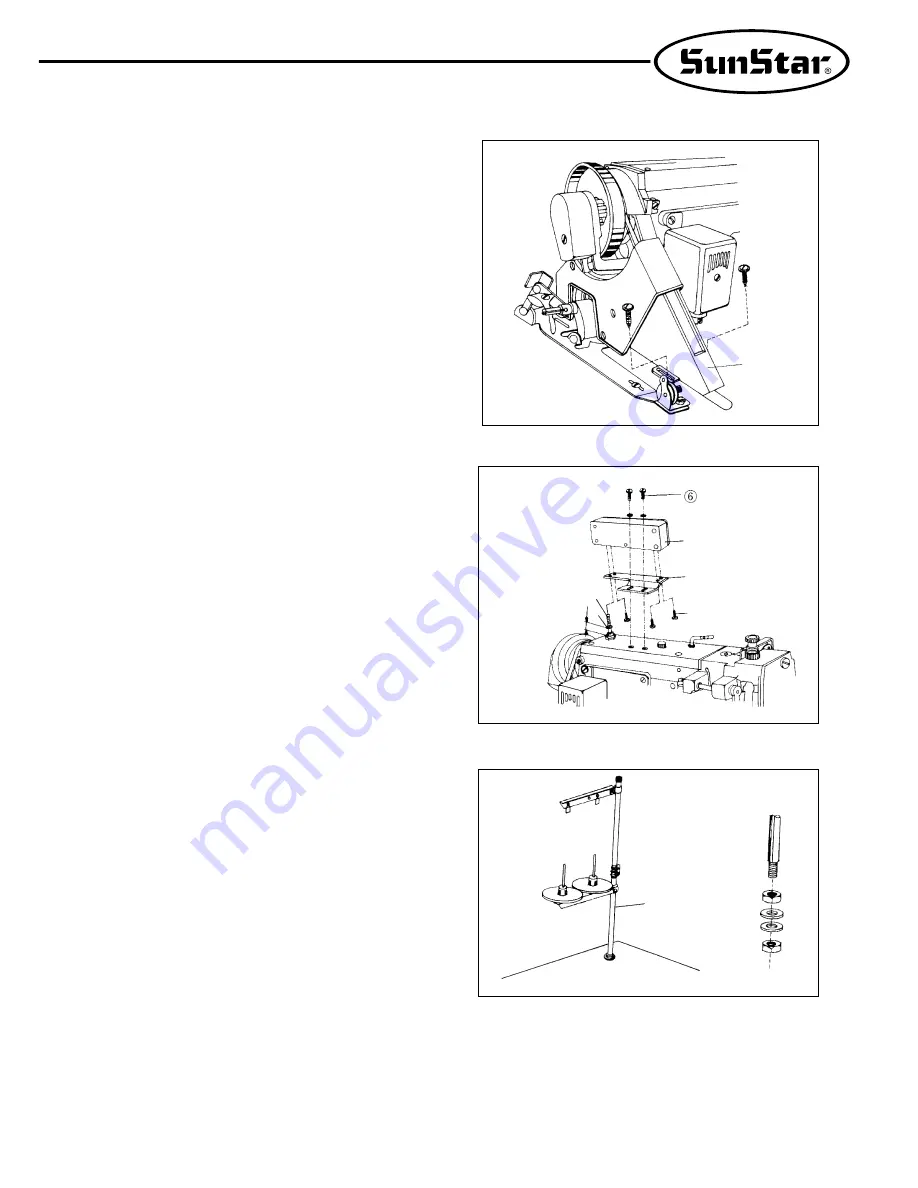
[Figure 7]
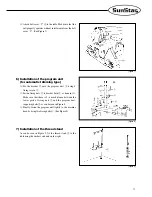
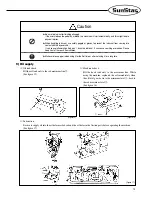
⑷
Attach belt cover
“
C
”④
to the table. Make sure that the
belt properly operates without interference from the belt
cover
“
C
”
. (See Figure 7)
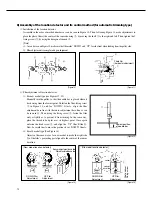
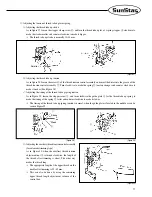
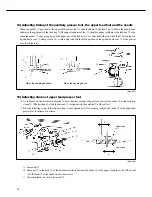
6) Installation of the program unit
(for automatic trimming type)
⑴
Fix the bracket
②
onto the program unit
①
, using 4
fixing screws
③
.
⑵
Fasten fixing nuts
⑤
to bracket bolts
④
, as done in (1).
Make sure that there is 3~4 mm distance between the
lower parts of fixing nuts
⑤
and the program unit-
supporting bolts
④
, as can be seen in Figure 8.
⑶
Finally, fasten the program unit tightly to the machine
head by using two fixing bolts
⑥
. (See Figure 8)
[Figure 8]
①
②
④
⑤
⑥
3~4mm
③
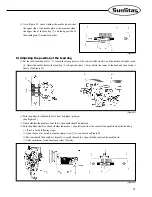
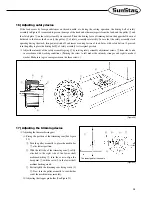
7) Installation of the thread stand
As can be seen in Figure 9, fix the thread stand
①
to the
table using the washers and nuts on the right.
[Figure 9]
①
Summary of Contents for KM-560
Page 34: ...34 5 Table Drawing ...


