35
6) ADJUSTMENT OF NEEDLE AND LOOPER TIMING
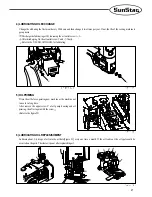
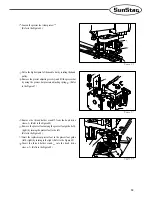
(1) Standard height of the looper
Insert the looper
into the end of the looper holder .
Loosen the looper clamp screw
and fix it by tightening the
clamp screw firmly. (Refer to the Figure 54)
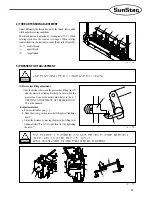
(2) Distance between the looper and the needle
When the looper
goes to the farthest part from the needle,
make the distance between the looper
and the very left
center of the needle to 4.2~4.8mm. Loosen the looper holder
clamp screw
and fix it by tightening the clamp screw
firmly. (Refer to the Figure 54)
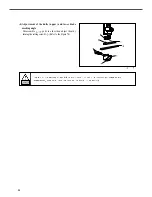
(3) Front / back position of the looper and the needle
When the looper
moves from the left to the right, the looper
should pass through behind the needle. (Refer to the
Figure 55)
Set the distance the looper
and the needle to 0~0.05mm to
make the looper
is at the closest to the needle. Set the looper
not to attach to the needle. (Refer to the Figure 55)
When rotating the looper adjusting screw
clockwise by
loosening the looper holder clamp screw , it moves to the F
direction. When rotating the looper adjusting screw
counterclockwise, it moves to the B direction. Therefore fix
by tightening the clamp screw after setting it. (Refer to the
Figure 56)

